


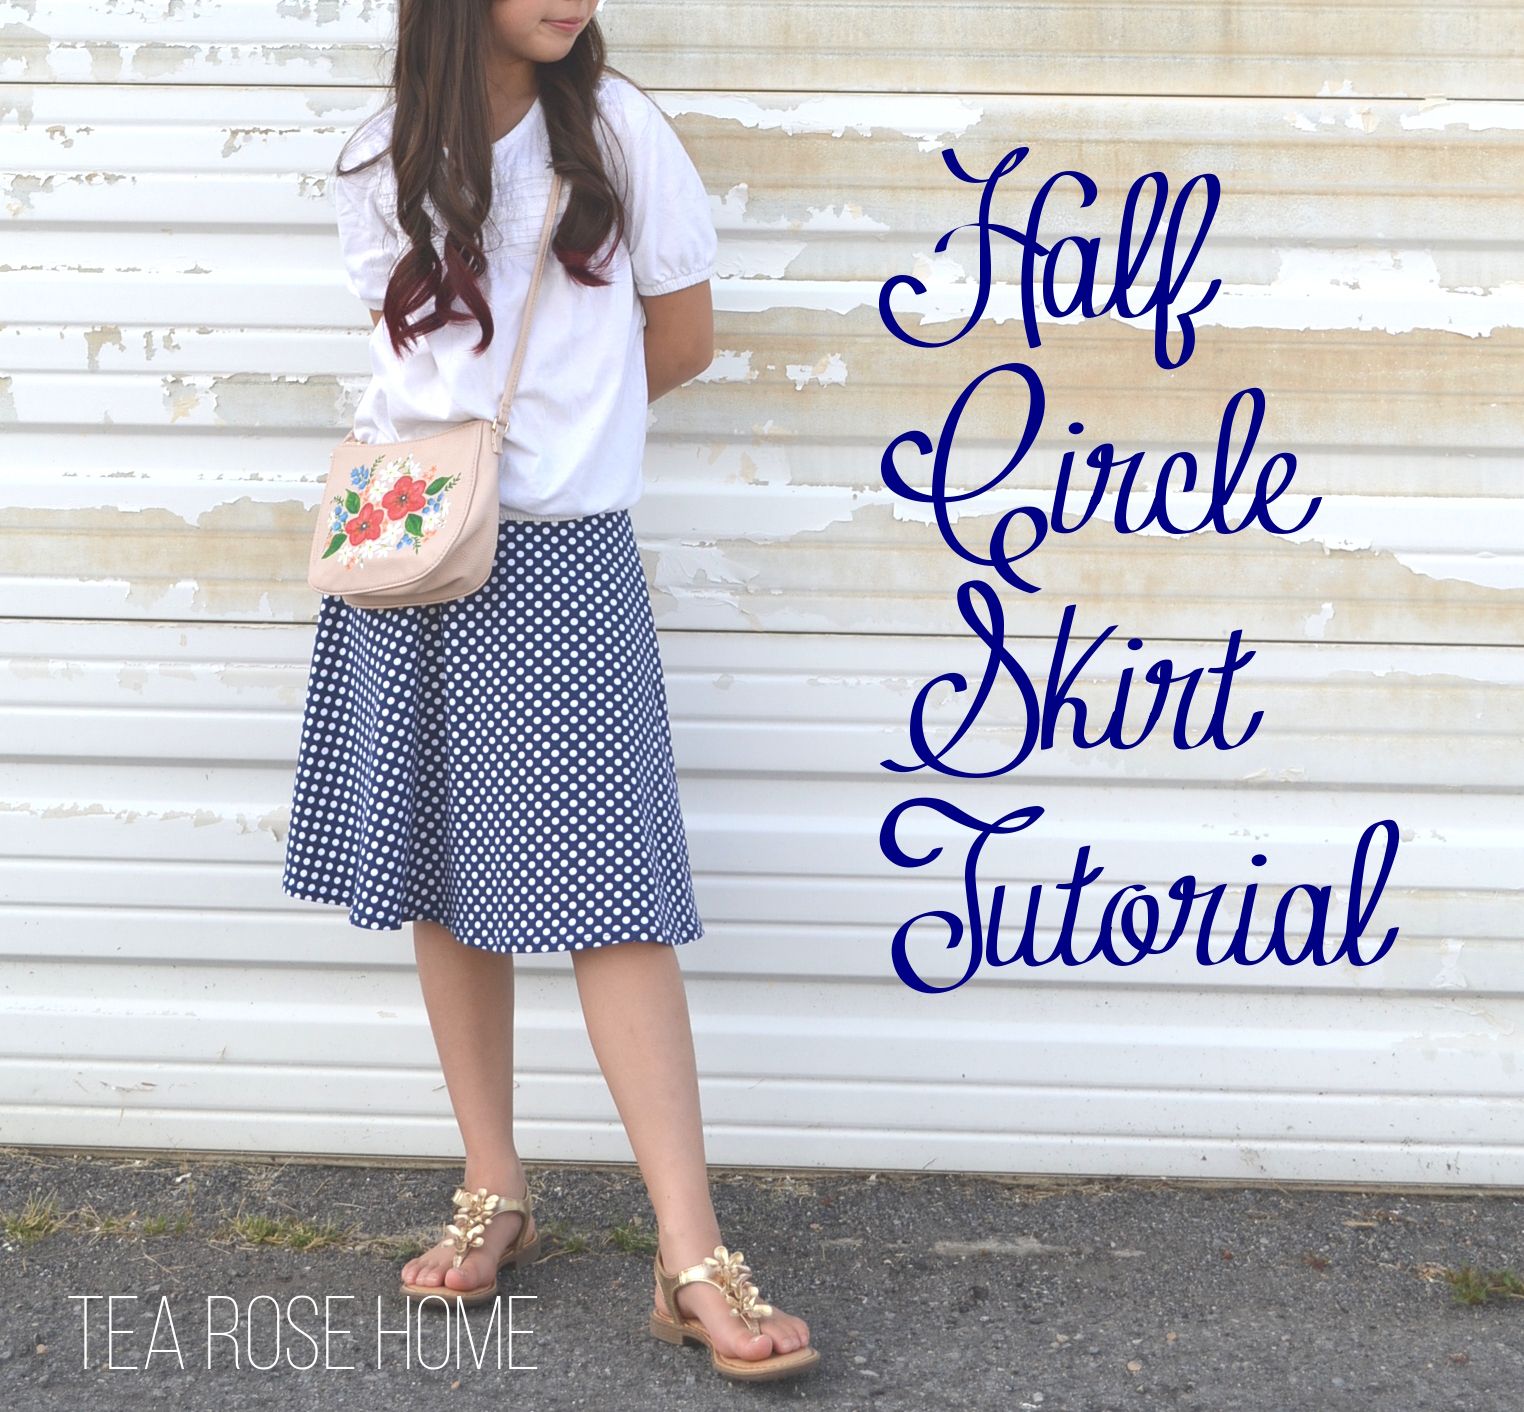
I am sharing the tutorial how to make a half circle skirt today with knit fabric. The half circle skirt is one of my most favorite styles, because it still has a look of full circle but less drama and actually stays with your body lines better (full circle skirts tend to blow up more with the wind!). It is a perfect mix of prettiness + functionality which is perfect for school! There are a couple things before we begin.
I know, I have been there. You don't have a serger? Not to worry, you can still sew with knits if you know some tricks to work with them. I wrote a tutorial on how to sew a knit skirt with tricks you need to know a while ago, please head over to the post and see what kind of needle and working foot you need to use.
It is a lot simpler than you think. Once you know how, you can customize a half circle skirt for anybody! There are many great tutorials in blog land, but some are harder to understand than others. Here is a very simple explanation of how I figured out the numbers to customize a half circle skirt for my daughter.
1. Measured her waist.
2. Take the measurement and do a little math problem.
Waist ÷ 3.14 = inner circle radius
My daughter's waist was 23", so I did 23 ÷ 3.14 = 7.324.... round the number. I decided to go with 7 1/4".
3. Start drafting the pattern. I used my measurement, but when you are drafting a pattern you can use your number that you figured out for the inner circle and apply the number that you like for the length of the skirt. Remember, when you are figuring out the length, don't forget to include the number of the highs of the belt.

In this pattern I use 3/8" seam for all except the bottom seam of the skirt. I know this is much narrower seam compared to commercial patterns, but since I wasn't sewing with a serger I did't need a wide seam allowance. Also I don't care for wide bulky seams on my clothes. This is a personal preference, so you can change it to whatever width you like. :)
Ok, the rest is easy-peasy!
{What you need}
58/59 Wide Mid weight knit fabric ------ 3/4 yard (I used the knit from Riley Blake Designs they are easy to work with and very nice quality). My daughter is 9 years old, if you are making this for older girls, you will need more yardage.
3/4" Wide Non Roll Elastic ---- waist length + 1"
Matching Thread
{How to}
1. Fold the fabric in half in the middle and lay down the pattern you created on it. Make sure that one side of the pattern seam matches perfectly with the folded seam. Pin and cut.


You can find many free skirt tutorials at Simple Simon & Co. Visit them and discover lots of other participant bloggers! :)


Love this project
ReplyDeleteHi I'm just making this skirt.. it is a great tutorial thanks! However I can't see the step where you put the elastic in?
ReplyDeletemany thanks!
Regards Laura
The best tutorial I've found yet! Thank you!
ReplyDeletefold fabric in half: does this mean selvedge to opposite side selvedge or cut top edge to bottom cut edge?
ReplyDeleteI folded it selvedge to selvedge. :)
DeleteI did mine but the elastic waistband is not stretching where did I got it wrong
ReplyDelete