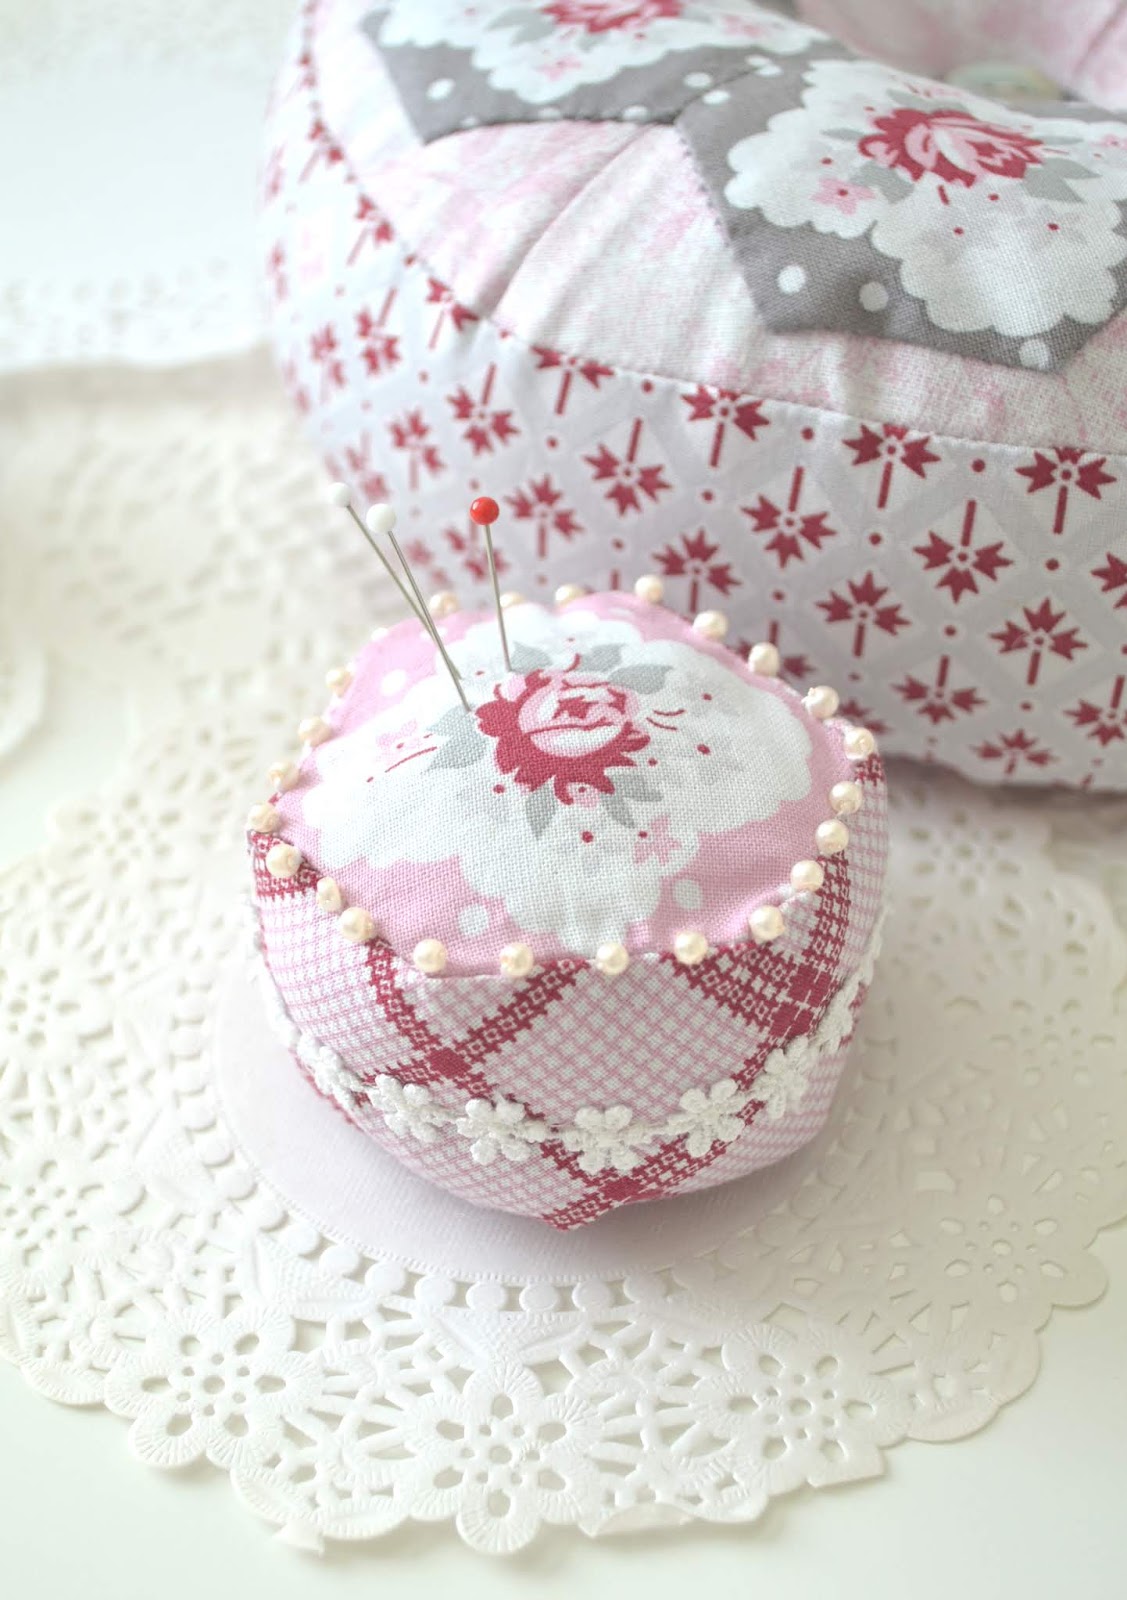
I have been making some fun things with Sunnyside Avenue fabrics designed by Amy Smart. This is her second fabric line and it is such a fun and cheerful collection. I have been playing with them and made a couple things in the last few month.
Have you had a chance to take a look at the bag I made back in June? If you missed it, here is the link to the tutorial.
I also couldn't resist maing some bottle cap pincushions with them. Aren't they so cute together? This is such an easy project to do and perfect addition to the Christmas gift exchange with your quilter/seamstress friends.
Now, I made some quit block charms. The idea popped in my head and I couldn't resist. You can make this with pretty much any quilt block designs you desire, but I recommend picking ones with a simpler design. It gets trickier to work with seams, since the blocks are so small.
Here are the four charms that I created and the measurements for them.
*PinWheel (finished size 3 1/4" x 3 1/4")
Cut 2- 2 1/4" x 2 1/4" squares from light fabric
Cut 2- 2 1/4" x 2 1/4" squares from dark fabric
Amy has a great tutorial about Half Square Triangle Short Cut on her blog. With that, you can just piece them together to create the pinwheel.
*Simplex Star (finished size 3 1/2" x 3 1/2 ")
To make 4 half square triangles
Cut 2 - 2"x 2" squares from red polka dot fabric
Cut 2 - 2"x 2" squares from Blue background with white flower fabric
Cut 4 - 1 1/2" x 1 1/2" squares from red and white fabric for corners
Cut 1 - 1 1/2" x 1 1/2" square from red polka dot fabric for center
*Aunt Ruth's Fancy Finished size 2 3/4 "x 2 3/4")
Cut 2 - 1 1/2" x 3" strips from white background with yellow flowers
Cut 1 - 3/4" x 3" Strips from navy fabric
Piece them together Navy fabric in between the white fabrics. Cut in half.
Cut 1 - 3/4" x 3/4" sauare from white back ground with yellow flowers
Cut 2 - 3/4" x 1 1/2" strips from navy fabric
Piece them together white fabric in between the navy strips
Use the picture as a guide; piece all the pieces you made and finish the block
*Log Cabin (finished size 3" x 3")
I started with a red square in the middle, which I cut in to a 1 1/4"x 1 1/4" square. Cut the same size of green fabric and piece them together. Then you can keep adding the 1 1/4" wide strips to create a log cabin look.
After I completed the blocks, I finished them with the same steps that I finish a quilt, except, I didn't add batting in between the top and the backing. It will add extra bulk and it is going be harder to quilt. The string is actually elastic, so it is easier to put it on purse handles and such. The scissor charm and little wooden spools are an extra touch which is a completely personal choice on whether to add them or not.
Thank you for stopping by and I hope you enjoyed the post today!
Showing posts with label Pincushion. Show all posts
Friday, September 21, 2018
Wednesday, May 30, 2018
Rustic Romance Pincushions
Look at this gorgeous new fabric line Rustic Romance from Riley Blake Designs. I had several ideas of what to create with these beauties and I finally decided to make pincushions.
My most favorite fabrics are these. I wanted to come up with the designs to showcase them better. I created small and large pincushions. I created a downloadable PDF for the hexagon in case you need it.
* Small Pincushion
1. Download the PDF and cut out the template. It would be great if you have thin plastic sheets to make the templates, but if not, you could still make the pincushion. Cut out 2 hexagon pieces for the top and the bottom and one 2"x 8" strip (seam allowance included).
2. Sew the strip to the hexagon pieces. Leave a small opening for stuffing. Slip stitch to close.
3. I added beads, ribbons and buttons to embellish the pincushions, but this step is totally a personal preference.
* Large Pincushion
I thought I would play with the hexagon for a little more and created this large pincushion.
1. Cut out 6 hexagon pieces, one 2 1/2"x 23 1/2" strip and 2 large circles for the top and the bottom. Again, you can use the printable PDF I have created.
2. I did paper piecing method for this one, so cut out 6 hexagon papers without the seam allowance.
3. Piece the hexagon side by side.
4. Place the pieced hexagon onto the circle piece and pin. The fabric I wanted to use for this wasn't wide enough, so I came up with the design and pieced it, but it will be much easier to do one solid piece for this. Stitch the hexagon pieces to the fabric.
5. Leaving an opening a few inches wide, sew the long strip to the top and the bottom circle pieces. Turn the fabric inside out and stuff. Slip stitch closed.
I think it would be fun to make a bunch of small ones as a gift for your sewing/quilting friends. With different combinations of fabrics and embellishments, you can totally make them unique. Thank you for visiting, and I hope you enjoyed the tutorial!
Labels:
Pincushion
,
Riley Blake
,
romance
,
rustic
,
sewing
,
tutorial
Monday, April 25, 2016
Quilts and More Feature ~ Color Wheel Pincushion
I received the newest issue of Quilts and more in the mail today... and guess what??? The color wheel pincushion I designed made the front cover of the magazine, Yeah!
This is a simple and fun project to work on and I wanted to make it even easier for you to start the project (grin). Head over to my etsy shop; you can purchase the kit for this pincushion.
I thought it might be a hassle for some people to go through fabrics to find the exact shade of fabrics to create the color wheel. This way, you can just start the project. The kit doesn't include that pattern, you still have to buy the magazine for the instructions.
The fabrics in the kit may not be exactly the same as the picture in the magazine, but I did my best to keep the same shade and feel.
Are those colors calling to you?
Hop over to my shop if you are interested.
Happy sewing!
Labels:
colors
,
fabric
,
Pincushion
,
Quilts and more
,
sewing
,
sewing kits
Monday, February 1, 2016
Tutorial ~ Stickable Bottle Cap Pincushion
Over a year ago, I attended a quilt retreat. When I took a break to walk around I walked passed a much older lady sitting at her sewing machine and sewing happily. We struck a conversation and chatted for a while and I noticed that she had a tiny tiny pincushion stuck to her sewing machine. I asked her where she got it and she said she made it with a bottle cap. Ha! Why didn't I think of that before?? When I am sewing I put my pincushion on top of the machine or beside the machine and sometimes I forget where I put it. It would be very convenient if I could stick a pincushion somewhere on the machine: out of the way of fabric but still very close when I am pulling out the needles as I continue sewing. On the way home from the retreat, I was so ready to make one... then I totally forgot to do so until last week when I really could have used one.
I made some and created this tutorial to share with you! It is a very quick and simple project. Just remember to keep some bottle caps before you toss out the empty bottles.:)
{You will need}
Plastic bottle cap (Most of mine are from soda bottles. I found it better to have a deeper cap instead of a shallow one)
Fabric scrap
Fiber fill
Thread
Small trims (Pom-pom, lace, ribbon whatever you desire)
Glue gun and glue
Glue for the trim
{How to}
1. Create a 3"diameter template with tick paper, and trace that on to fabric scrap. Cut out the circle.
2. Stitch around the edge with big stitches.
3. Pull the thread a little and stuff it with fiber fill and pull the thread all the way. I like my pincushions stuffed very well.
4. I stitched the top back and forth to keep the top from coming undone then tie the knot to finish it off.
5. Place a little drop of glue into the bottle cap and put the fabric ball you made in step 4, stitched side down, into the bottle cap. Squeeze it tight for a minute or so until the glue is hardened and the pincushion is secure.
6. I added lace around the cap as a finishing touch...
7. For adhesive I chose double sided tape with some cushion. That way, if I want to stick the pincushion on uneven surfaces there is some flexibility.
I was so excited about this and had to test it out right away! Check this out, I can stick this on the top and the side of the machine or right by my hand.
Because it was so easy and fun to make, I made a few more...
This will make a pretty, practical and inexpensive gift for your sewing friends for sure!
I hope you enjoyed the tutorial. Thank you for visiting today! :)
Tuesday, September 9, 2014
New Pattern ~ Winter Daisy
I have been working on this pattern for the last couple weeks. It is easy for me to whip something up, but it is VERY challenging to create a pattern on the computer. Since I am technologically challenged and have no knowledge about how Adobe, GIMP or Publisher works, I am just experimenting with stuff and trying to come up with a look that I want for my pattern.
Phew... it's done! :) I listed them on my shop and they will be sold at a couple local shops too. I am so very excited about this. It has been a long time since I felt like I am on the move (sewing or business aspect of my life wise). One thing I can say is that I. LOVE. to. CREATE. There is no doubt about that.
I am also going to teach a class for this pincushion at Harmany again in October. The class fee include the pattern and I am going to make a kit. They have a list of many wonderful classes, if you are local you might wanna check out their class schedule.
This unique pincushion is a combination of everything pretty. The coziness of wool felt, the beautiful flower print showing through the window, cute buttons and lovely trims around it! This mostly hand sewn pincushion is very fun to make and it will be a perfect holiday gift for yourself or for your friends.
Please go check it out and let me know if you have any questions!
Saturday, December 21, 2013
Two Ways Felt Project / Coaster or Pincushion
A While ago, I did a guest post at Craft Snob and I shared an easy felt project that you can actually turn into two different projects. Also, these would be a perfect, easy, inexpensive small Christmas gift for friends, neighbors and sewing groups. Christmas is right on our door step, but you can whip these up in no time.
Do you already have some felts around the house? If not, it would be fun to go to a fabric stores or craft store to pick some up. I found a few last week at Joann's, 4 for a dollar. To create these pincushions or coasters you could totally have fun with which colors to combine together. Are you interested? Let's start.
{You will need}
Felt in many colors
DMC floss that will match the felt you are going to work with
Fiber fill (if you are making a pincushion)
White marking pencil, needle, and other sewing tools.
{How to}
1. To cut the felt, I just cut the felt horizontally in the middle which measures 4 1/2", then cut twice vertically with a measurement of 4 1/2". You should have 4 pieces of felt squares.
You need three pieces of felt which will be used for the top, the middle and the bottom layers. I chose three different shades of blue, but you could use the same colors for the top and the bottom, and something different for the middle.
2. On the felt for the top part, mark an X in the middle. Leave 1/2" from all the corners. Cut on the lines.
3. Layer the middle felt under the top felt. Sew in the middle, so they won't move around.
4. Lift up the middle of one of the lines that are cut and fold it outward, pin and sew. I chose to sew by hand, but I bet it would look pretty to sew by machine too.
5. Repeat the process till all 8 parts are sewn. Then, you will end up with this:
6. Layer that with the bottom piece then sew...WAIT! There are two Separate instruction from here.
If you are going the make a pincushion, remember to leave a 2" to 3" opening on the side, so you can put fiber fill in. After you have done that, sew it shut.
You just made yourself a pincushion.
If you chose to make coaster, all you need to do is just sew all four sides... yes, that is it! I have to warn you though... it is so much fun to think about color combinations, you might want to make tons of them just like I did...
My personal favorite is this one; mustard and light gray.
See, wasn't it easy? I hope you enjoyed my tutorial!
Subscribe to:
Posts
(
Atom
)