Trick or treat! I can't believe we are already entering October. The year flew by so quickly and it has been a bit chilly where I live. I wanted to share a quick, useful and fun Halloween project using my
Sashiko machine. Of course you could make this project with your regular sewing machine, but I wanted to showcase Sashiko stitches with this project. Are you ready?
*You will need
A fabric to cut side fabrics
A fabric to cut bottom and handles
A fabric to make lining 12"x 20"
Muslin for backing 12"x 20"
(sorry, it is not in the picture, but you need it...)
Fusible batting 12"x 22" (this is for the body of the bag and the handles)
Pearl Cotton to add trimming (optional)
*How to
*Note* I used 1/4" seam for this project
1. Sew the side fabrics to the bottom fabric. Open the seam and press with iron.
2. Baste the fabric you pieced with fusible batting (follow the manufacturer's guideline) and muslin. If you prefer, you could use pins to secure the corners. For quilting, I just quilted straight lines on the bottom fabric and crosshatch quilting on the side fabrics.
3. Add trim. I am still acquainted with
Sashiko machine. While I was watching some tutorials on youtube, I came across
a video. There is one technique I wanted to try. This step is totally optional.
4. Make the handles. Take the fabric and fold it in half horizontally. Open the fabric and bring both long edges to the middle and fold. Now you have three horizontal lines. Cut 2 - 3/4"x 12" strips from fusible batting and fuse next to the center line. Fold the fabrics and top stitch outer lines. Repeat to make the other handle.
5. Pin a handle to the quilted fabric and sew. See the picture for the placement of the handle. Do the same with the other handle.
6. Fold the fabric right side together in half and sew the sides.
7. Make the boxed bottom. Fold the bottom and create a triangle. sew. If you are interested in better instructions, there is a tutorial I did for this
post, around step 7.
8. Follow steps 6 and 7 for the liner.
9. Put the bag and liner right sides together. Leaving about a 4" opening, sew the top around the edge. Turn the fabric inside out and press the edges with the iron.
10. Top stitch all around the top and it is ready for Halloween night! Well, almost... on a whim, I decided to make a felt pumpkin charm to accessorize the bag. Now, it is really ready, haha
You could make this bag or two in one afternoon, so you still have enough time before Halloween. Enjoy!


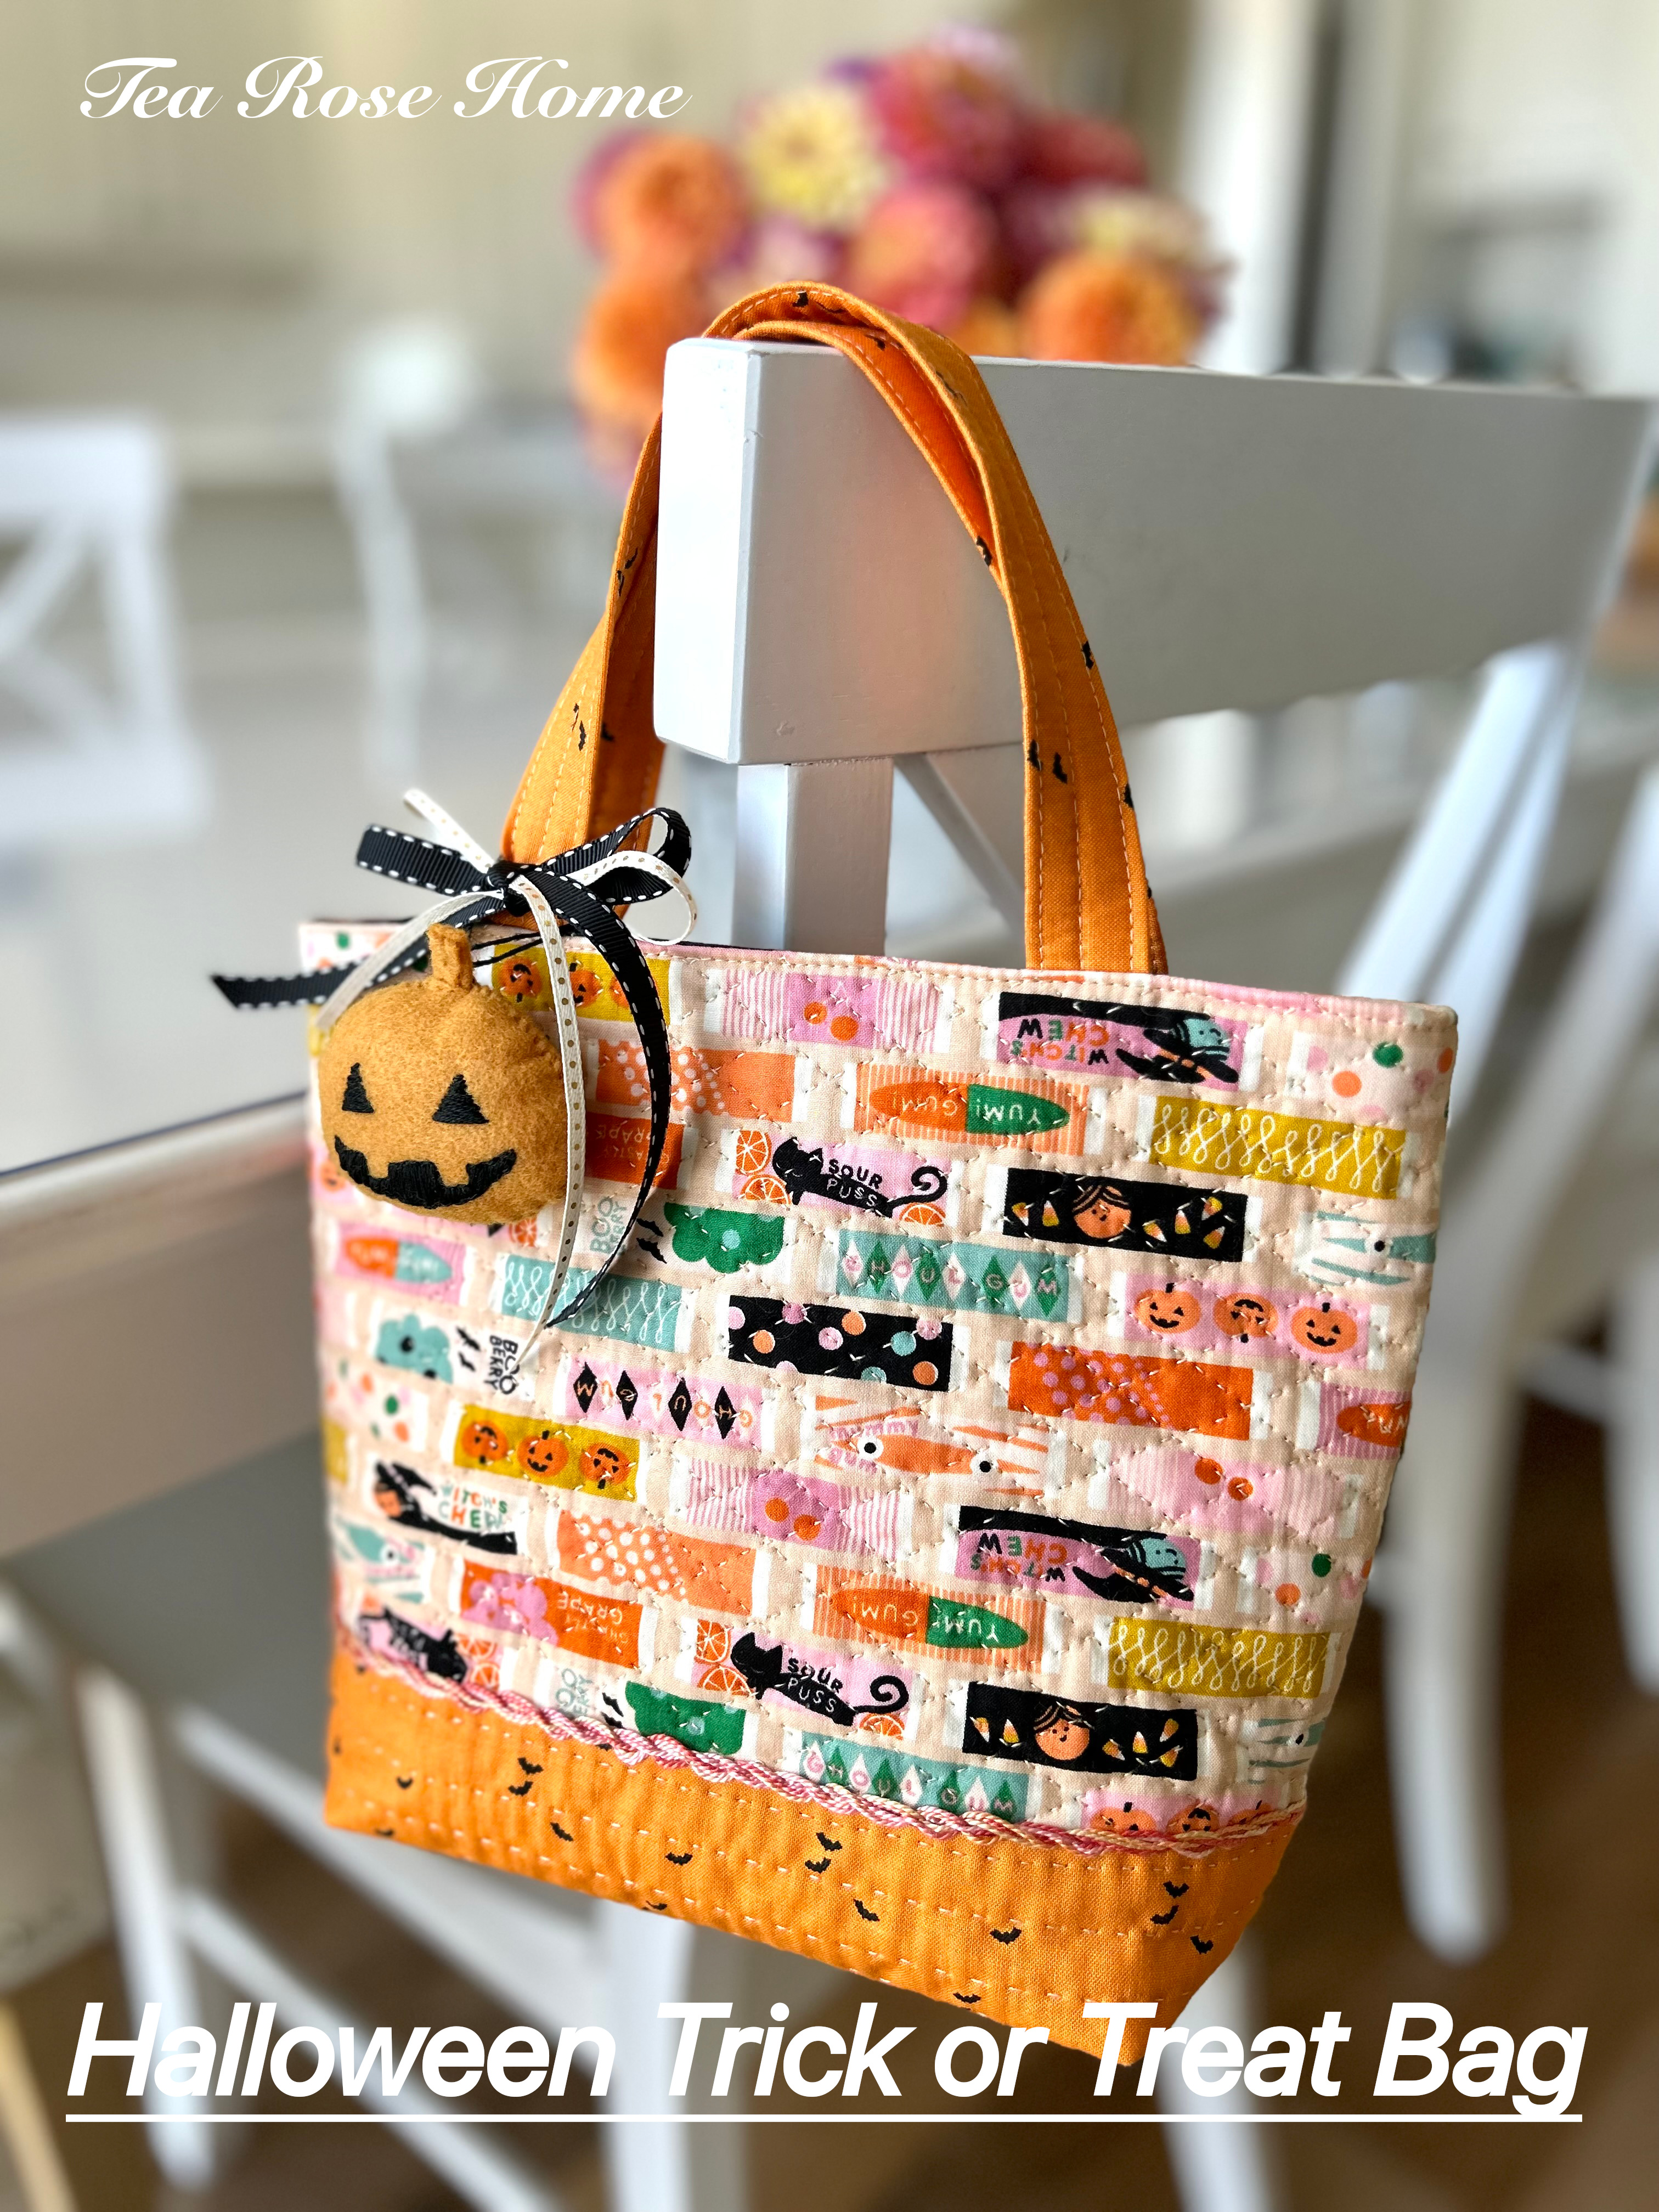


Love the look of the sashiko stitching on this bag!
ReplyDelete