Showing posts with label baby. Show all posts

Thursday, August 20, 2020

Bell Sleeve Top with Bubble Gauze Fabric

I shared my Bubble Gauze Dress post not so long ago. I bought this mint green bubble gauze fabric at the same time when I bought the fabric for that dress. I wanted to sew a relaxed top with a little bit of flare and I finally found a pattern that spoke to me for this particular fabric. The pattern I used was Burda style 6266. There are three version of this top, and I honestly think they are all very pretty.


I have a short torso, so I decided to shorten the pattern by a few inches, but everything else I cut out as directed. I love how the sleeves are so flowy.

Suggested fabrics were Crêpe, viscose-rayon, or cotton, but I really wanted to try this design with bubble gauze. Although I love how my top turned out, I guess it came out a little bulky... The next time I use this pattern, I am going to use something more light weight to see how that would affect the finished top. Eek! I am so excited!

Friday, August 27, 2010

Tutorial ~Swaddle Blanket with Self Binding Method~


A while ago, I mentioned that I was doing a tutorial for a blanket using the self binding method. I have made so many blankets in the past. I think this is one of the most easiest ways to make baby blankets. It might be a little confusing at first, folding the corner, but once you get used to it, you can finish a blanket in no time!

{You will need}


1- 43" X 43" flannel (It was 44" wide flannel, I cut off the sides to get rid of the writings and thickness. This fabric will be the outer border.)

1- 36" X 36" flannel

Matching thread

{How to}

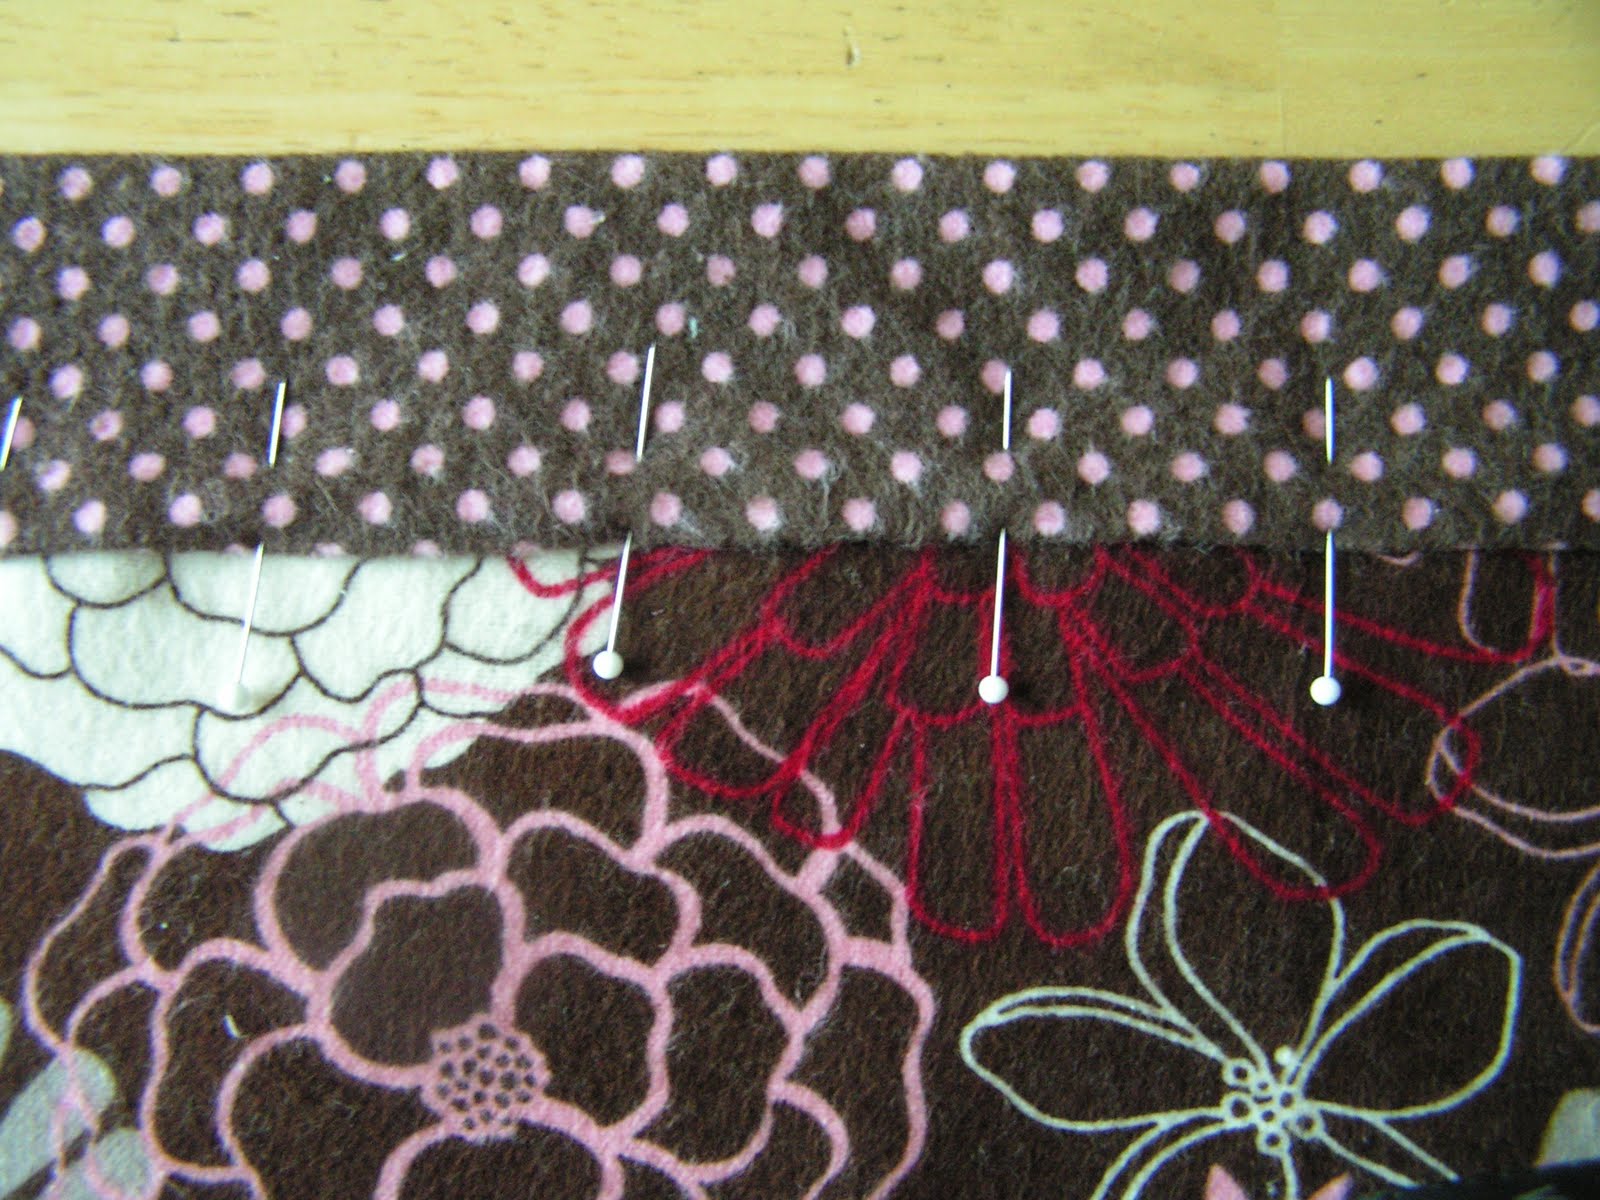
1. Mark the middle for all sides for both fabrics. Lay them together with right sides together. First, pin the middle of the four sides. Then pin the edges starting in the middle make your way outwards to the corners.


2. Start sewing using 1/4" seam allowance. Remember to leave a 5" opening for you to turn the fabric inside out later.


3. Fold the corner. Draw a line to help you to know where to sew. Use the picture as a guide.


4. Cut the excess off. Repeat the process for the other corners.


5. Press the seam towards the outside with an iron.


6. Turn the fabric inside out. Iron. Pin the opening and top stitch all around the blanket.


7. Ta-da. That's it!


Wasn't that fun? I have been going through my stash and made some in the past few weeks. They always come in handy for baby showers and such. I hope you enjoyed the tutorial!

Friday, August 13, 2010

Blue Elephant


One of my really good friends for a long time is expecting a baby soon. She had three girls first, and now this time she is having a boy... It is fun to shop for or make something for a baby with different gender from its older siblins. (well, at least for me, it was that way :) )

She found this really cute oil cloth online and asked me to make a diaper changing pad and a pouch to put diapers in as baby shower gift.

She basically told me that "I trust you, do whatever!" I was excited to work with such cute fabrics. After I found cotton fabric that would go with the oil cloth, I started working right away!

First I made the diaper changing pad, then the pouch... after that I made a bib. There are still some small leftover pieces, so I decided to make an organizer for nik naks.


I don't have a real "baby" anymore at home, but I love making things for babies, especially for my friends. Thinking about new born babies, the little fingers and little toes, warms my heart.
Blog Widget by LinkWithin