Showing posts with label Red. Show all posts

Thursday, December 1, 2022

Christmas Tree Wall Hanging Tutorial

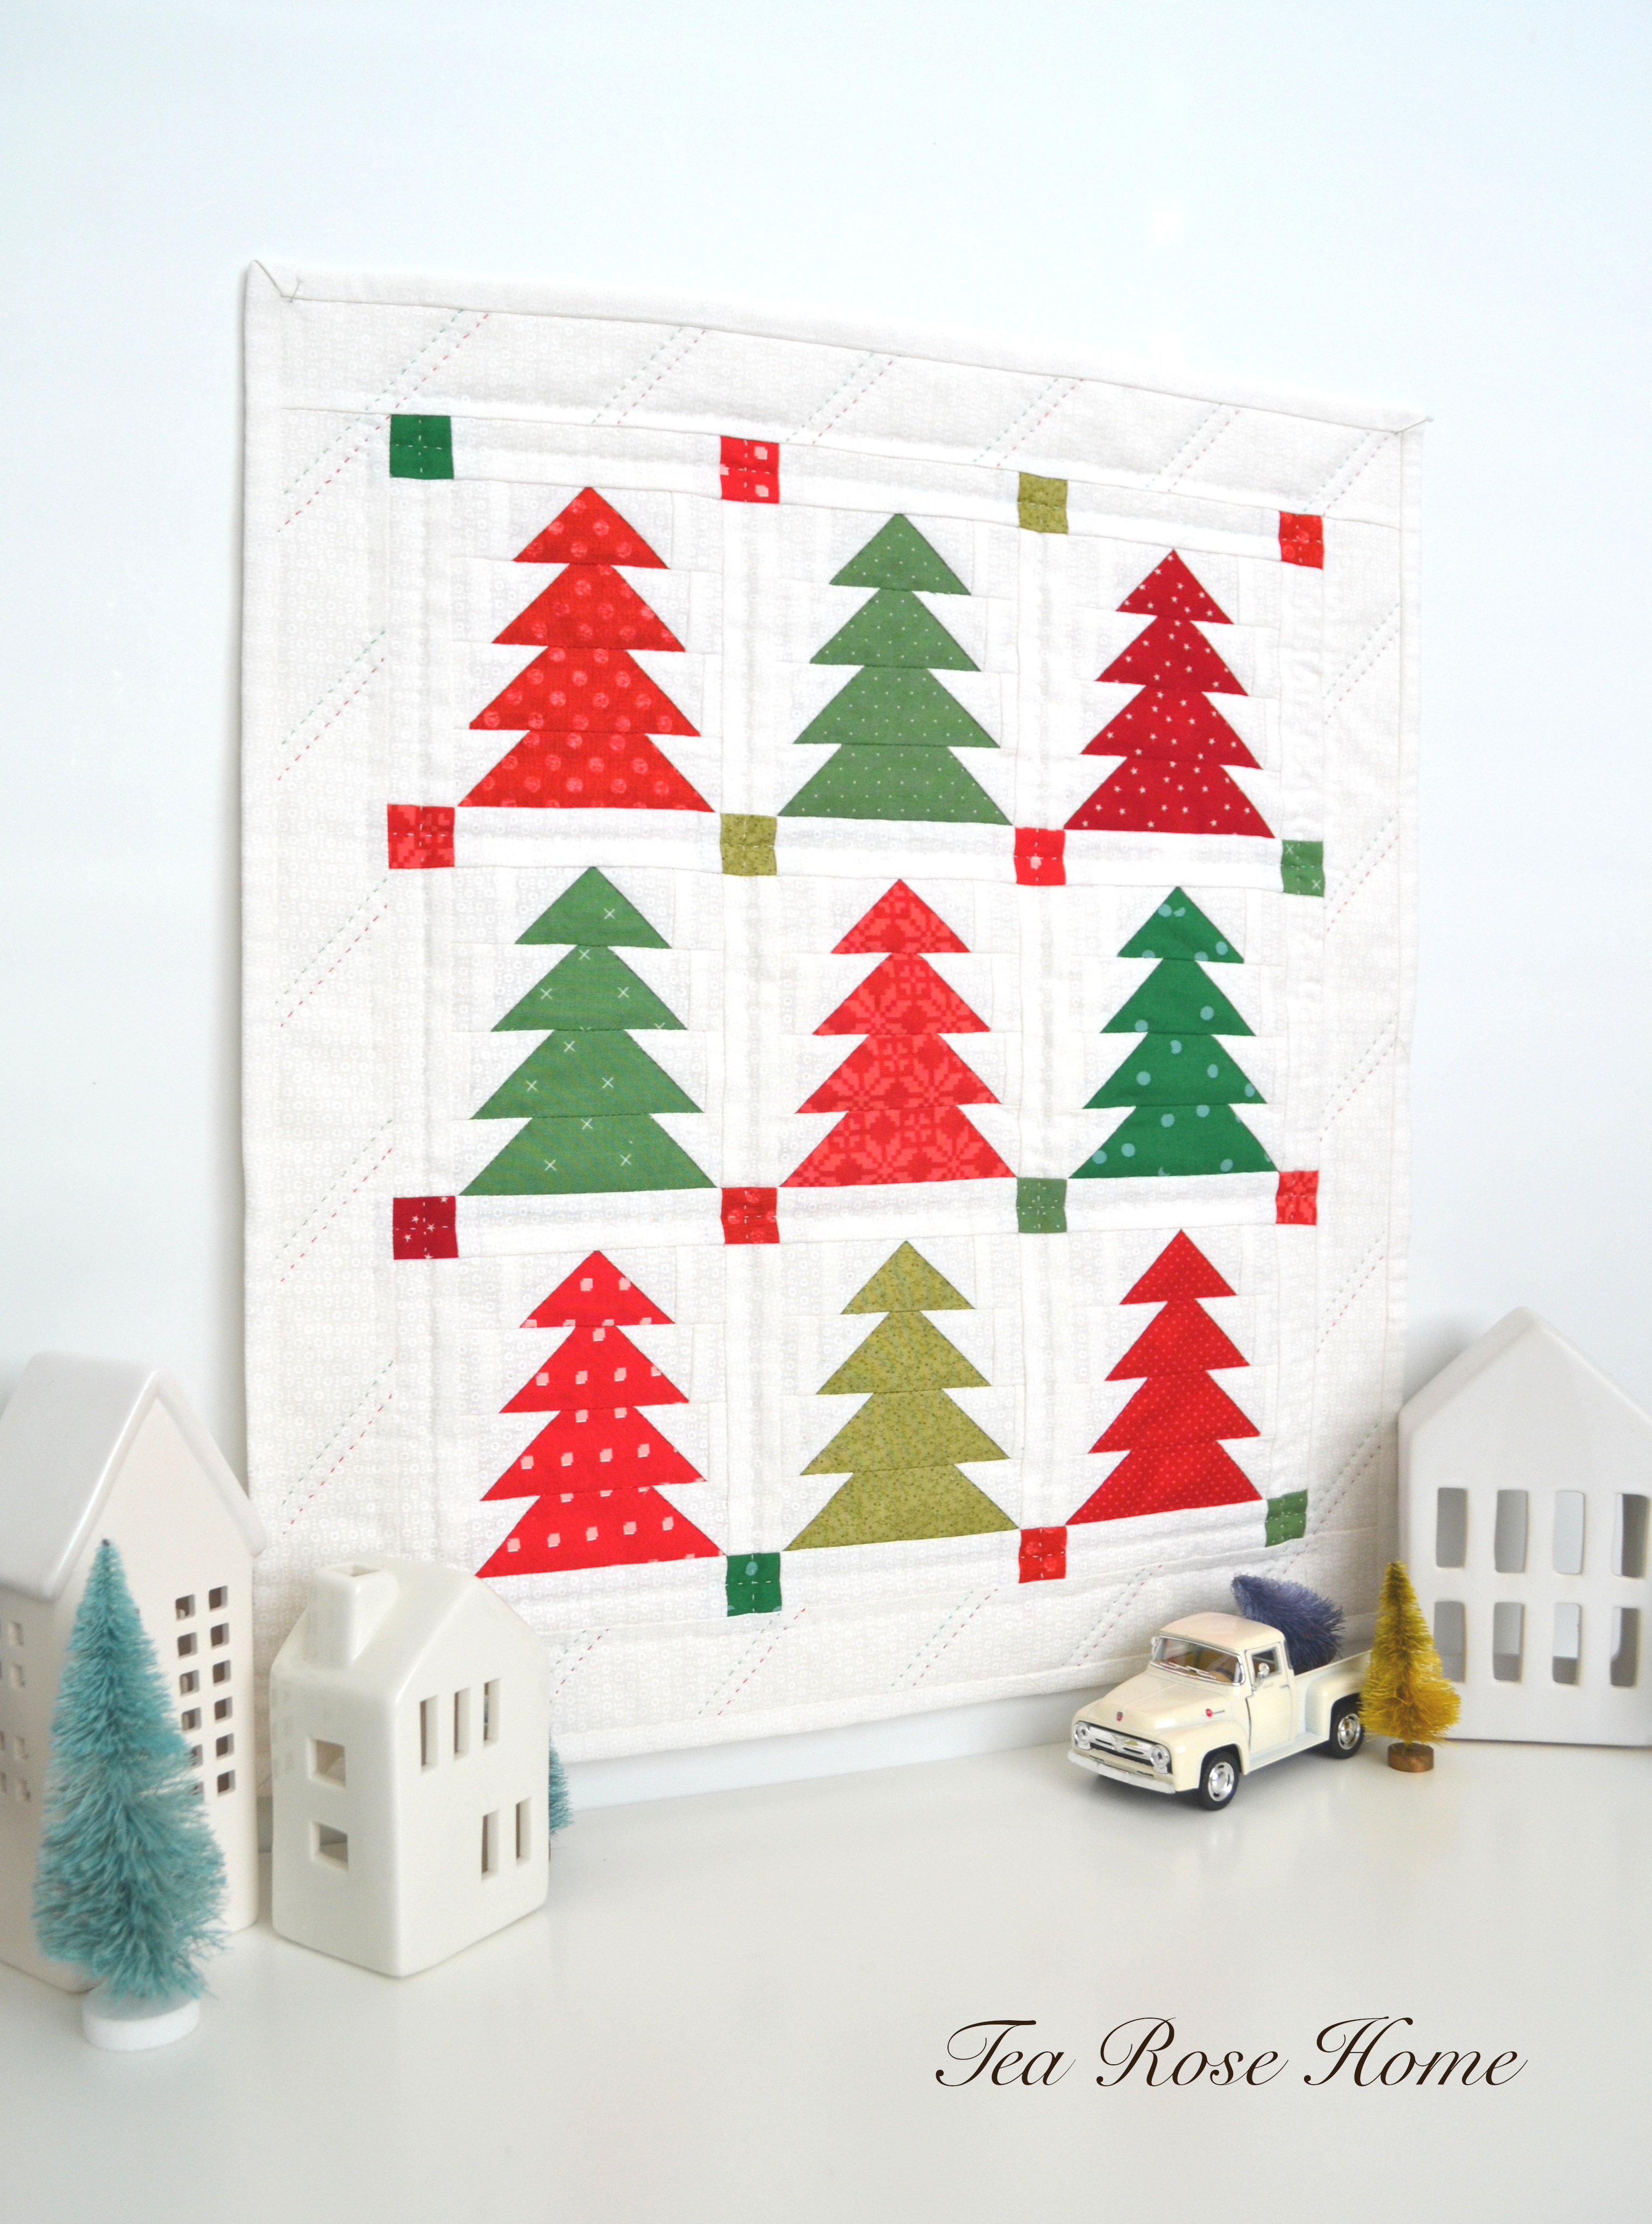
O Christmas tree, O Christmas tree... every year I see fun Christmas tree quilt ideas online and want to make one, but a year passes by so quickly and poof! It is already December. I tried coming up with my own pattern around October. I was sketching and experimenting with fabrics. After a few tries, I came up with this tree pattern. Wouldn't it be so pretty if I made 300 plus blocks and made a quilt with these cute trees? I was looking at several projects on my table and decided not to do that this year. Instead, I made a small wall hanging!

Cutting the fabric might be a little tedious, but once you get the hang of it, this project goes quickly. It is not too late to whip this up to be part of your Christmas decorations.

* YOU NEED

4 different kinds of green fabrics
5 different kinds of red fabrics
White fabric

* HOW TO

1. Cut fabrics. The picture shows the parts you need to construct a block and the measurements are written in the picture. I only listed the measurements on one side because it is symmetrical.
2. Start from the bottom row. Lay green fabric down right side up and lay white 1 ½" x 1 ½" square on both ends right side down. Draw a diagonal line and sew on the line. Trim the excess and open the white fabric. Press with iron.
3. For the rest of the three rows, repeat the same process and add extra rectangle pieces to the sides.
4. Sew all four rows together and trim the block. The block should be 4" x 4 ½". 8 more blocks to go!
5. Cut 24 pieces of 1 ¼" x 4" strips from white fabrics and 16 pieces of 1 ¼" x 1 ¼" squares from red and green fabrics. Piece the strips with the tree blocks as shown in the picture; make the rows first.
Then, make the "skinny rows" with the white strips and colored squares.
6. Piece the tree row and skinny row together. Press with iron.
7. From the white fabric, cut 2 pieces of 2" x 15 ½" for the side borders and cut 2 pieces of 2" x 17" for the top and the bottom borders. Sew them on, press with iron.
8. It is totally up to you on how you want to finish the quilt. I have been doing machine quilting on my last few quilts, so I decided to do hand quilting on this one. I used white, red and green thread. It was a lot of fun deciding which color to use where. One of my dream sewing machines is Sashiko from Babylock. I know; it is a one letter difference from my name. When I first glanced at the machine, I thought, "Wow! The machine has same name as me!" haha. Sashiko machine stitches are uniform and consistent, making it easier and faster to finish your quilting projects (there are many other ways to use this machine, too). You can achieve a hand quilted look with this machine! I LOVE doing hand quilting, but when I am older and it gets harder to hand quilt, there is still hope. :)
I hope you will have a wonderful holiday season. Thank you for visiting!

Wednesday, August 25, 2021

Red Heart Quilt for My Friend

A few months ago, I found out that one of my dear friends for over 23 years was going to have open heart surgery in August. I wanted to do something special for her and pretty much immediately, an idea to make a heart quilt came to my mind. I talked to our mutual friends about the idea and they were all on board.

When I went through breast cancer three years ago, I was gifted with a special pink heart quilt from a talented group of friends. I was so surprised and touched with everyone's generosity and every time I wrap myself in it I feel so loved. It is one of my prized possessions still to this day and it will be for a long long time.

That is where I got the idea to make a quilt, but instead of pink, I decided to make a red heart quilt.
When we all first met 23 years ago, we lived in the same neighborhood and we had a great time together. One by one, we all moved away, but our friendship has lasted through the test of time. These are the group of women who had their own life's challenges and heartaches,but dealt with them with grace and a determination to move forward. I look up to each one of them and feel so blessed to call them my friends.
We were able to get together for lunch before her surgery and we gave her the surprise quilt. She loved it! I embroidered everyone's name with their favorite colors (my favorite color is white, but it won't show on white fabric, so I had to compromise)… we are all different, different backgrounds, likes, political views, but we have many things in common too. More than anything, we care, respect and enjoy each other's company whenever we could get together. I hope we will still be friends when we are older and more gray. Ha Ha!
Her surgery was over a week ago, We are still praying for her smooth and speedy recovery, but I am happy to report that it is going well!!

Wednesday, July 29, 2009

The Red

Do you ever have a day where one color seems to stand out? Today is the day for Red to me.... Just Check these out,

I found this food cover (or "roof" maybe? Does anyone know the real name? My kids thought it was an umbrella.) at the dollar store. My grandparents had something like this and I felt a little nostalgic.


Look at these beauties! Right from our garden.


There are some projects I am working on and I can't share with you all yet. This red DMC floss is a hint...


This little ball rolled out from behind the quilt rack.


Also, a magazine came today that had red flowers on the cover. Well... maybe I am pushing it a little, they are more like burgandyish color...


but, one of my blogger friends e-mailed me today that she recived some red fabric in the mail today!!

Isn't that something? No, I don't live my everyday life with themes. Although I must admit that, today was a day of red.
Blog Widget by LinkWithin