


How are you all doing? It has been quite a ride since the COVID-19 outbreak. I have been staying home most of the time except when I go to a doctor's appointment or grocery shopping, just like many of you who are reading this. I also have been making many masks. I started making my own mask so I could go shopping, then I made some for my family, friends, to donate, extended families and more. During this mask making journey, I have tried several different patterns I found online. I found a mask that fits fine for me, but my family always had something they didn't like about those masks. Here are some problems with the masks we have tried:
* They felt like the tip of their nose was being squished, but to loosen the tie or elastic to relieve that pressure, the mask slides down or creates too much of a gap around the bridge of their nose.
* They prefer the kind that loops around the ear, but after a while of wearing their ears start to hurt.
* The mask doesn't cover the chin
* With the ear loop type, you can't adjust the length of the loop for individuals. Sometimes this creates an arch shaped gap on the sides.
* Not enough space around the mouth and it is hard to breath.
They have given me a lot to think about and to study! I never put that much thought into masks before. Who knew mask making could be so complicated and difficult!!
It is especially hard to find masks that would fit Mr. TRH. He and I have very different facial structures and features. He has deep set eyes with a tall nose and the distance from under his eyes to chin is longer than mine. I have rounder face with typical asian features. No wonder the same mask that would fit me doesn't fit him.
Keeping the problems I listed above in mind, I drafted a few patterns and made some prototypes and asked him to try them on. After some trial and error, I finally came up with a pattern that works for him and I! I know there are lots of great patterns out there and my pattern may not work for you, but here is my contribution to the mask making community.
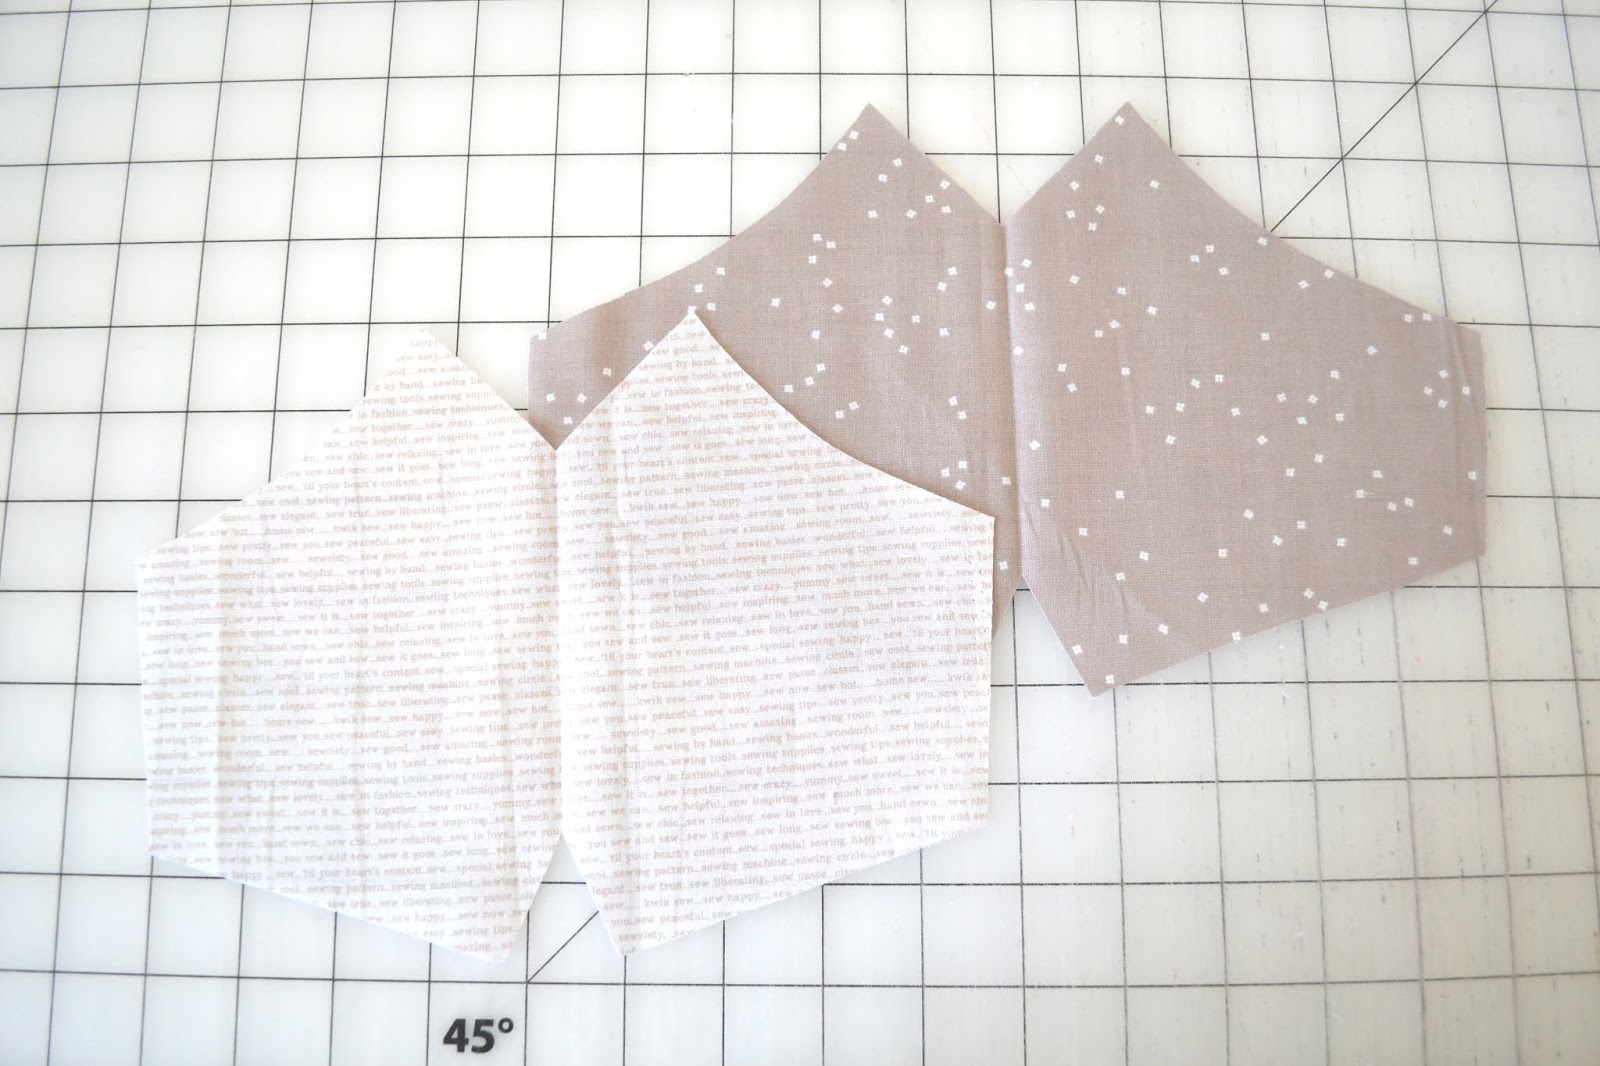
I drafted three different sizes: small, medium and large. Large fits perfectly for my Mr. TRH, my teens and I take medium and I made small just because. my neighbor helped me by having her kids try the mask and I figured the small would fit kids around 5 to 8. I am wondering if small would work for even bigger kids if you put longer elastic. Let me know if you find out. :)


Material
For fabrics, it is recommended by the CDC that tightly woven cotton fabrics layered together is very effective. Also, using flannel as a liner is a very good option.
1 piece of Outer fabric (S - 6"H x 12"W / M - 8"H x 12"W / L - 8"H x 12"W )
1 piece of Inner fabric (S - 6"H x 10"W / M - 8"H x 10"W / L - 8"H x 10"W )
2 pieces of 1/4"wide and however long elastic(or knit string) for individual - I usually cut mine to 9" to 11" to have extra for adjustments
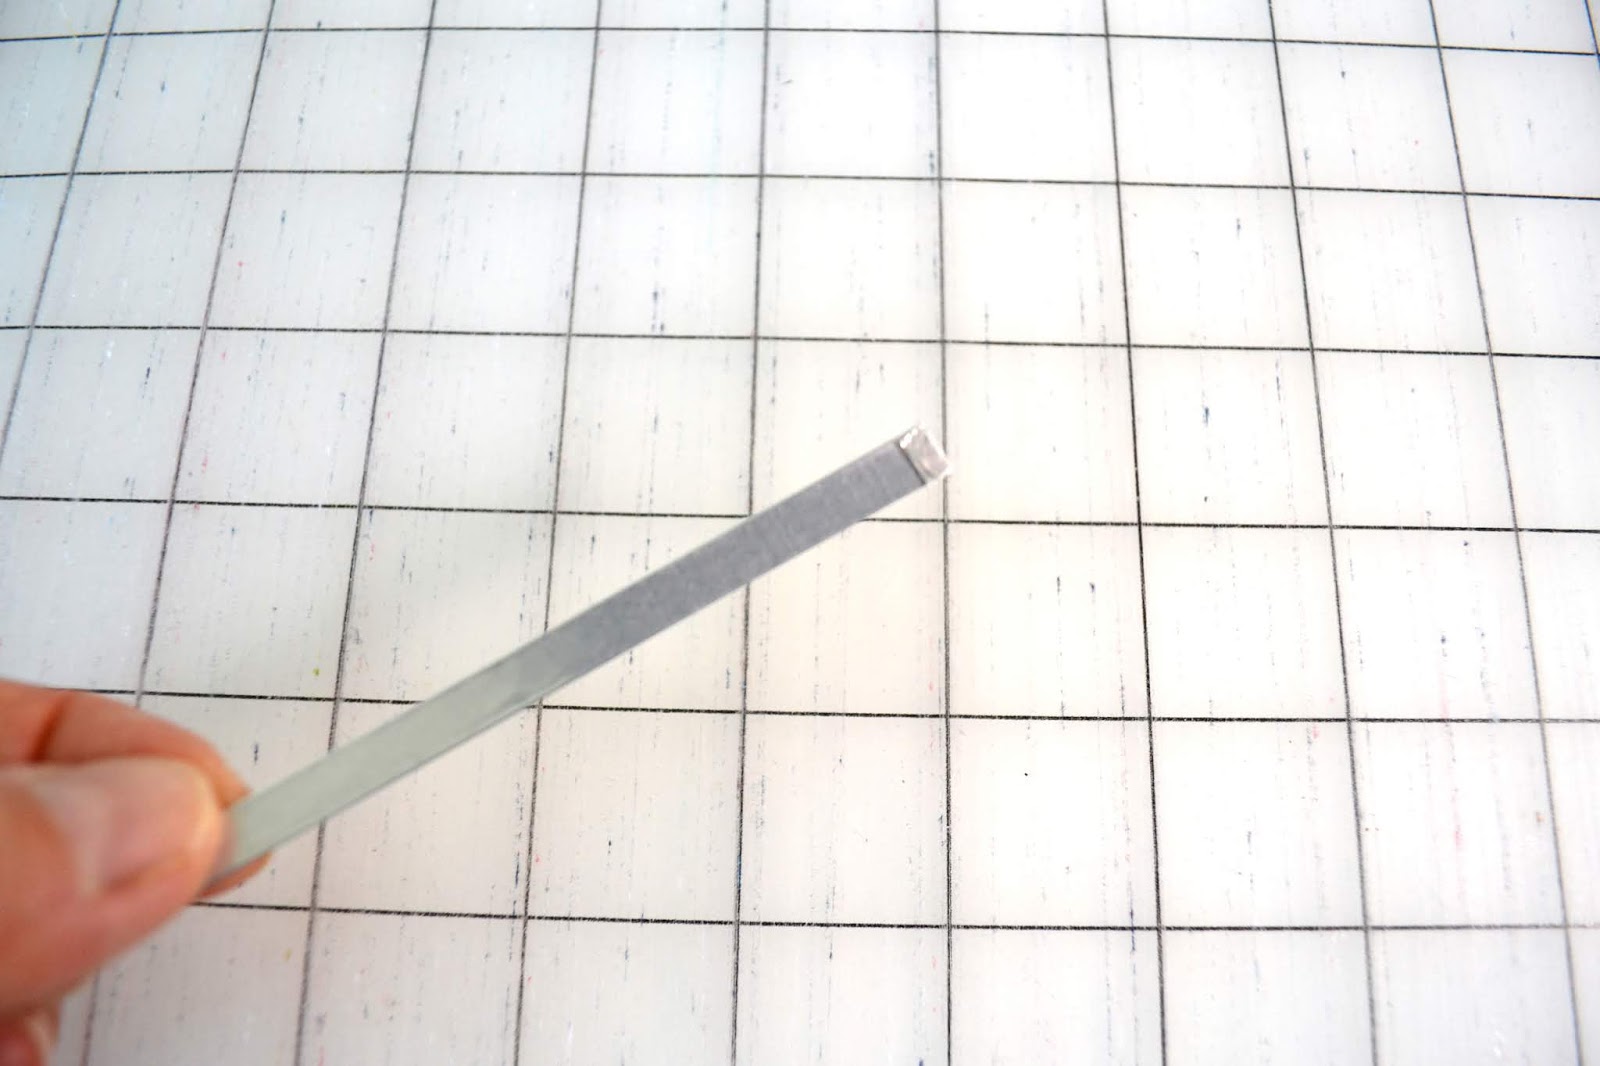
Wire, pipe cleaner or twist ties (optional)
Other basic sewing tools
How to
1. Download my printable pattern. If you are planning on making many masks, it is very helpful to make a template with thicker and harder material.
2. Fold the fabric right sides together in half. Trace the template on to the outer and inner fabrics.


If you skipped step 4, you can just sew the folded outer fabric on top of the inner fabric. If you want to sew in wire for the bridge of the nose just like I did, you should do it now.

*Optional --- This mask is pretty secure around the bridge of the nose without the additional wire, but if you prefer, you can sew one in like I did, or you can sew ribbon or bias tape to the inner fabric side to create a sleeve for your mask to have a removable wire option.
Here is what I did:
1. I measured 2" from the center of both sides and marked.


When I wear the mask, the tip of the nose area has more space than Mr. TRH's does. It fits perfectly for him and the fabric is not pushing his nose in and he loves it. The rest of the family is pretty happy with the results including myself.
I know some areas are relaxing the stay at home order, and I don't really know what this means for us, and the whole nation, but I think it is good to be cautious and wear a mask when we go out. Not just for us, but for the other people around us. Might as well sew what we want to wear, right? ;)
Stay safe everyone!!!


