Thursday, December 1, 2022

Christmas Tree Wall Hanging Tutorial

O Christmas tree, O Christmas tree... every year I see fun Christmas tree quilt ideas online and want to make one, but a year passes by so quickly and poof! It is already December. I tried coming up with my own pattern around October. I was sketching and experimenting with fabrics. After a few tries, I came up with this tree pattern. Wouldn't it be so pretty if I made 300 plus blocks and made a quilt with these cute trees? I was looking at several projects on my table and decided not to do that this year. Instead, I made a small wall hanging!

Cutting the fabric might be a little tedious, but once you get the hang of it, this project goes quickly. It is not too late to whip this up to be part of your Christmas decorations.

* YOU NEED

4 different kinds of green fabrics
5 different kinds of red fabrics
White fabric

* HOW TO

1. Cut fabrics. The picture shows the parts you need to construct a block and the measurements are written in the picture. I only listed the measurements on one side because it is symmetrical.
2. Start from the bottom row. Lay green fabric down right side up and lay white 1 ½" x 1 ½" square on both ends right side down. Draw a diagonal line and sew on the line. Trim the excess and open the white fabric. Press with iron.
3. For the rest of the three rows, repeat the same process and add extra rectangle pieces to the sides.
4. Sew all four rows together and trim the block. The block should be 4" x 4 ½". 8 more blocks to go!
5. Cut 24 pieces of 1 ¼" x 4" strips from white fabrics and 16 pieces of 1 ¼" x 1 ¼" squares from red and green fabrics. Piece the strips with the tree blocks as shown in the picture; make the rows first.
Then, make the "skinny rows" with the white strips and colored squares.
6. Piece the tree row and skinny row together. Press with iron.
7. From the white fabric, cut 2 pieces of 2" x 15 ½" for the side borders and cut 2 pieces of 2" x 17" for the top and the bottom borders. Sew them on, press with iron.
8. It is totally up to you on how you want to finish the quilt. I have been doing machine quilting on my last few quilts, so I decided to do hand quilting on this one. I used white, red and green thread. It was a lot of fun deciding which color to use where. One of my dream sewing machines is Sashiko from Babylock. I know; it is a one letter difference from my name. When I first glanced at the machine, I thought, "Wow! The machine has same name as me!" haha. Sashiko machine stitches are uniform and consistent, making it easier and faster to finish your quilting projects (there are many other ways to use this machine, too). You can achieve a hand quilted look with this machine! I LOVE doing hand quilting, but when I am older and it gets harder to hand quilt, there is still hope. :)
I hope you will have a wonderful holiday season. Thank you for visiting!

Friday, September 30, 2022

Scrappy Strip/String Pillow ~ Two Versions!

There are many scrappy strip/string quilt tutorials out there. Some tutorials suggest using white fabric as a foundation and some use different types of papers. I wasn't sure if I wanted to use fabric and have an extra layer in my pillow. So I used tracing paper I had at home and it was too thick to peel off after the strips were sewn. I know there are special papers available online, but I wanted to start making the blocks right away. Yes, I was in the mood that I had to start the project at that moment and couldn't wait for an extra few days for my order to arrive at my doorstep. I looked around my room and found tissue papers for gift wrapping and decided to give it a try. Because this project doesn't need specific design on the paper and random piecing, simple tissue paper did the trick. Peeling it off was a breeze too.

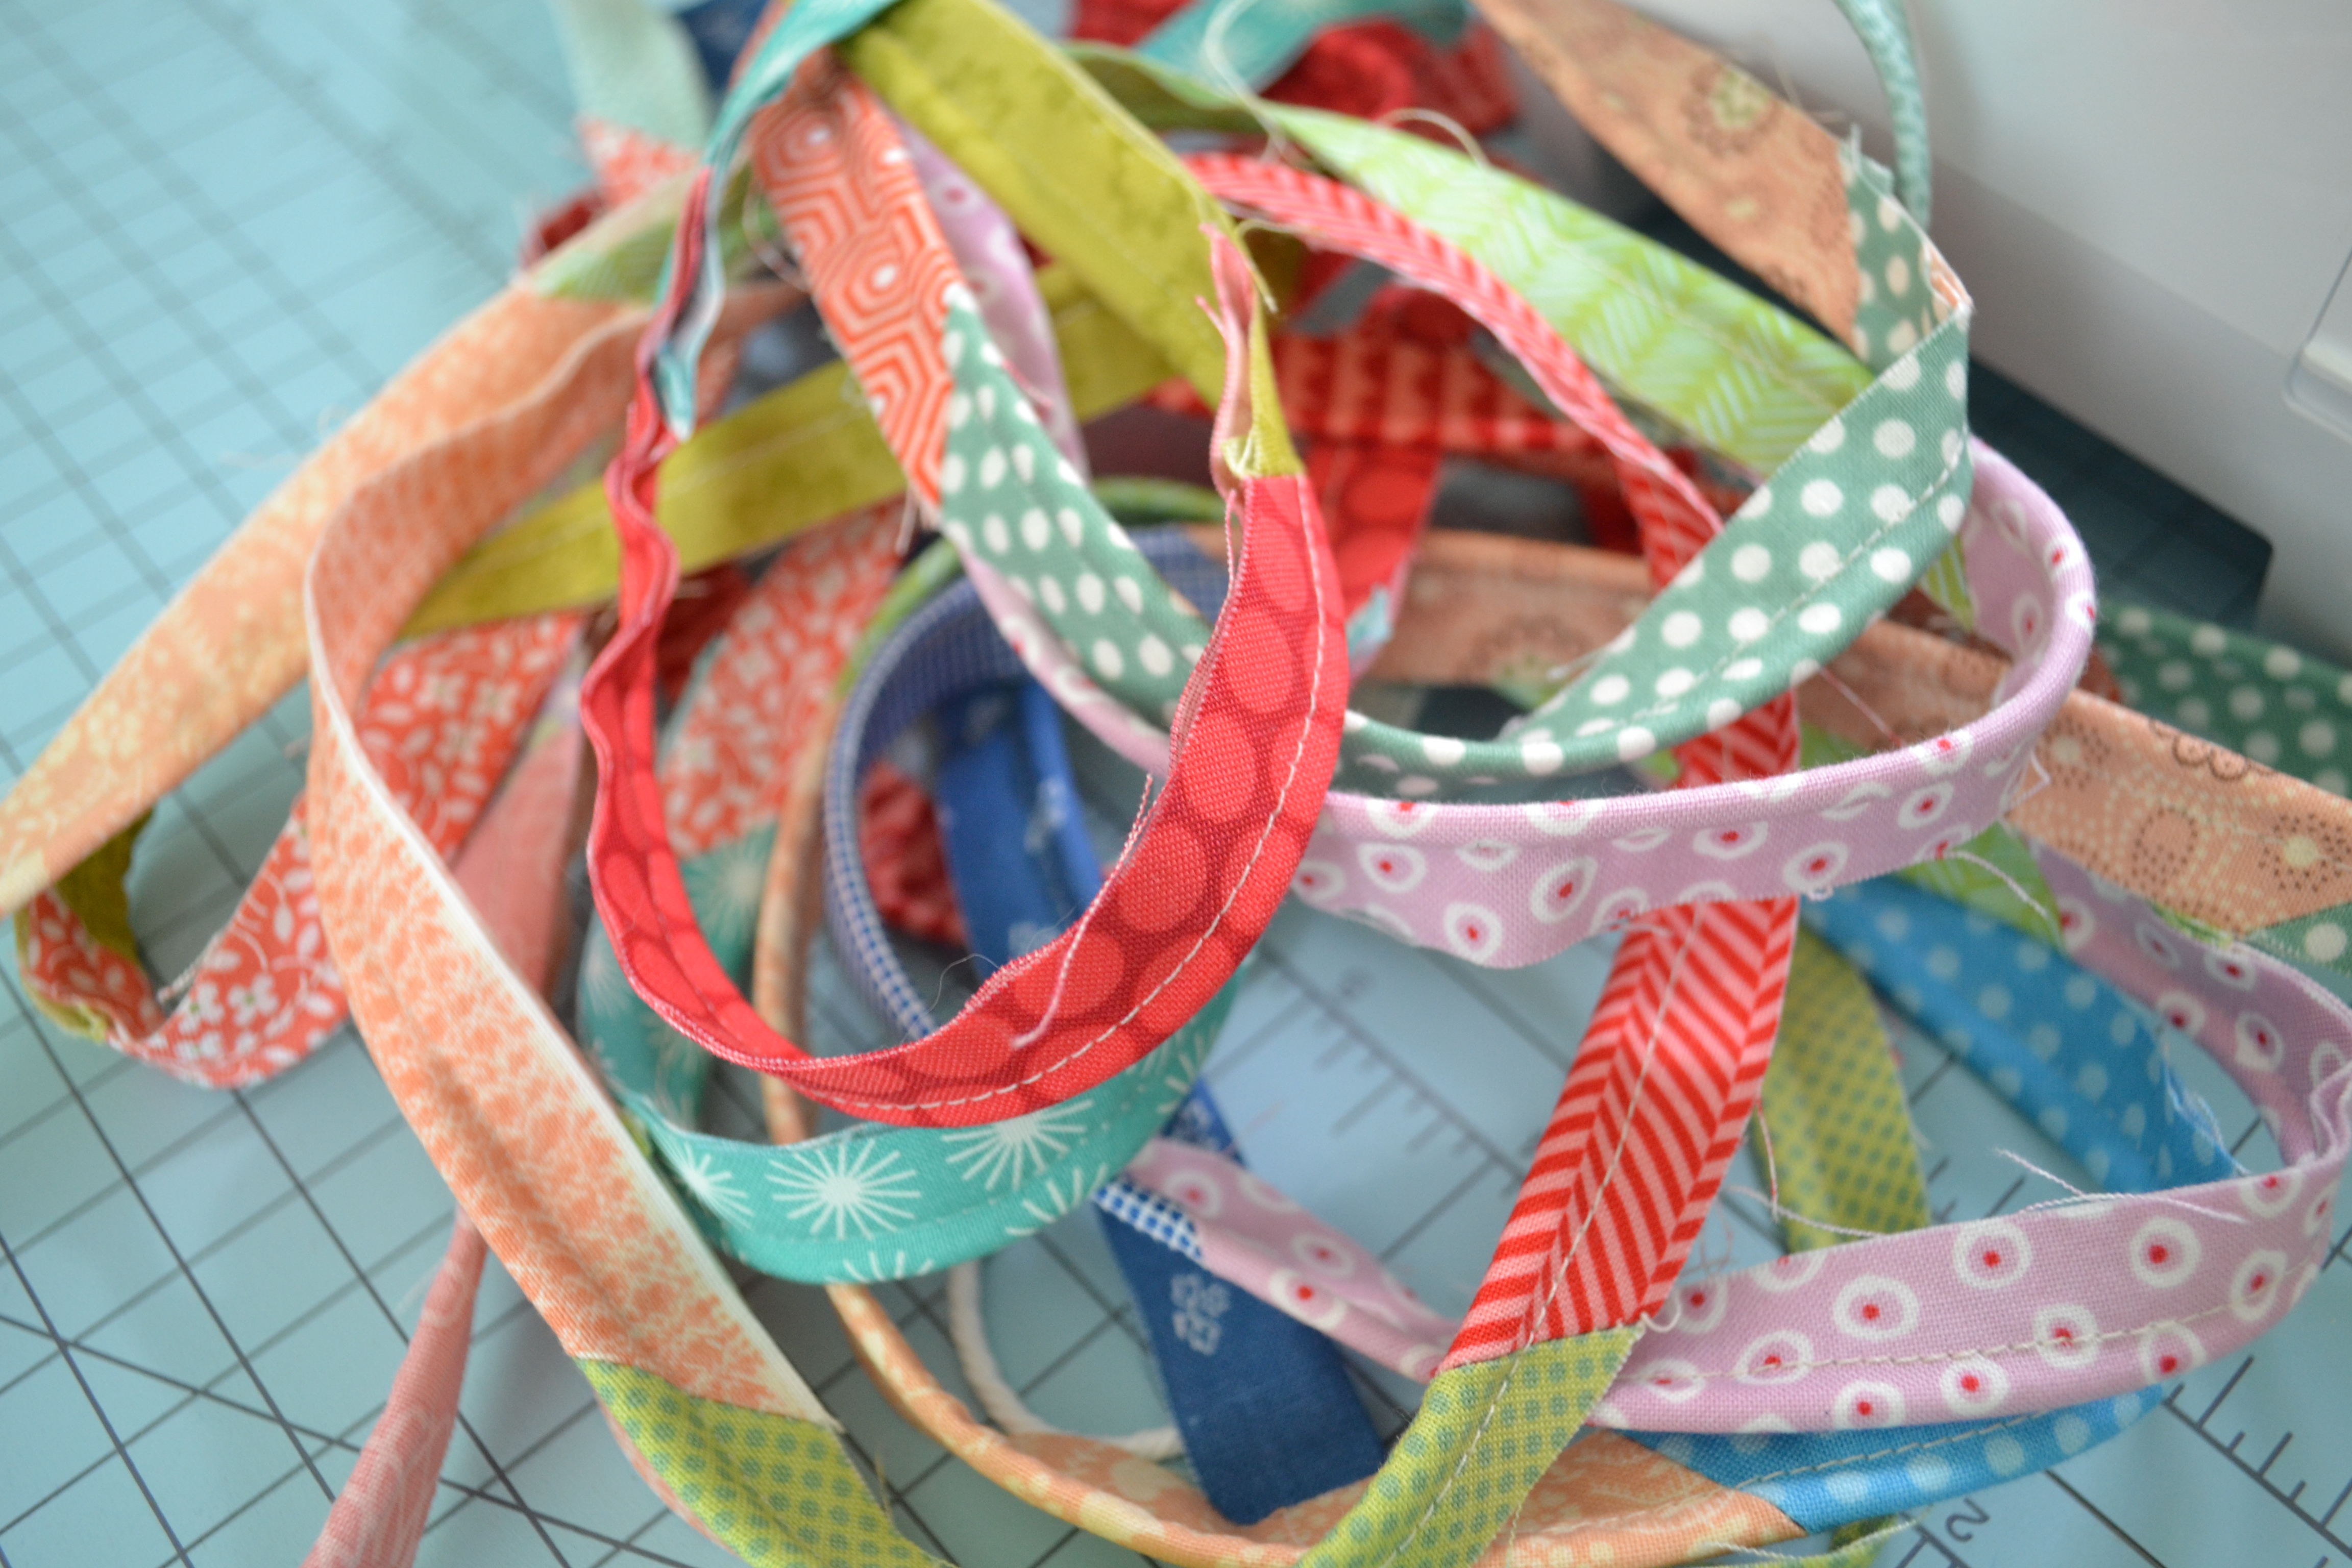
Before you start, you want to Iron your tissue paper to smooth out any wrinkles and cut them to the size you want. I used cutting tools to do this and it went so fast. Also, sorting your scraps by color (if you already organized them that way you are good to go!) speeds things up while you are choosing and mixing colors as you are piecing.
Let's begin!

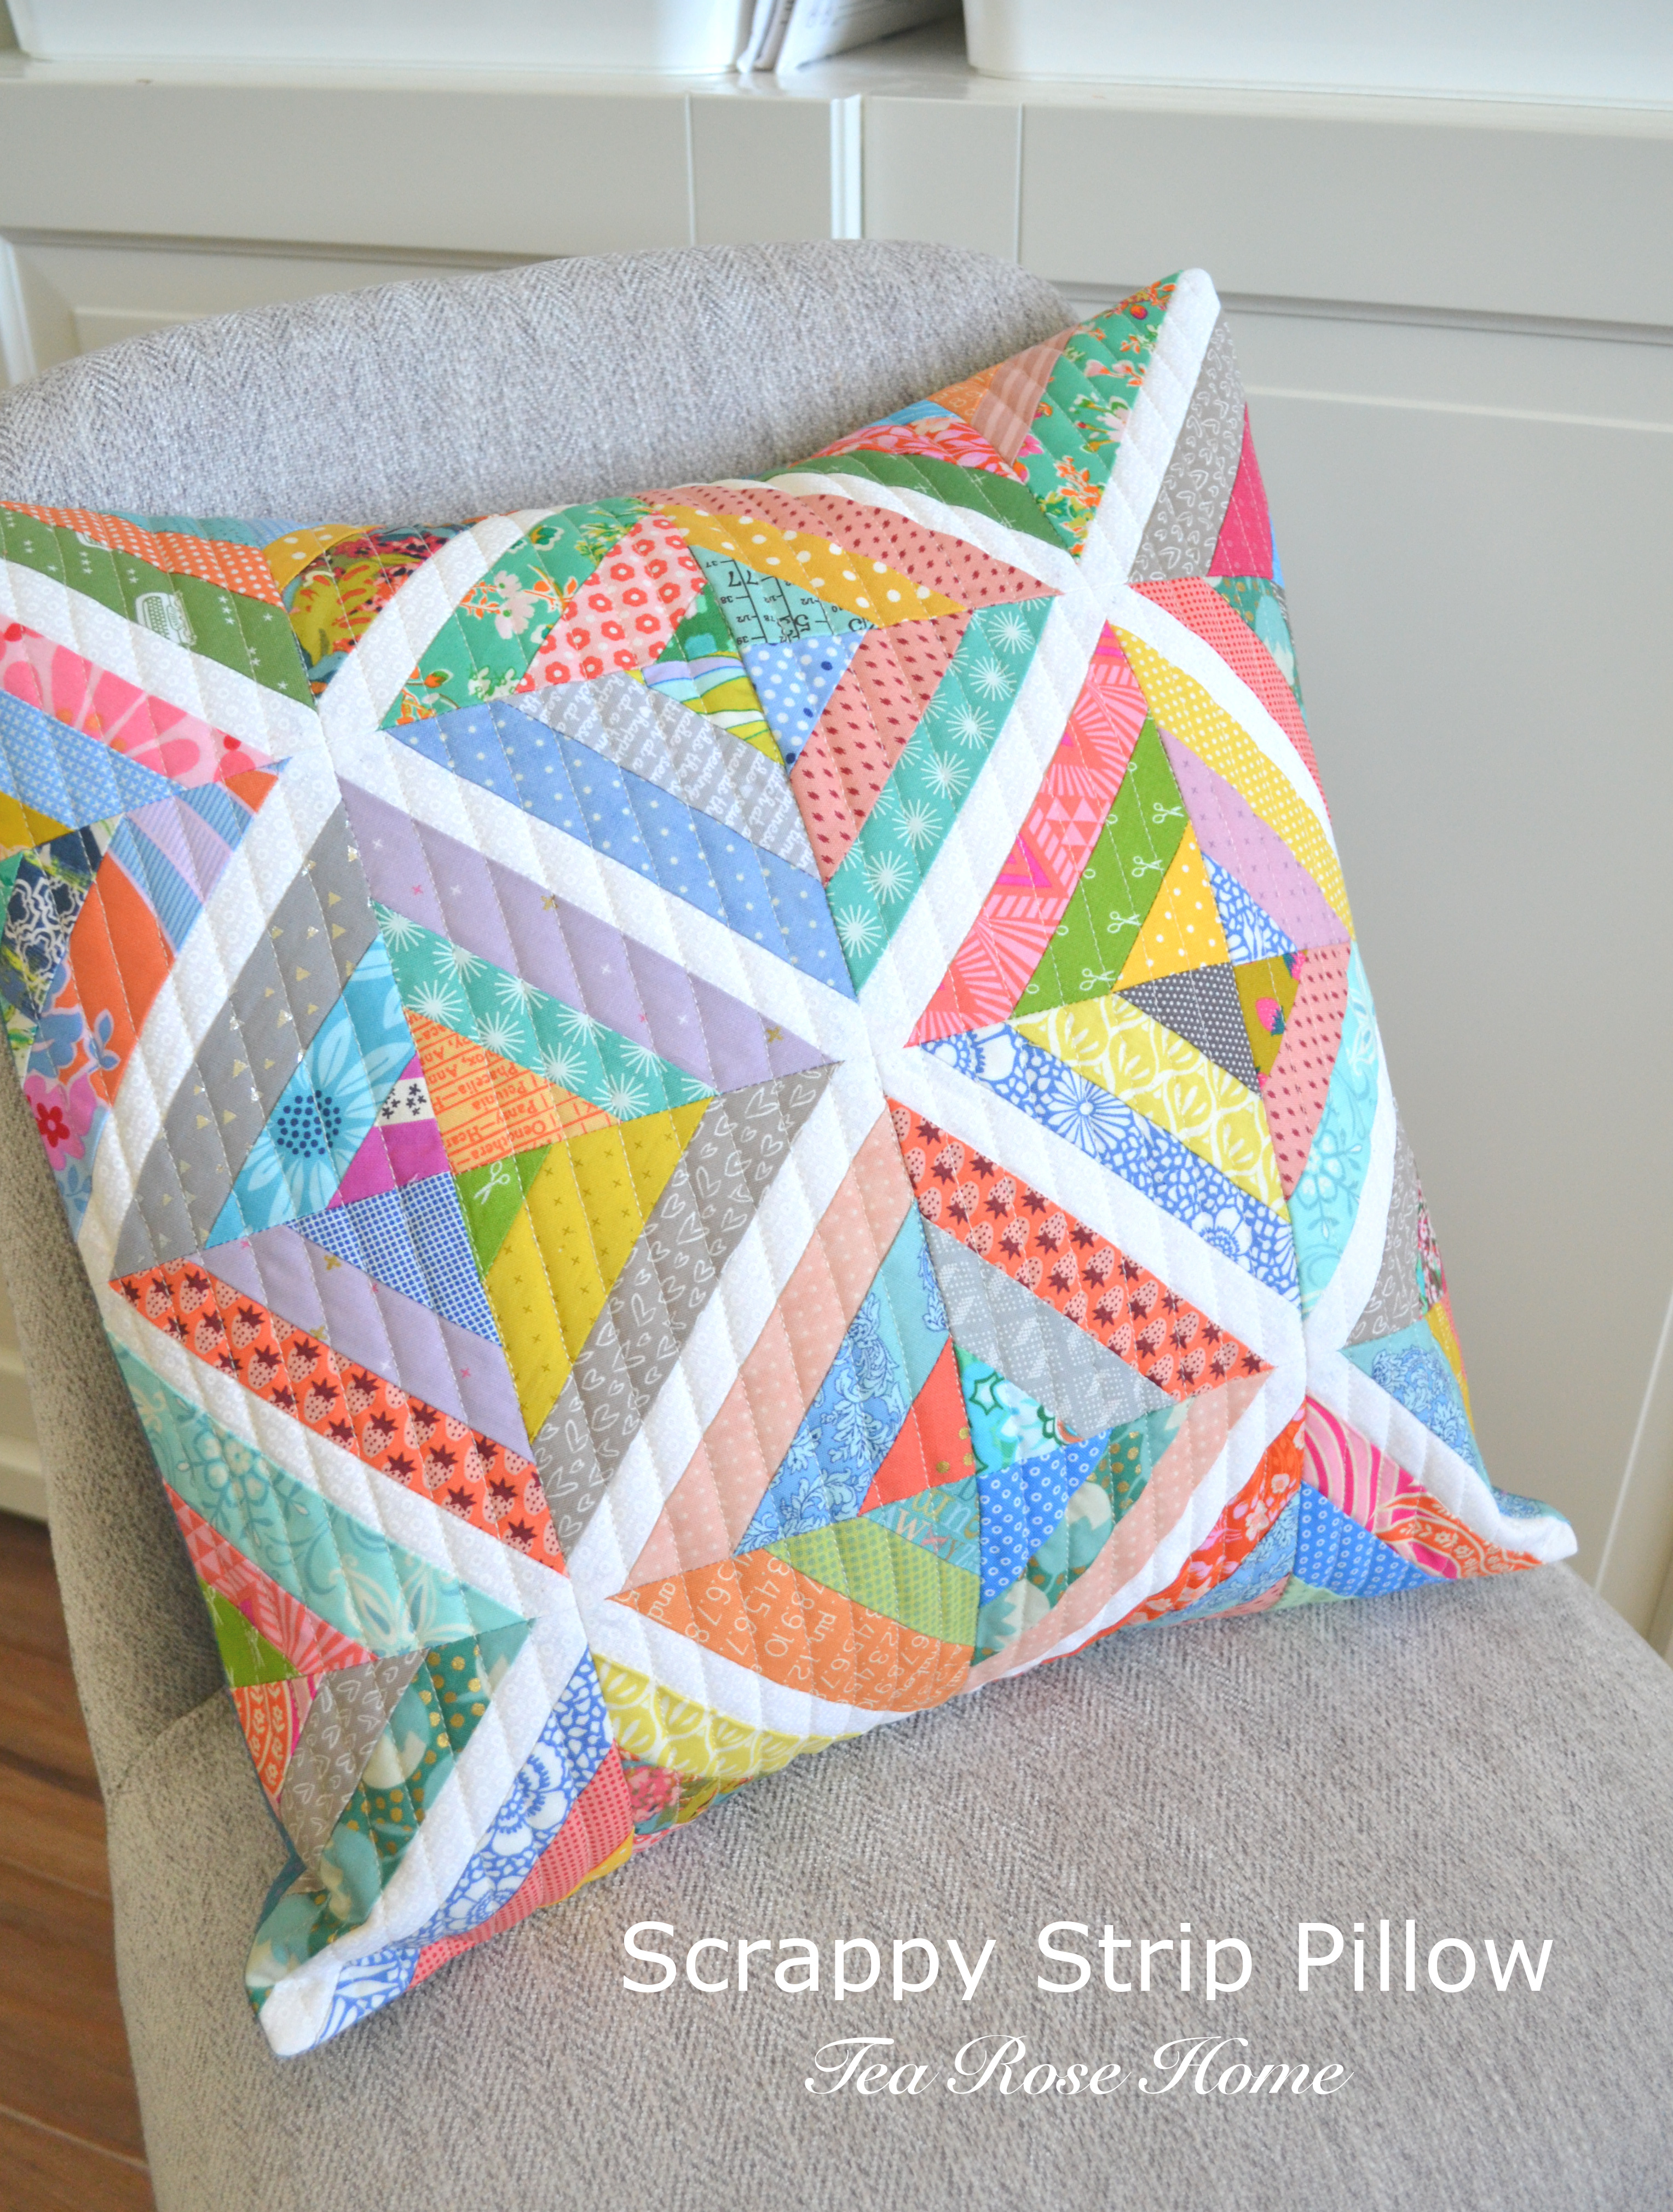
Scrappy Strip Pillow --- finished size 16"x 16" * YOU WILL NEED

12 pieces --- 4 1/2" x 4 1/2" tissue paper
12 pieces --- 1' x 7" (or longer if you prefer) white fabric strips
Various scrap strips
1 --- 18"x 18" Batting
1 --- 18"x 18" backing(I used muslin. It is going to be in hidden inside of the pillow)
2 --- 11"x 16 1/2" fabrics for the back panels to create the pillow

* HOW TO

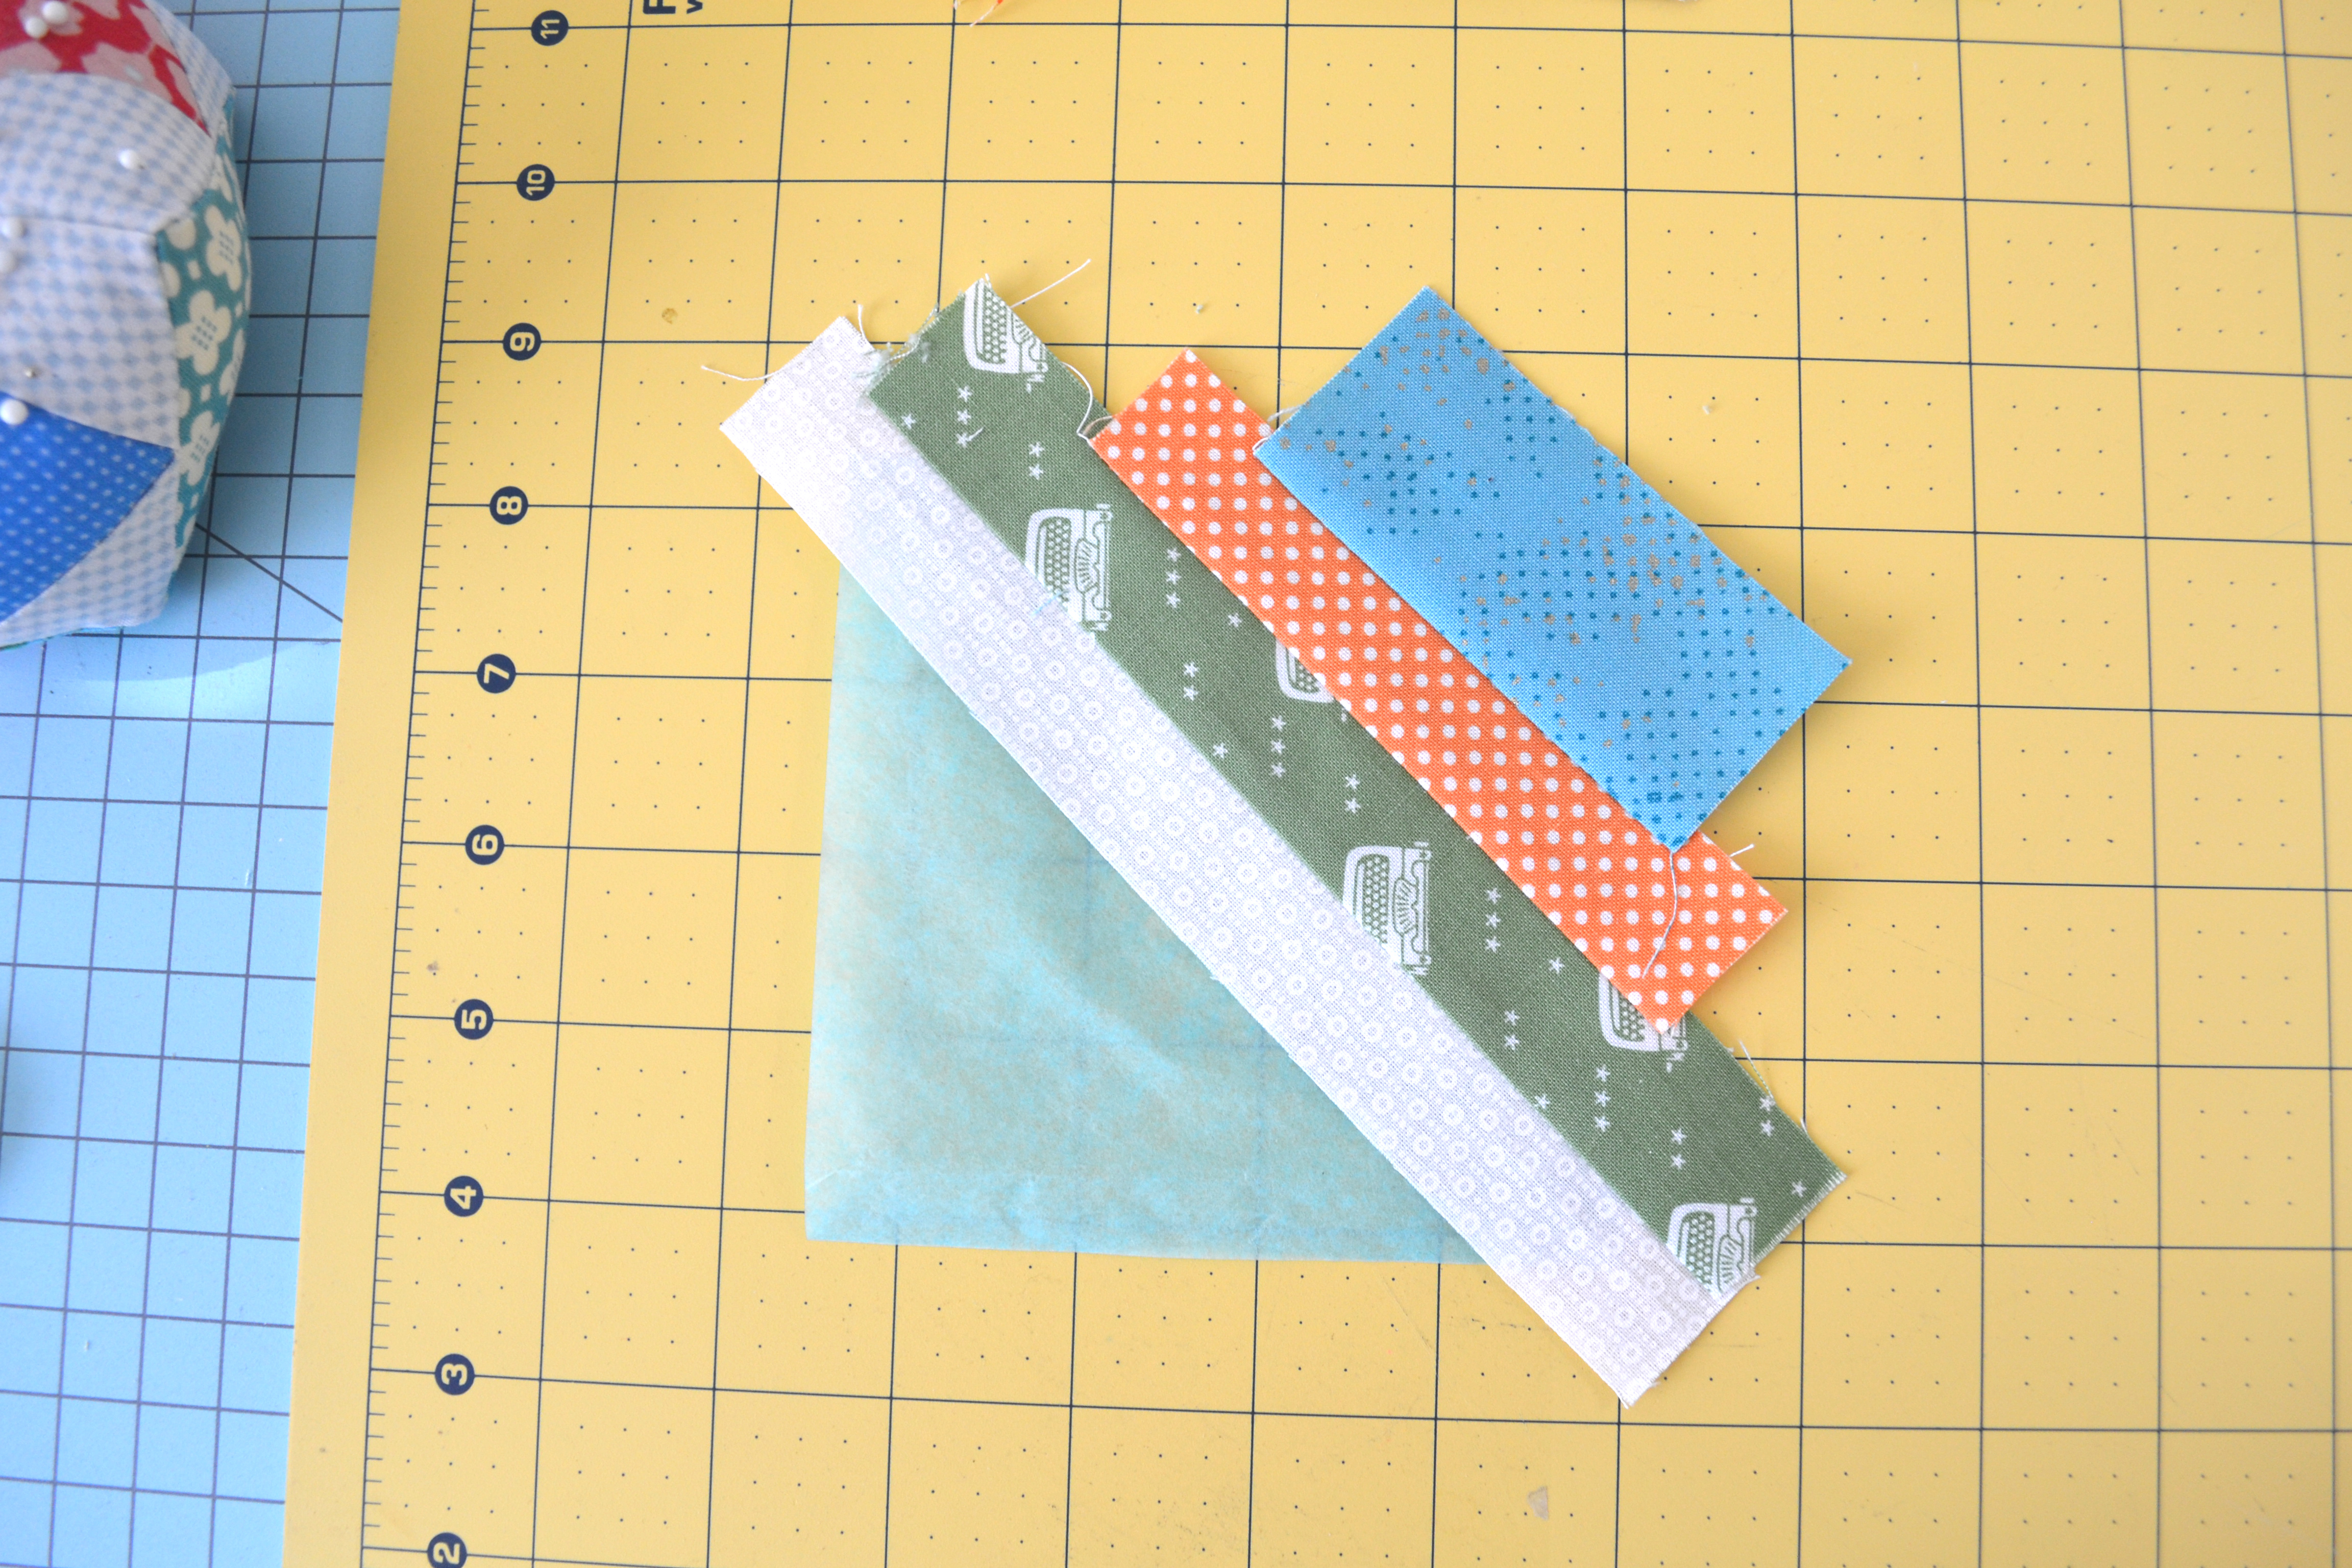
1. Fold both ends of the 1"x 7" white strip in half. Match the folded line to the opposite corners of the tissue paper.
2. Lay the printed scrap strip on top of the white strip. I used pins to keep them aligned and the corners matched.
3. Sew them together onto the paper with 1/4" seam, open the seam and press with iron.
4. Repeat the process and do the same with the opposite side as well.
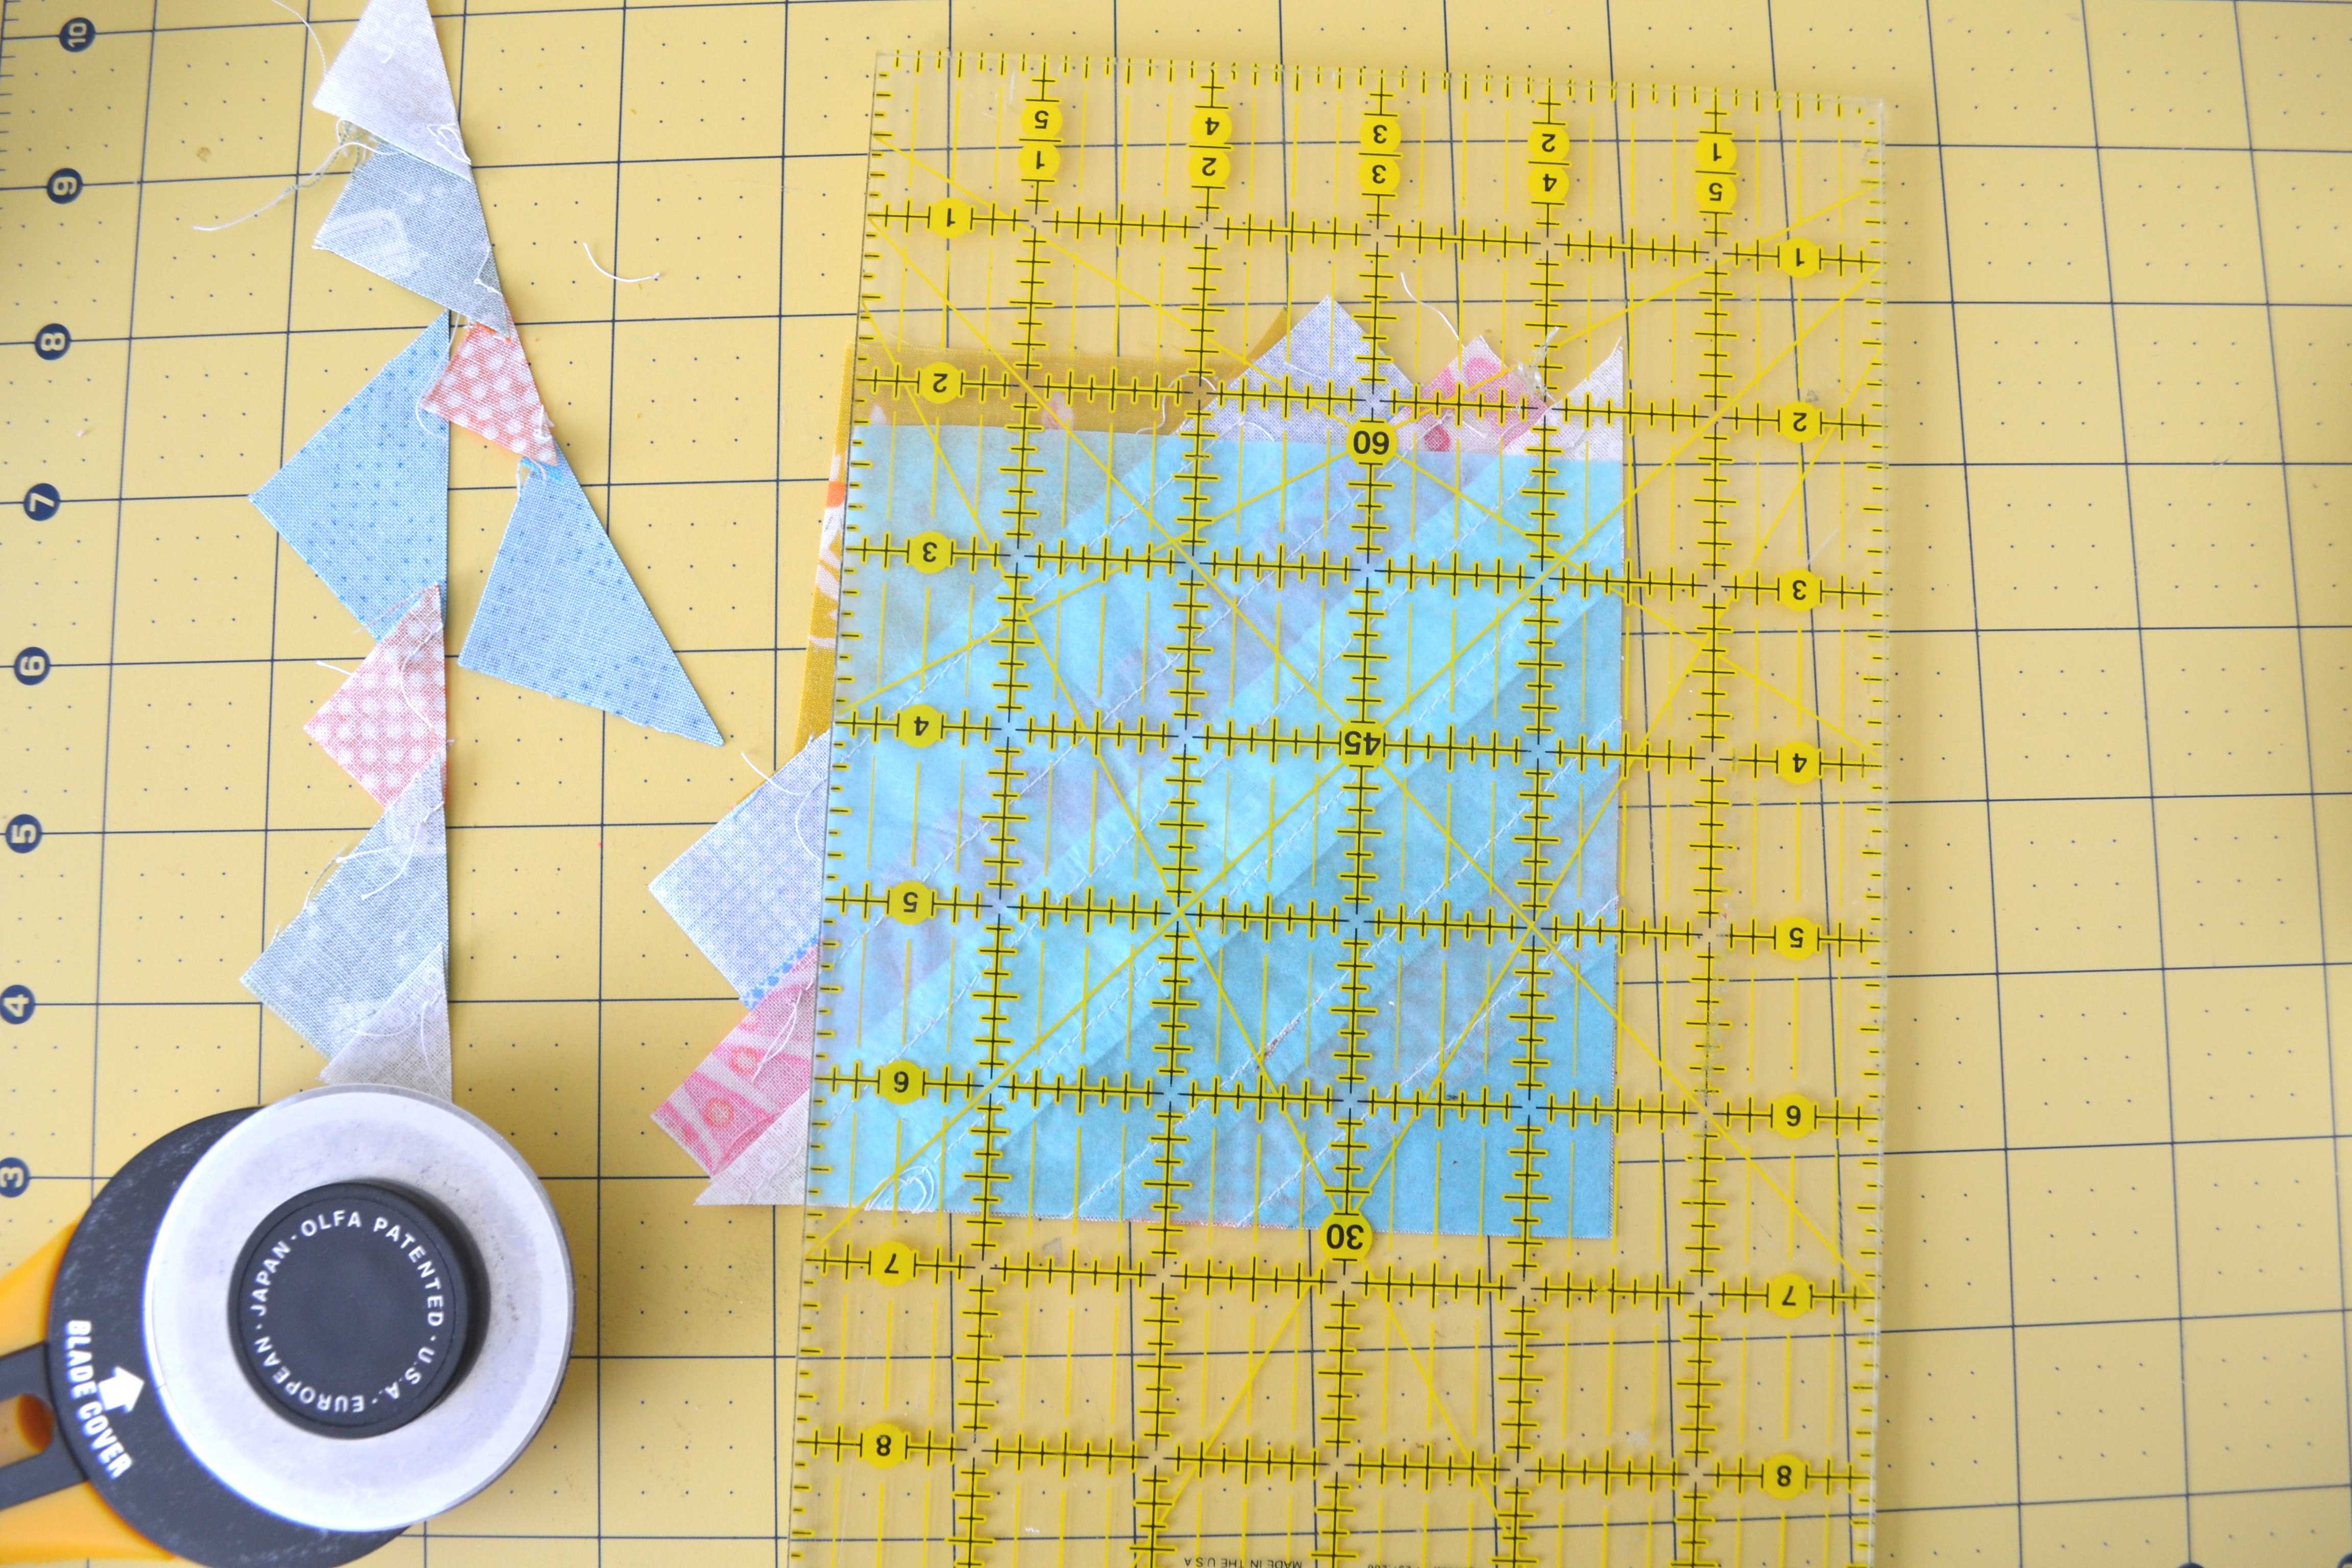
5. Lay the pieced fabric side down on the cutting mat. Trim the excess fabrics using the tissue paper as a guide.
6. Peel the tissue paper off.
Tada! A block is done. Isn't this so fun?
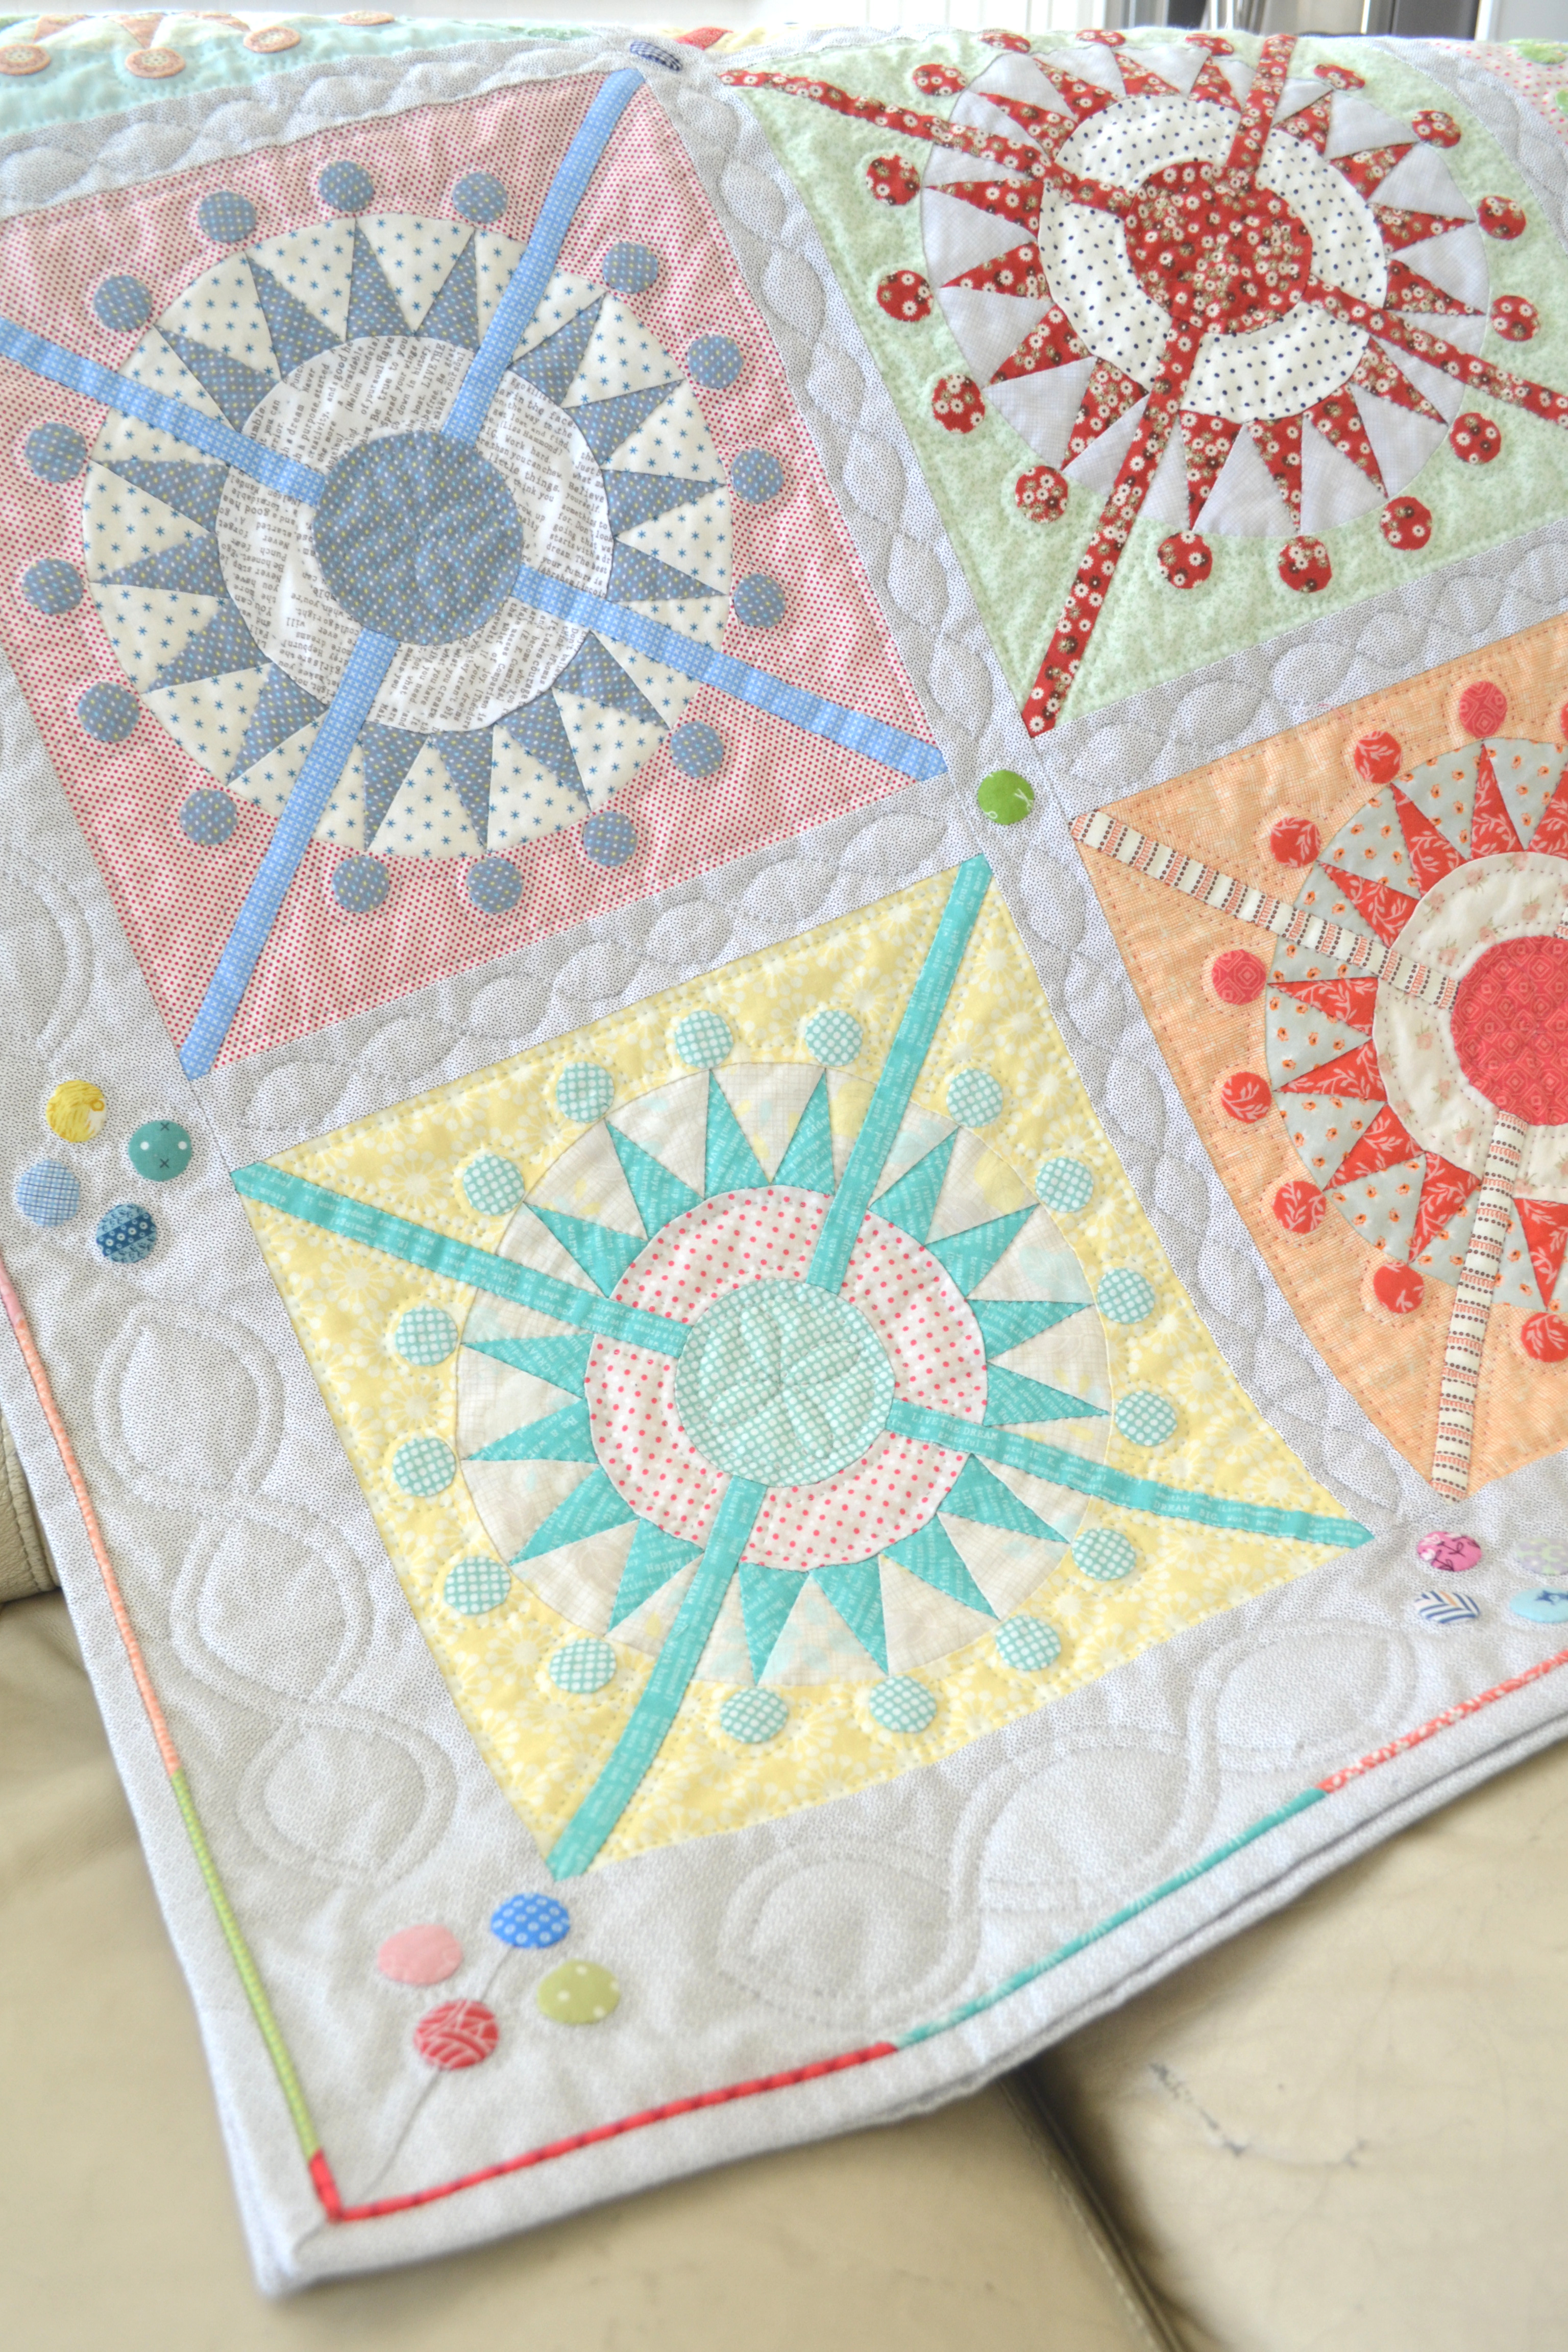
7. When you are done making the rest of the blocks, play with them to decide on the layout and piece the blocks side by side to create the rows.
8. Then, piece those rows together.
9. I did simple rows of quilting on this. Degital Dual Feed foot is one of my most favorite accesorries for my Babylock Aria. It feeds the fabric evenly and consistently. I felt the big difference on finished projects especially when working on larger items. Trim the excess around the quilted square.
10. Take a 11"x 16 1/2" piece and fold one side of 16 1/2" twice (1/2" each time)and sew. Leave the other side row edge. Do the same with the other 11"x 16 1/2". Lay them on top of the quilted square right side down. Center part will overlap by 4". Pin and sew around the edge. I used zigzag stitches to finish the edges to prevent flaying.
11. Turn it inside out and press with iron.
Time to enjoy!
This is a simple project and a great way to use your strips of scraps. Also, this quick project will make a great gift. I created this pillow in one afternoon while I was half watching Korean dramas on my phone. I had so much fun doing it, so I decided to make a bonus project for you!


Bonus! Scrappy Strip Mini Halloween Pillow --- finished size 11"x 11"

*YOU WILL NEED

4 Pieces --- 6"x 6"tissue paper
4 kinds of 1 1/4" strips
1 kind of 2" strips for the corners
1 --- 12"x 12" batting
1 --- 12"x 12" backing (I used muslin. It will be hidden in the pillow)
1 --- 11 1/2"x 11 1/2" fabric for the back of the pillow
1 1/2 yard of pom-pom trim
*HOW TO

You can pretty much follow same steps as I provided above There are few differences between those pillows, which are:
* I used unified width of strips (except for both corners of the square).
* The each squares are larger and you only need 4 pieces
* The back is one piece, instead of two panels. When you are ready to make it in to a pillow, sew quilted top, pom-pom and the backing together leaving a few inches opening. Turn inside out. Stuff and stitch the opening to close.
Thank you for visiting. I hope you will enjoy making those projects! :)

Thursday, June 30, 2022

My Mom's 70th Birthday ~ Purple Quilt

Before we can talk about the purple quilt, let me tell you a little bit about a red quilt I made 10 years ago... 10 years ago, when my mom turned 60 years old, to celebrate her special birthday, I made her a red quilt. There is an old tradition in Japan that when you celebrate your 60th birthday you wear a red vest and hat with your family and friends. My mom didn't want to wear them AT ALL, so I made her a red quilt instead. Even though I was born and raised in Japan, I had no clue about this tradition, how it started, and the meaning behind it. So I did a quick search and I wrote about that in my blog post 10 years ago, if you are interested, you can read it here.
During the research, I found out that there is a theme color for each decade and the color for 70 is purple. I told her that when she turns 70, I will make her a purple quilt. 10 years passed so quickly... and to tell you the truth, I had forgotten about the promise I made. One Sunday, I was facetiming with my mom and she was using the red quilt I made. Talk about divine timing!! I was thinking to myself "Thank you God SO MUCH!!" I definitely want to keep my promise to her. The last couple years were very hard for her and I wanted to do something special.

I made the red quilt with only solid fabrics to play with color gradients. For the purple quilt, I thought it would be fun to use prints and make it scrappy. I had most of the fabrics on my shelf, but I added some new ones to them. I used Half Square Triangles to create this quilt and I will show you how to make 8 of them very quickly. There are MANY tutorial posts and videos out there if you want to explore.

* Purple Quilt How to

Finished quilt size 64 1/2" x 80 1/2"

1. Cut 40 pieces of 9 3/4" x 9 3/4" squares from dark fabrics and 40 pieces of 9 3/4" x 9 3/4" squares form light fabrics.
2. Combine a dark and a light square, right sides together. Draw diagonal lines on the square.
3. Sew 1/4" seam on each side of each diagonal line. I had my 1/4" Quilting Foot with Guide on my Baby lock machine, so I just use that as a guide to sew 1/4" seam from the diagonal line. You could draw the lines next to the diagonal line before you sew too. Draw a vertical and a horizontal line in the middle of the square.
4. Cut in the middle of the sewed diagonal lines, on the vertical and horizontal lines to make 8 triangles.
5. Open them up and press them with an iron!
6. I didn't have a specific design idea in mind. After I made all the HSTs, I sat in front of my design wall and moved them around for a few days. I thought about doing a more unified look at first, but then I changed my mind to do a more scrappy look. I pieced squares first, then pieced them to make rows and sewed the rows together. Once I finished with the quilt top, I was going to take pictures and like always, my little dog came and joined the photoshoot. He was too cute to dismiss...
I machine quilted it myself, added the label and packaged it. Now the quilt is on its way to Japan and I hope my mom will receive it before her birthday. Happy Birthday, Mom!!
P.S. In case you are curious... The theme color for 80 is yellow. I normally don't use many yellow fabrics, but I better start thinking about what to do!

Thursday, March 31, 2022

Queen's Cross Quilt with Piping Finish

Have you seen the Queen's Cross Quilt designed by talented Aussie Quilt designer Jen Kingwell ? A few years ago, I learned that she is coming to a quilt shop not far from where I live; I had to sign up. I loved her Queen's Cross quilt; especially the block designs with lots of circles. After the class I was pretty much obsessed with making those blocks. I enjoyed finding fabrics from my scraps, stash and quilt shops. I had so much fun creating different blocks with various combination of colors and patterns.

I decided to make a quilt with just the blocks that I love so much, instead of combining them with other blocks like in the original design. The blocks are all hand pieced and appliqued, but I used my baby lock sewing machine to sew the blocks, borders and sashing together. After hand quilting it, I thought about how I wanted to finish the quilt... should I do a simple binding? I put so much time and effort so far, I wanted to do something very special to finish off the quilt. I decided to add piping!

I have made/used piping for a small project such as pillows and pouches, but I have never done it for a quilt. I was not 100% confident in my abilities to do it, but there is a first time for everything, right? I will share what I did with you.

* You Will Need

Cord of your preference

Fabric strips

Clear thread and regular thread

Zipper foot

* How to

1. I wanted very thin piping, so I bought Dritz's 3/32" cable cord. Then I cut 1 1/4" wide fabric strips from the same fabrics I used in the quilting. You could make the piping from just one fabric, but I was going for a scrappy look for the piping as well. It is a little more work, I knew it would be worth it. I prefer the fabric strips that are cut in bias for binding, but I didn't have enough fabrics. I just cut them with the grain and mitered the ends. I pieced them together long enough to go around the whole quilt.

2. After I pieced the strips, opened the seams and pressed, I folded the fabric strip in half and very LIGHTLY ironed it to just leave a half line mark. The reason for this is that it is easier for me to keep the cord in the middle lining up with the folded line while I sewed the cord in, at the same time keeping the seams lined up nicely together.

3. Attach the Zipper foot to your machine. The zipper foot is one of the feet I use most often. I use it for inserting zippers, snap tape, attaching piping and decorative cording. When you sew, don't sew right up against the cord. It is better to have some "give" when you are sewing the piping to your project.
4. I used clear thread for the top and regular thread for the bottom. I didn't want to find out afterwards that the color of the basting thread doesn't match after I finish sewing the piping onto the quilt. I tried to use clear thread for the bottom as well, but winding the bobbin with clear thread was a nightmare! After reading some posts online about other people's experiences, I decided to use the clear thread just on top.

5. Just keep sewing! You want to go a little slower when you are dealing with clear thread.
Looking at the growing pile is so exciting!
6. I wasn't comfortable sewing the piping and bias tape at the same time, so sewed the piping to the quilt first with the largest stitch setting. Then I sewed the bias tape. I made my bias tape out of 2" wide strips.
Here is the view from the front. Ahhh, so exciting! It is coming together!

7. I like finishing my binding by hand using blind stitch. It is calming to sit and do hand work, at the same time I enjoy feeling anticipation of seeing the finished quilt soon!
Ta-da!
This was definitely a labor intensive quilt for sure from start to finish, but I enjoyed every minute of it. I am going to enjoy looking at it for a while before moving on to my next project.
Blog Widget by LinkWithin