Showing posts with label sewing machine. Show all posts
Monday, November 17, 2025
Meissner Black Friday & Cyber Monday Sale!
Meissner is having an amazing Black Friday Sale right now! It is an up to 45% off storewide sale of machines, supplies, fabrics, etc.; you name it! If you have been thinking about purchasing a sewing machine, this is a great time to do so! I have the Baby Lock Aria, which is a sewing/quilting machine and I LOVE it so much. These types of hybrid machines have a wider throat space and it is easier to maneuver quilts while you are quilting. There are other features depending on the machine too. Don't miss out on this great sales event, go check out Black Friday sale (11/14-11/30) and Cyber Monday sale (offer valid 12/1).
Labels:
Black Friday Sale
,
Cyber Monday
,
Meissner
,
Meissner ambassador
,
sewing machine
Tuesday, January 10, 2023
Scrappy Strip/String Quilt
I remembered that I didn't get around to posting this quilt I finished in November. I used the same method that I used to make strip pillows in October. I used 4 1/2" x 4 1/2" tissue papers for the pillow, but I used 6 1/2" x 6 1/2" papers for this quilt, that's it! It is done by exact same technique, just bigger. If you are in interested in the tutorial you can click the link.
After I finished piecing, I wondered how I wanted to quilt it. The options are:
A. Ask someone with a longarm to quilt it for me.
B. Quilt it myself with my machine. I am not that good at it, but it will be good practice.
C. Hand quilt it.
I tossed and turned... well, maybe not that much, but I finally decided to hand quilt it with thick thread and big stitches. I was second guessing myself while I was working on it, but I actually love how it turned out!
I like using pieced fabric for the back of the quilt. It is more work, but I love the small surprize when you turn the quilt over. It adds more interest and character. The hand quilting is more visible on the back side and I love it! If you have lots of scraps, this quilt is perfect for them. It is easy, quick and fun! Do you want to add it to your "to make" list for this year?
A. Ask someone with a longarm to quilt it for me.
B. Quilt it myself with my machine. I am not that good at it, but it will be good practice.
C. Hand quilt it.
I tossed and turned... well, maybe not that much, but I finally decided to hand quilt it with thick thread and big stitches. I was second guessing myself while I was working on it, but I actually love how it turned out!
I like using pieced fabric for the back of the quilt. It is more work, but I love the small surprize when you turn the quilt over. It adds more interest and character. The hand quilting is more visible on the back side and I love it! If you have lots of scraps, this quilt is perfect for them. It is easy, quick and fun! Do you want to add it to your "to make" list for this year?
Labels:
Babylock
,
Babylock ambassador
,
fast and easy quilt
,
quilt
,
Quilting
,
sewing machine
,
string quilt
,
strip quilt
Thursday, March 31, 2022
Queen's Cross Quilt with Piping Finish
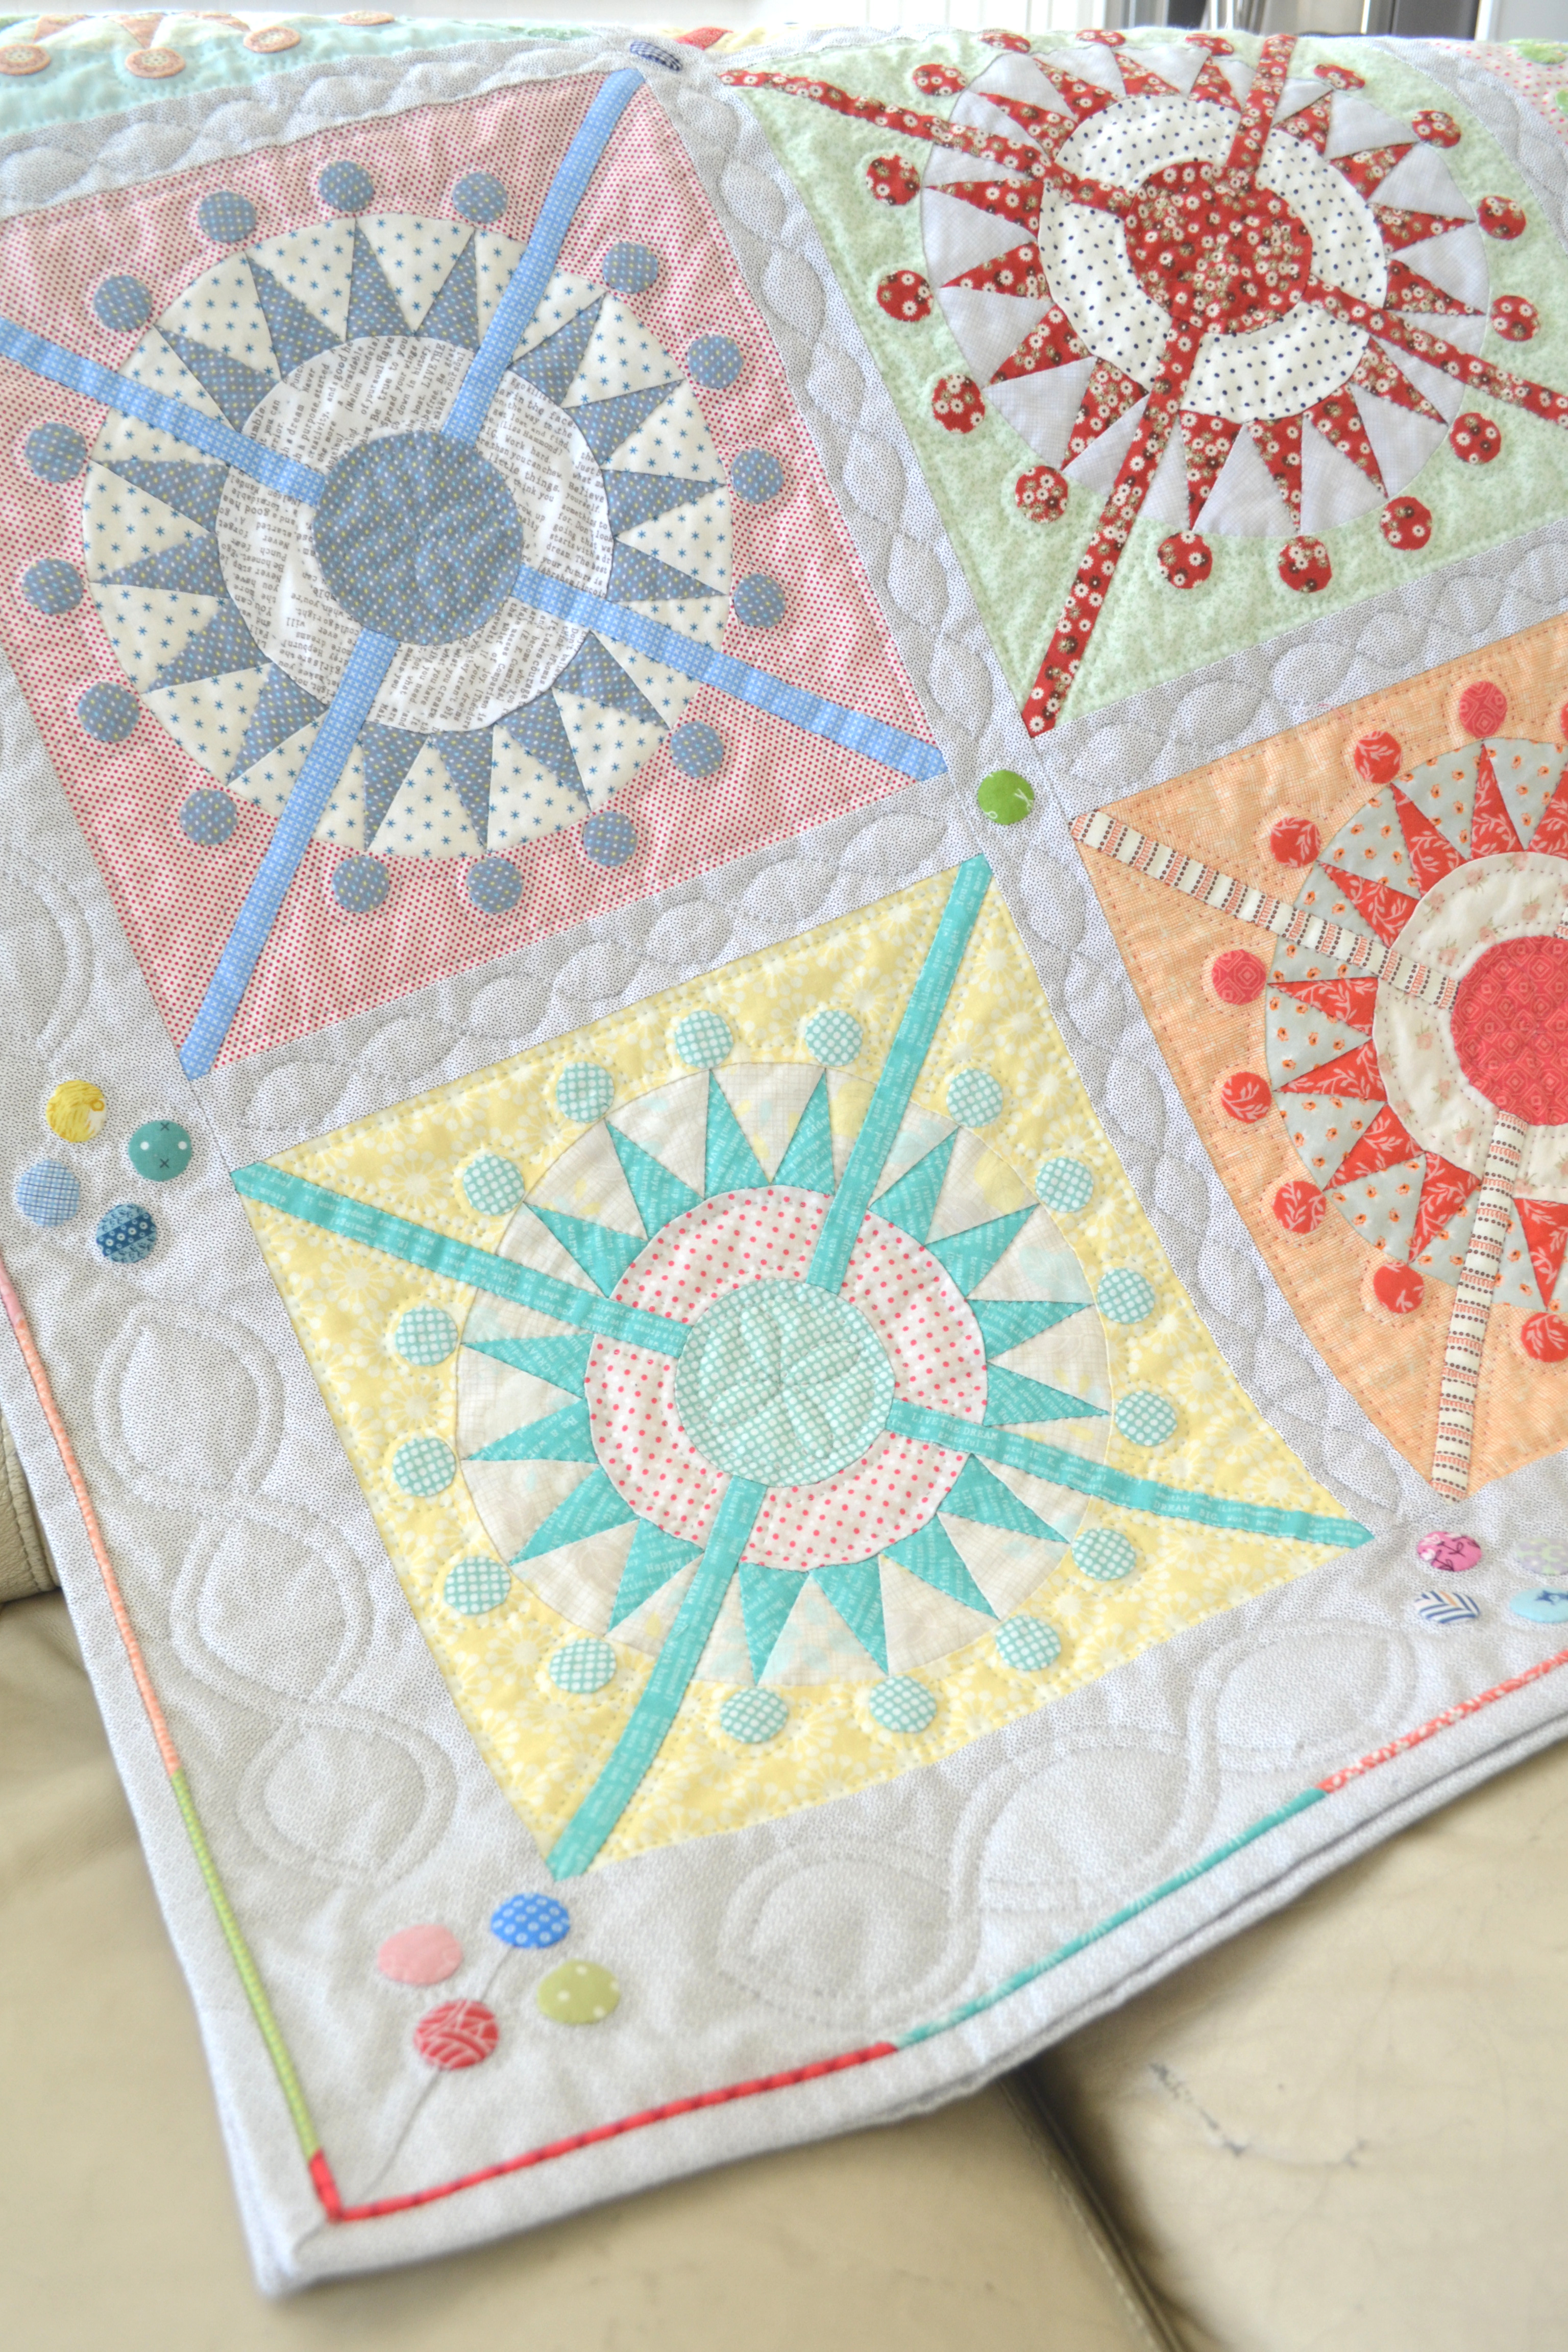
Have you seen the Queen's Cross Quilt designed by talented Aussie Quilt designer Jen Kingwell ? A few years ago, I learned that she is coming to a quilt shop not far from where I live; I had to sign up. I loved her Queen's Cross quilt; especially the block designs with lots of circles. After the class I was pretty much obsessed with making those blocks. I enjoyed finding fabrics from my scraps, stash and quilt shops. I had so much fun creating different blocks with various combination of colors and patterns.
I decided to make a quilt with just the blocks that I love so much, instead of combining them with other blocks like in the original design. The blocks are all hand pieced and appliqued, but I used my baby lock sewing machine to sew the blocks, borders and sashing together. After hand quilting it, I thought about how I wanted to finish the quilt... should I do a simple binding? I put so much time and effort so far, I wanted to do something very special to finish off the quilt. I decided to add piping!
I have made/used piping for a small project such as pillows and pouches, but I have never done it for a quilt. I was not 100% confident in my abilities to do it, but there is a first time for everything, right? I will share what I did with you.
* You Will Need
Cord of your preference
Fabric strips
Clear thread and regular thread
Zipper foot
* How to
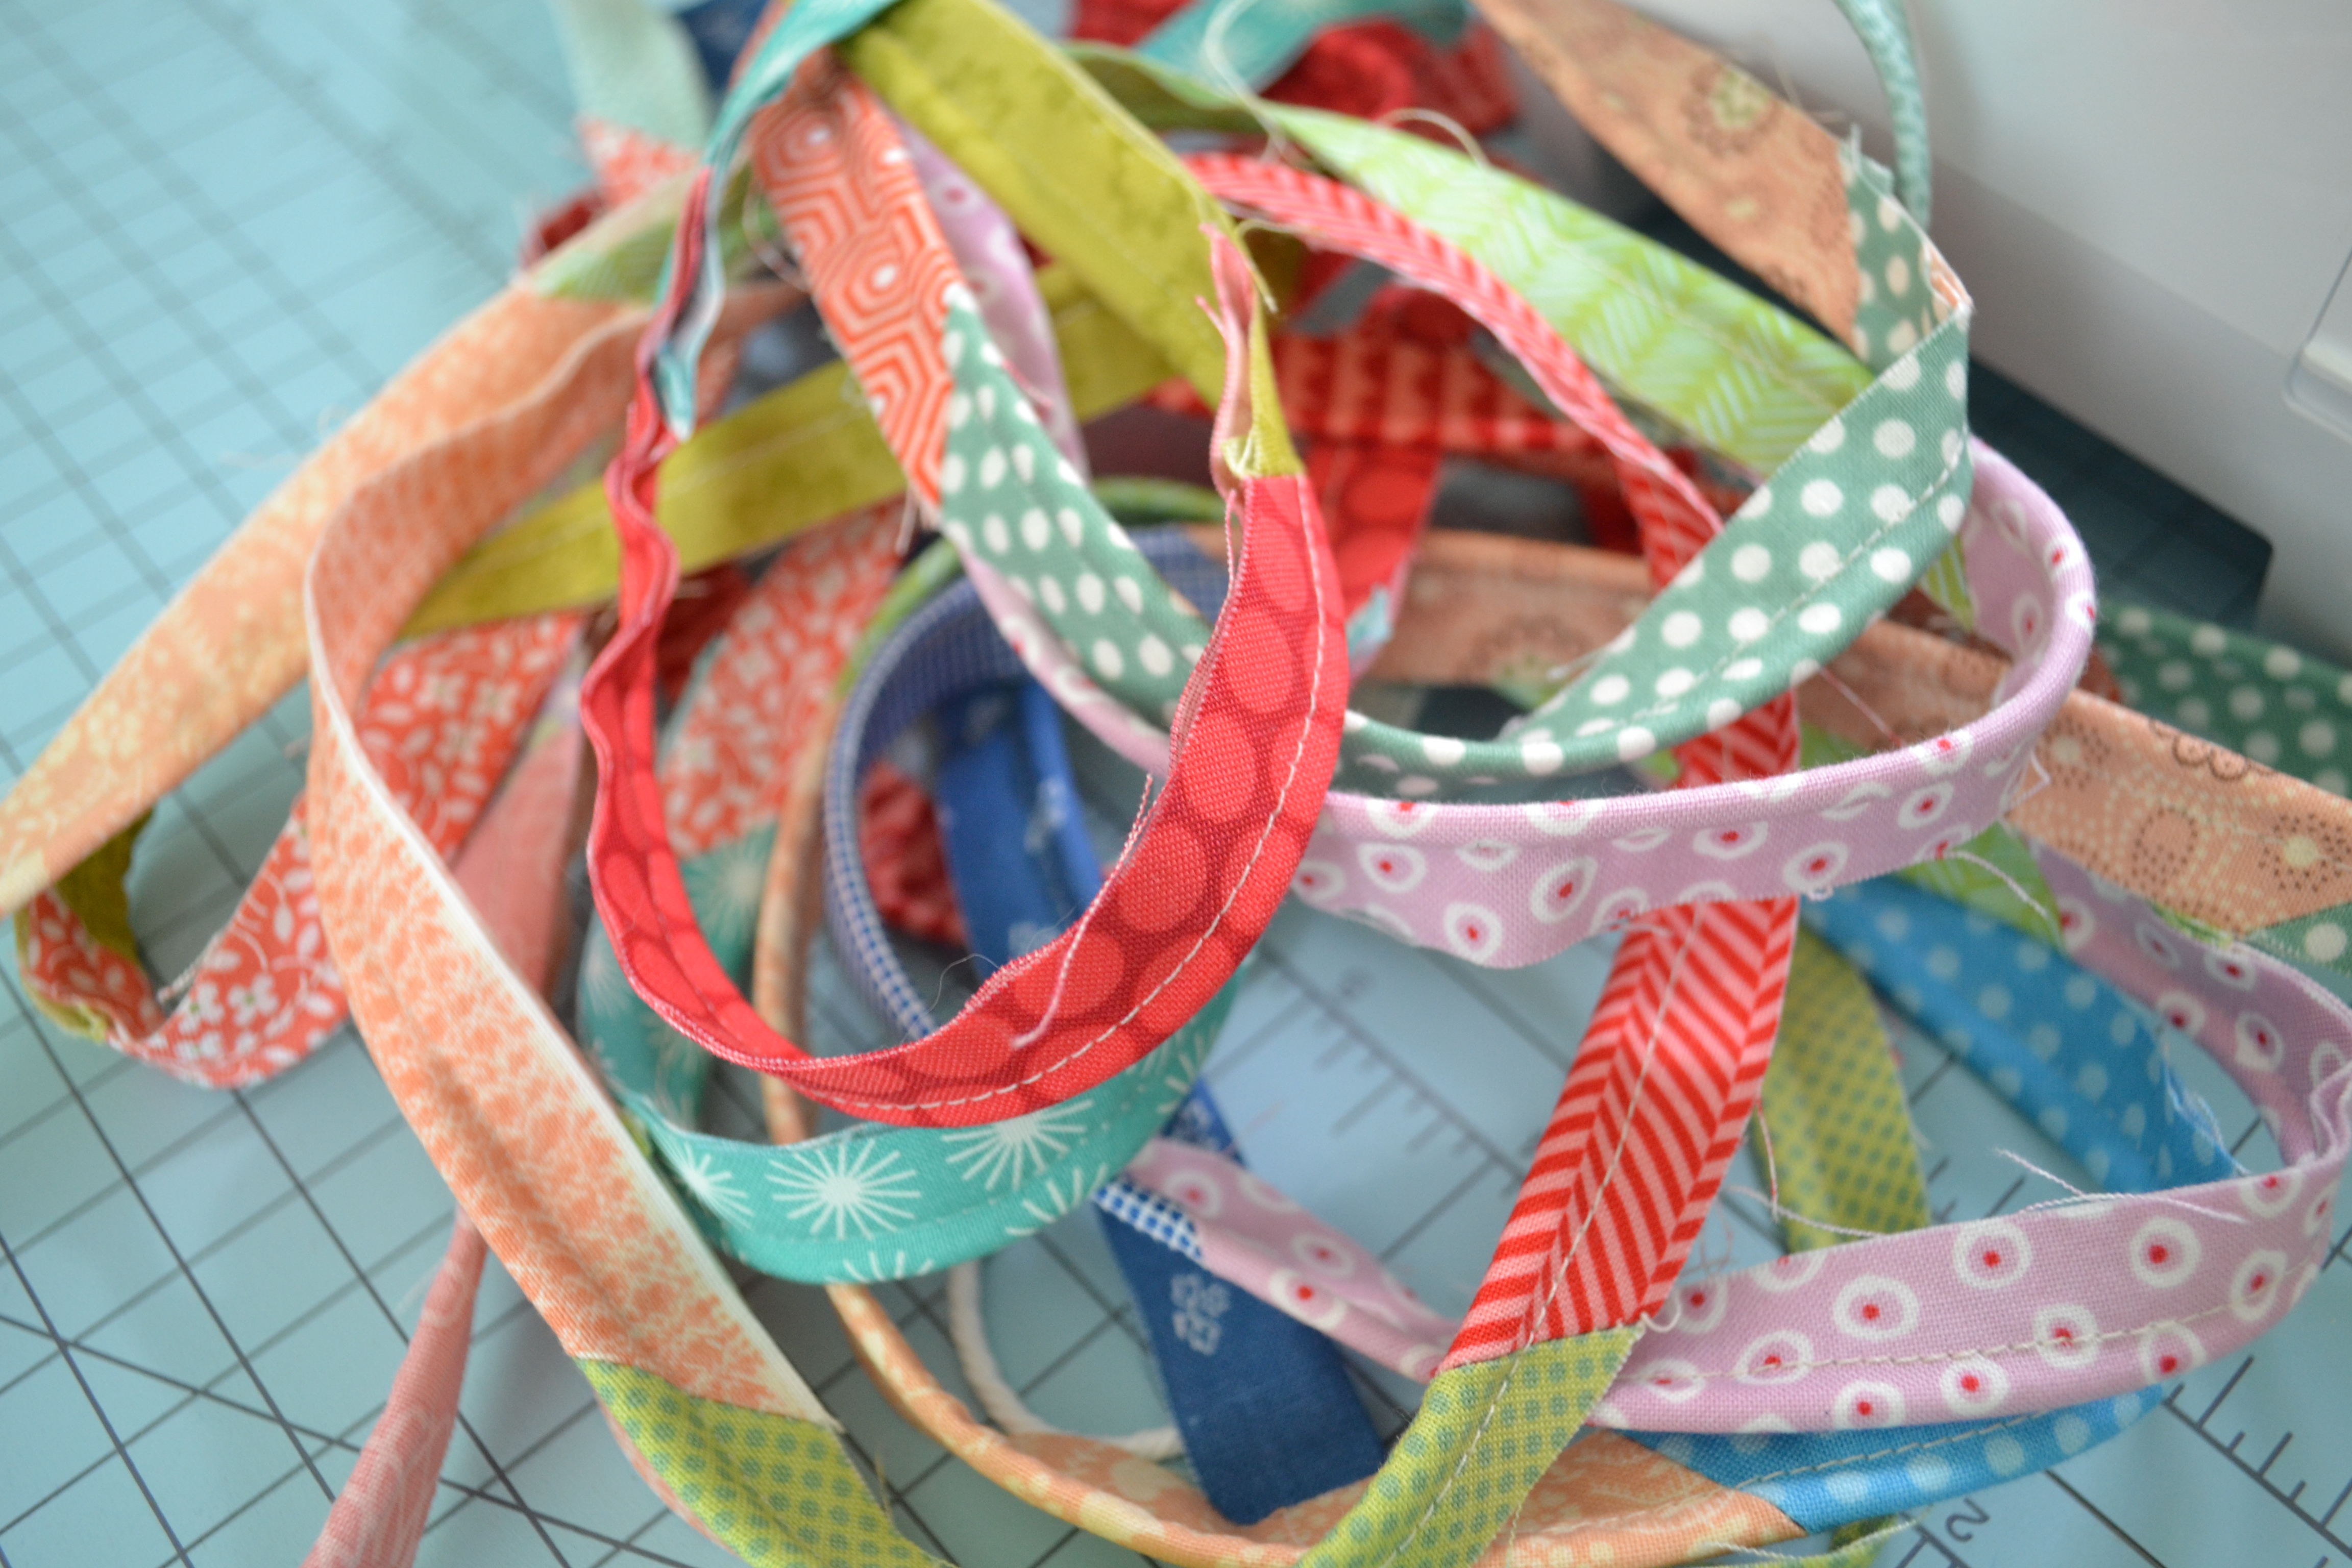
1. I wanted very thin piping, so I bought Dritz's 3/32" cable cord. Then I cut 1 1/4" wide fabric strips from the same fabrics I used in the quilting. You could make the piping from just one fabric, but I was going for a scrappy look for the piping as well. It is a little more work, I knew it would be worth it. I prefer the fabric strips that are cut in bias for binding, but I didn't have enough fabrics. I just cut them with the grain and mitered the ends. I pieced them together long enough to go around the whole quilt.
2. After I pieced the strips, opened the seams and pressed, I folded the fabric strip in half and very LIGHTLY ironed it to just leave a half line mark. The reason for this is that it is easier for me to keep the cord in the middle lining up with the folded line while I sewed the cord in, at the same time keeping the seams lined up nicely together.
3. Attach the Zipper foot to your machine. The zipper foot is one of the feet I use most often. I use it for inserting zippers, snap tape, attaching piping and decorative cording. When you sew, don't sew right up against the cord. It is better to have some "give" when you are sewing the piping to your project. 4. I used clear thread for the top and regular thread for the bottom. I didn't want to find out afterwards that the color of the basting thread doesn't match after I finish sewing the piping onto the quilt. I tried to use clear thread for the bottom as well, but winding the bobbin with clear thread was a nightmare! After reading some posts online about other people's experiences, I decided to use the clear thread just on top.
5. Just keep sewing! You want to go a little slower when you are dealing with clear thread.
Looking at the growing pile is so exciting! 6. I wasn't comfortable sewing the piping and bias tape at the same time, so sewed the piping to the quilt first with the largest stitch setting. Then I sewed the bias tape. I made my bias tape out of 2" wide strips.
Here is the view from the front. Ahhh, so exciting! It is coming together!
7. I like finishing my binding by hand using blind stitch. It is calming to sit and do hand work, at the same time I enjoy feeling anticipation of seeing the finished quilt soon! Ta-da!
This was definitely a labor intensive quilt for sure from start to finish, but I enjoyed every minute of it. I am going to enjoy looking at it for a while before moving on to my next project.
I decided to make a quilt with just the blocks that I love so much, instead of combining them with other blocks like in the original design. The blocks are all hand pieced and appliqued, but I used my baby lock sewing machine to sew the blocks, borders and sashing together. After hand quilting it, I thought about how I wanted to finish the quilt... should I do a simple binding? I put so much time and effort so far, I wanted to do something very special to finish off the quilt. I decided to add piping!
I have made/used piping for a small project such as pillows and pouches, but I have never done it for a quilt. I was not 100% confident in my abilities to do it, but there is a first time for everything, right? I will share what I did with you.
* You Will Need
Cord of your preference
Fabric strips
Clear thread and regular thread
Zipper foot
* How to
1. I wanted very thin piping, so I bought Dritz's 3/32" cable cord. Then I cut 1 1/4" wide fabric strips from the same fabrics I used in the quilting. You could make the piping from just one fabric, but I was going for a scrappy look for the piping as well. It is a little more work, I knew it would be worth it. I prefer the fabric strips that are cut in bias for binding, but I didn't have enough fabrics. I just cut them with the grain and mitered the ends. I pieced them together long enough to go around the whole quilt.
2. After I pieced the strips, opened the seams and pressed, I folded the fabric strip in half and very LIGHTLY ironed it to just leave a half line mark. The reason for this is that it is easier for me to keep the cord in the middle lining up with the folded line while I sewed the cord in, at the same time keeping the seams lined up nicely together.
3. Attach the Zipper foot to your machine. The zipper foot is one of the feet I use most often. I use it for inserting zippers, snap tape, attaching piping and decorative cording. When you sew, don't sew right up against the cord. It is better to have some "give" when you are sewing the piping to your project. 4. I used clear thread for the top and regular thread for the bottom. I didn't want to find out afterwards that the color of the basting thread doesn't match after I finish sewing the piping onto the quilt. I tried to use clear thread for the bottom as well, but winding the bobbin with clear thread was a nightmare! After reading some posts online about other people's experiences, I decided to use the clear thread just on top.
5. Just keep sewing! You want to go a little slower when you are dealing with clear thread.
Looking at the growing pile is so exciting! 6. I wasn't comfortable sewing the piping and bias tape at the same time, so sewed the piping to the quilt first with the largest stitch setting. Then I sewed the bias tape. I made my bias tape out of 2" wide strips.
Here is the view from the front. Ahhh, so exciting! It is coming together!
7. I like finishing my binding by hand using blind stitch. It is calming to sit and do hand work, at the same time I enjoy feeling anticipation of seeing the finished quilt soon! Ta-da!
This was definitely a labor intensive quilt for sure from start to finish, but I enjoyed every minute of it. I am going to enjoy looking at it for a while before moving on to my next project.
Labels:
Baby Lock
,
baby lock sewing
,
Babyl ock ambassador
,
piping
,
quilt
,
sewing machine
Subscribe to:
Posts
(
Atom
)