Showing posts with label Halloween. Show all posts

Monday, September 2, 2024

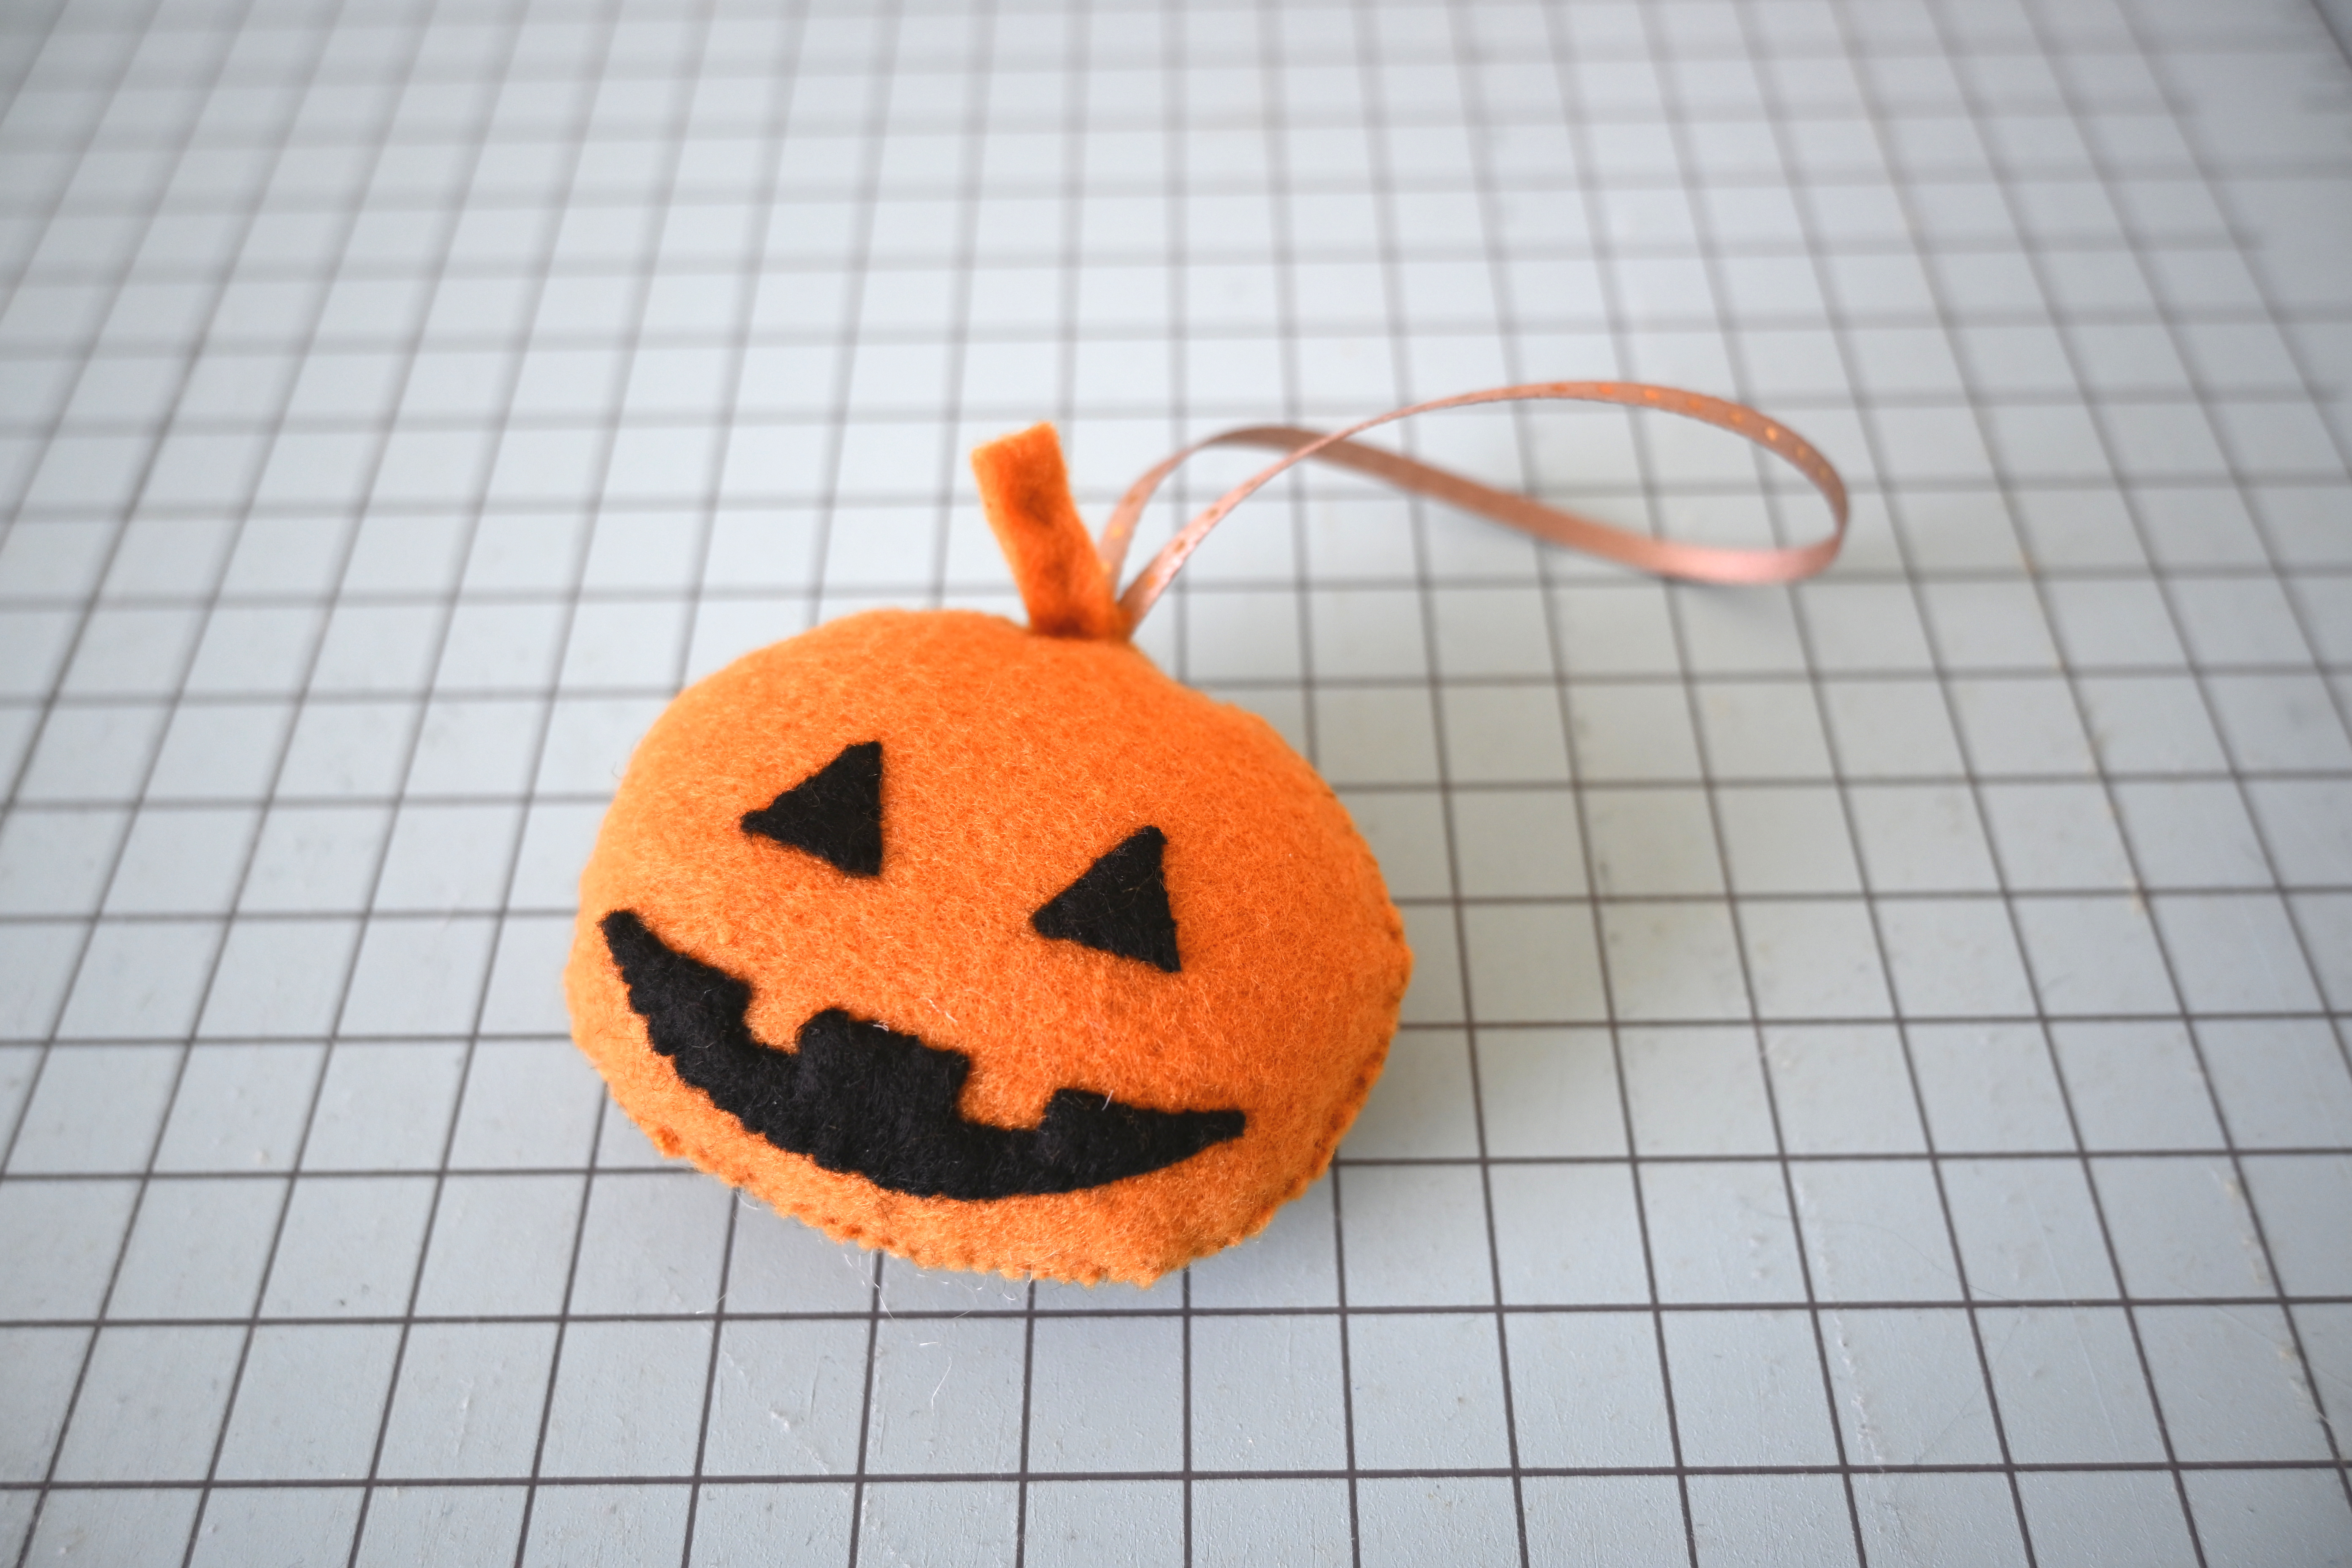
Felt Pumpkin Tutorial with Printable Pattern

October last year, I did a tutorial post to make Halloween Trick or Treat Bag. It was a post to showcase what that Baby Lock Sashiko machine can do. It was one of my most popular posts. Then, I found out that many people were interested in how to make the felt pumpkin I made to accessorize the bag. The felt pumpkin was something I made up at the last minute and hand sewed, so I didn't include that in the tutorial. Today, I am going to share the tutorial and a printable pattern! I hope you will enjoy it.

* You will need

Pattern
Orange and black felt (you could use wool too)
Orange and black embroidery thread
Stuffing
Thin Ribbon

* How to

1. Print out the pattern and cut them out.

2.Use the pattern and cut out the necessary parts.

3. On the original felt pumpkin, I embroidered the eyes and mouth, but I decided to cut the shapes out of the black felt and applique them instead. I wanted to show you different options. I used 1 strand of thread and stitched with whip stitch. You could do this with blanket stitch if that is what you prefer.

4. Fold the long orange felt piece in half and stitch the middle to make a stem.
5. Stitch down the stem and ribbon to the inside of the back piece of pumpkin.
6. Put the front and back of the pumpkin pieces together. Start from the bottom and leave about 1 1/2" open to stuff. I used whip stitch with 2 strands of thread. To secure the stem and the ribbon I sewed the top area twice.
7. Time to enjoy!
You could make this as a home decoration or a gift. Instead of sewing in the ribbon, you could add a pin on the back to make a cute badge too. There are many ways to enjoy this little felt project.
If you are curious about the Halloween trick or treat bag, please hop over to my tutorial to check it out!

Friday, September 29, 2023

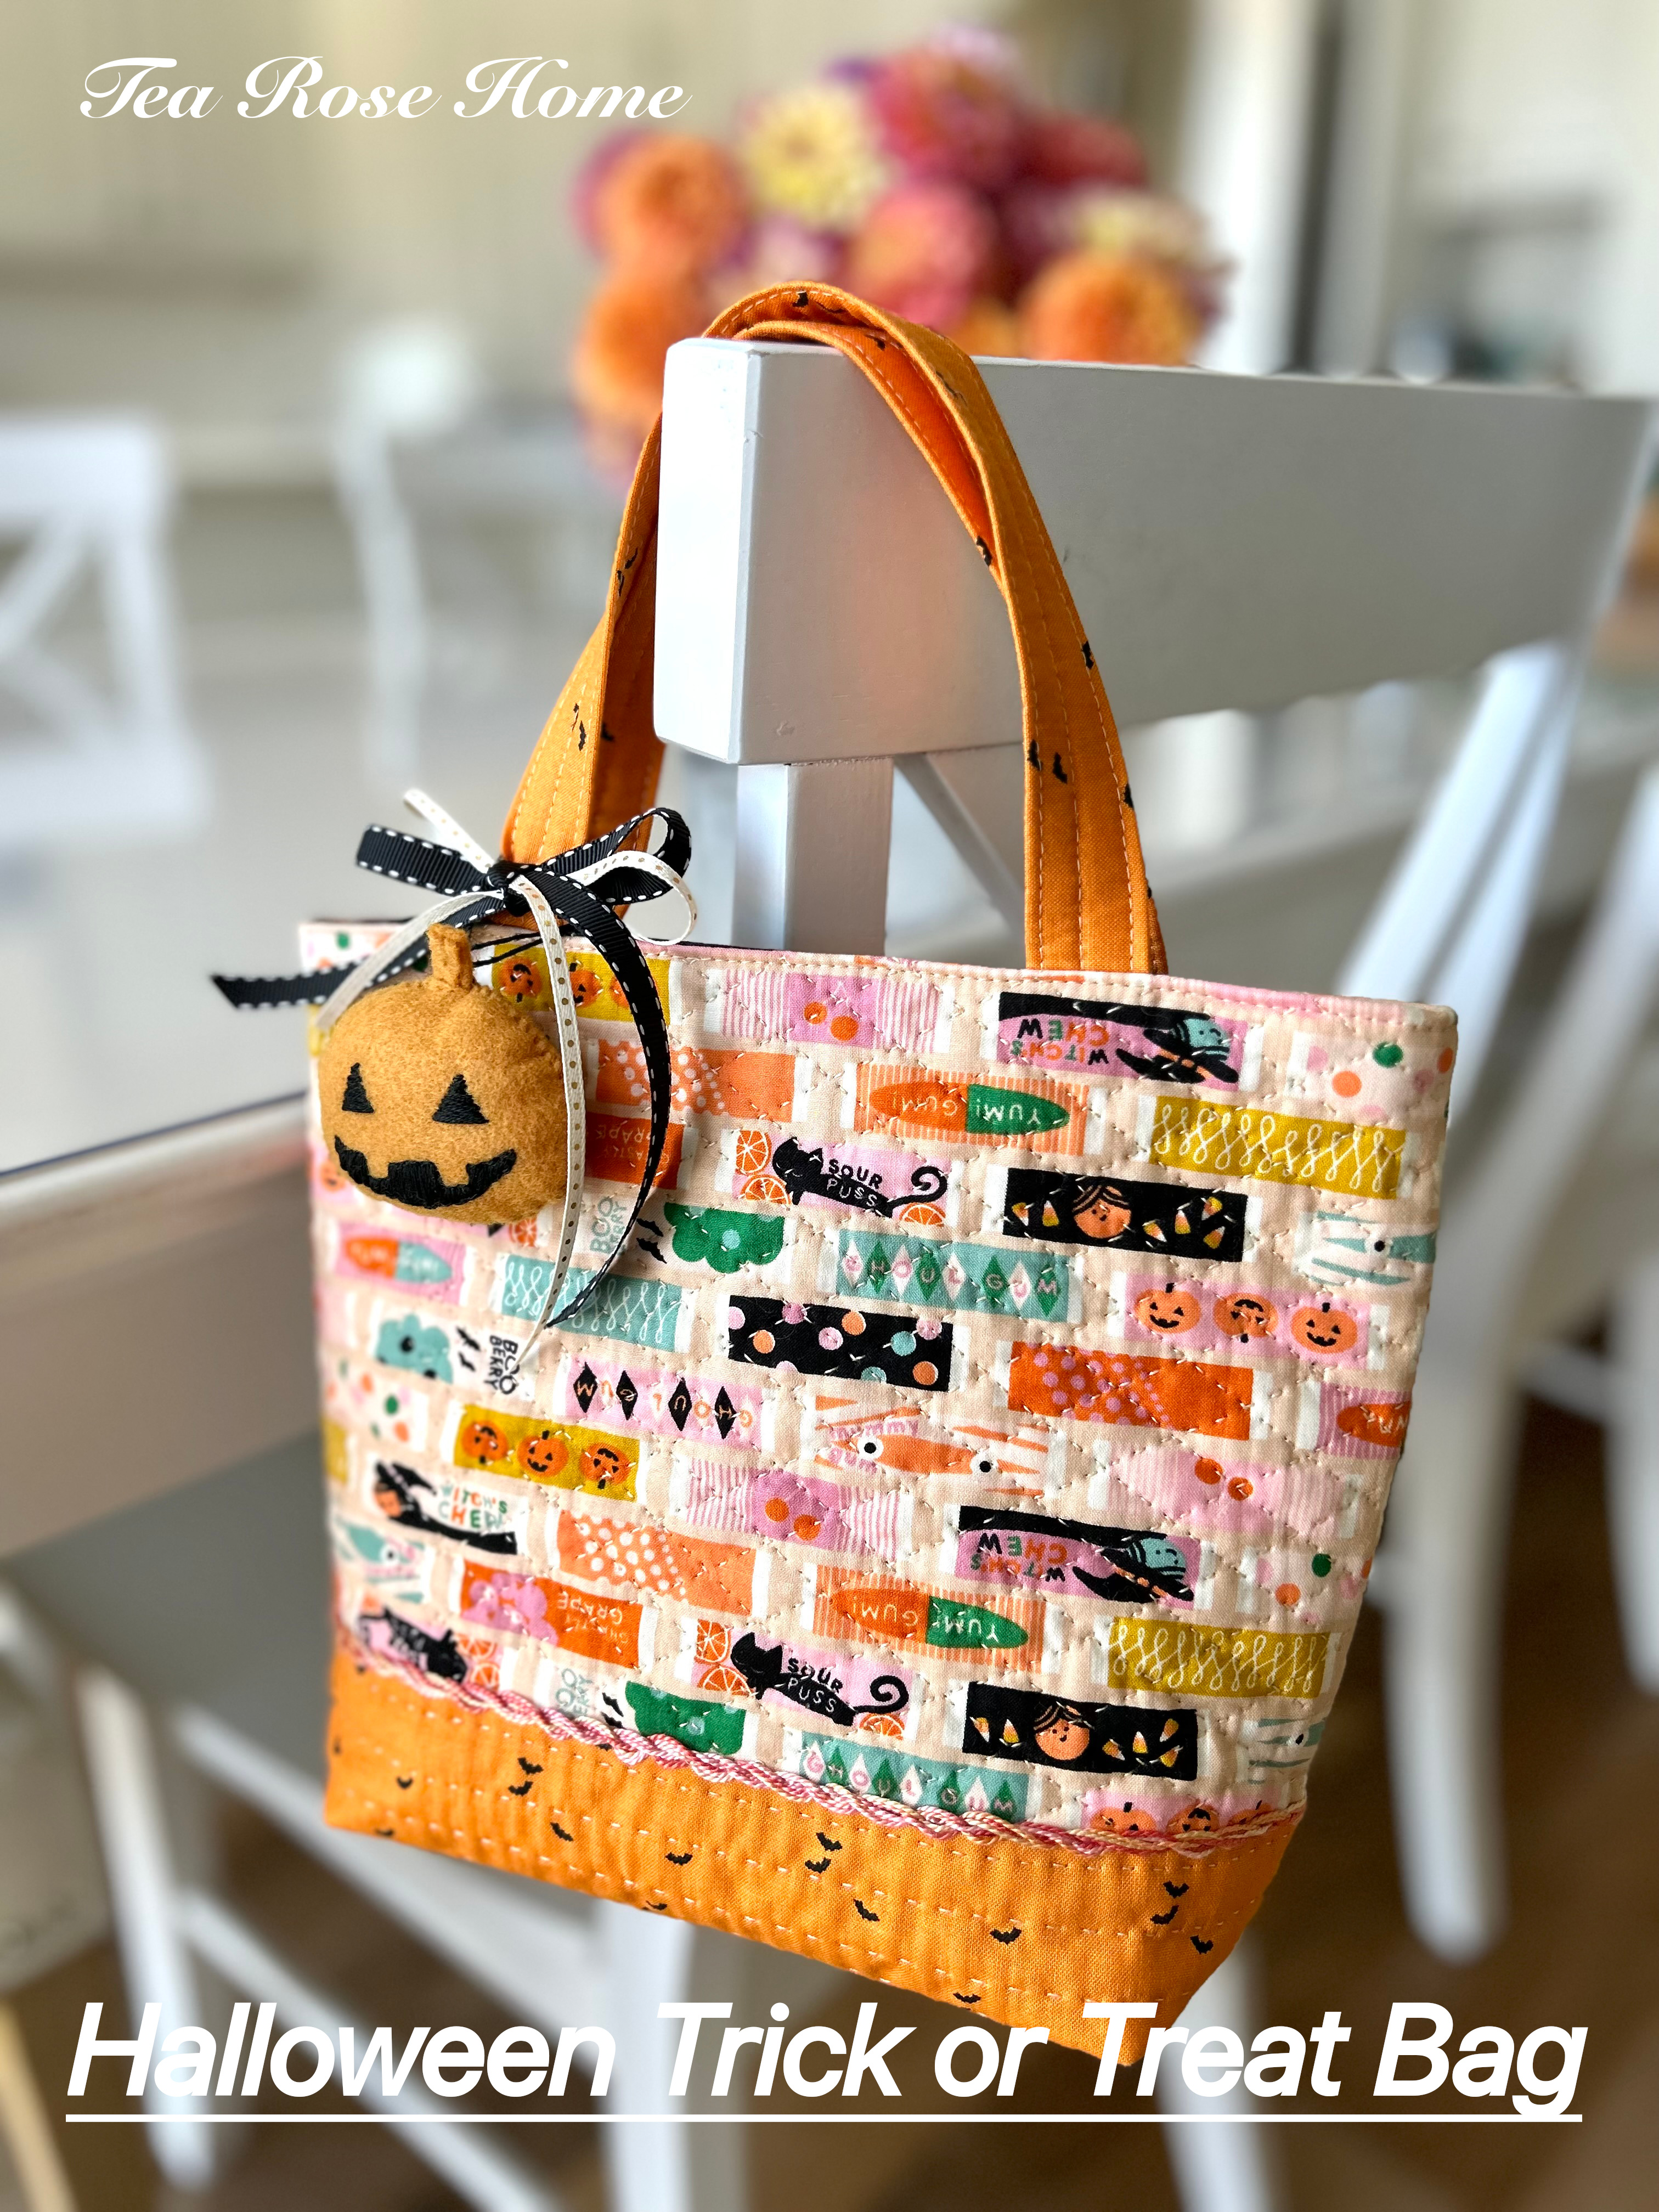
Halloween Trick or Treat Bag Tutorial

Trick or treat! I can't believe we are already entering October. The year flew by so quickly and it has been a bit chilly where I live. I wanted to share a quick, useful and fun Halloween project using my Sashiko machine. Of course you could make this project with your regular sewing machine, but I wanted to showcase Sashiko stitches with this project. Are you ready?

*You will need

A fabric to cut side fabrics
A fabric to cut bottom and handles
A fabric to make lining 12"x 20"
Muslin for backing 12"x 20"
(sorry, it is not in the picture, but you need it...)
Fusible batting 12"x 22" (this is for the body of the bag and the handles)
Pearl Cotton to add trimming (optional)
*How to

*Note* I used 1/4" seam for this project

1. Sew the side fabrics to the bottom fabric. Open the seam and press with iron.
2. Baste the fabric you pieced with fusible batting (follow the manufacturer's guideline) and muslin. If you prefer, you could use pins to secure the corners. For quilting, I just quilted straight lines on the bottom fabric and crosshatch quilting on the side fabrics.
3. Add trim. I am still acquainted with Sashiko machine. While I was watching some tutorials on youtube, I came across a video. There is one technique I wanted to try. This step is totally optional.
4. Make the handles. Take the fabric and fold it in half horizontally. Open the fabric and bring both long edges to the middle and fold. Now you have three horizontal lines. Cut 2 - 3/4"x 12" strips from fusible batting and fuse next to the center line. Fold the fabrics and top stitch outer lines. Repeat to make the other handle.
5. Pin a handle to the quilted fabric and sew. See the picture for the placement of the handle. Do the same with the other handle.
6. Fold the fabric right side together in half and sew the sides.
7. Make the boxed bottom. Fold the bottom and create a triangle. sew. If you are interested in better instructions, there is a tutorial I did for this post, around step 7.
8. Follow steps 6 and 7 for the liner.
9. Put the bag and liner right sides together. Leaving about a 4" opening, sew the top around the edge. Turn the fabric inside out and press the edges with the iron.
10. Top stitch all around the top and it is ready for Halloween night! Well, almost... on a whim, I decided to make a felt pumpkin charm to accessorize the bag. Now, it is really ready, haha
You could make this bag or two in one afternoon, so you still have enough time before Halloween. Enjoy!

Friday, September 30, 2022

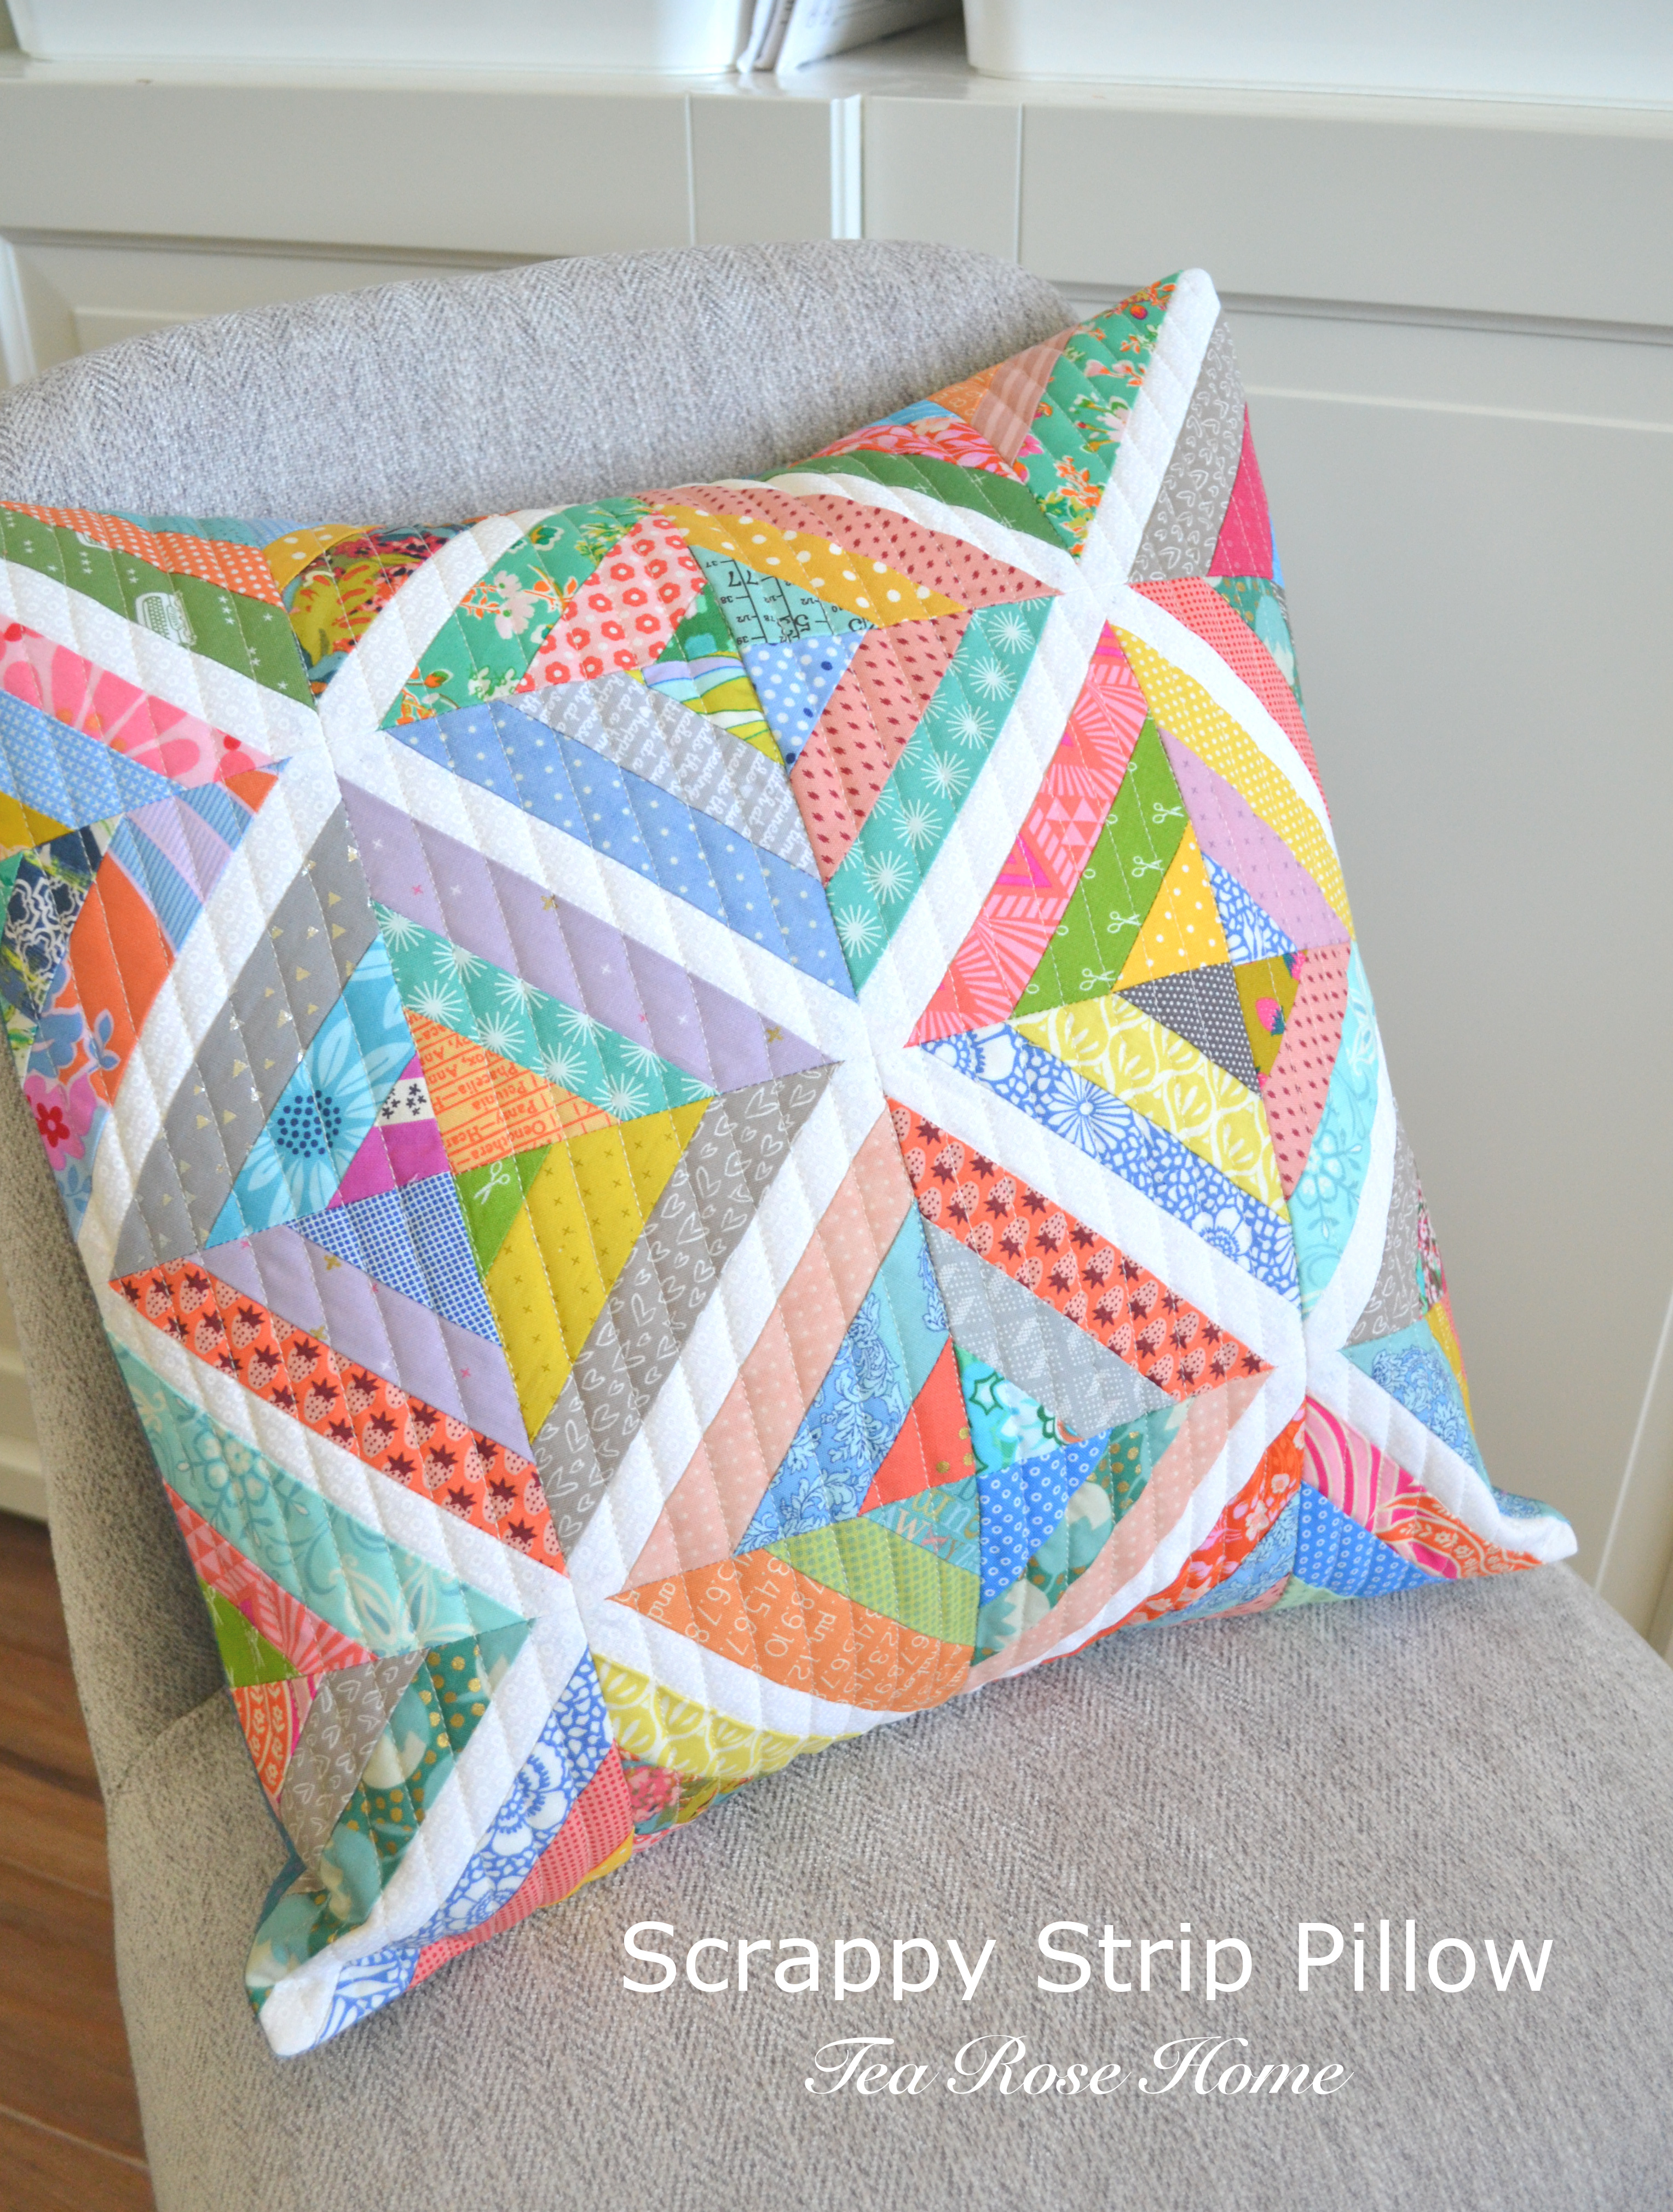
Scrappy Strip/String Pillow ~ Two Versions!

There are many scrappy strip/string quilt tutorials out there. Some tutorials suggest using white fabric as a foundation and some use different types of papers. I wasn't sure if I wanted to use fabric and have an extra layer in my pillow. So I used tracing paper I had at home and it was too thick to peel off after the strips were sewn. I know there are special papers available online, but I wanted to start making the blocks right away. Yes, I was in the mood that I had to start the project at that moment and couldn't wait for an extra few days for my order to arrive at my doorstep. I looked around my room and found tissue papers for gift wrapping and decided to give it a try. Because this project doesn't need specific design on the paper and random piecing, simple tissue paper did the trick. Peeling it off was a breeze too.

Before you start, you want to Iron your tissue paper to smooth out any wrinkles and cut them to the size you want. I used cutting tools to do this and it went so fast. Also, sorting your scraps by color (if you already organized them that way you are good to go!) speeds things up while you are choosing and mixing colors as you are piecing.
Let's begin!

Scrappy Strip Pillow --- finished size 16"x 16" * YOU WILL NEED

12 pieces --- 4 1/2" x 4 1/2" tissue paper
12 pieces --- 1' x 7" (or longer if you prefer) white fabric strips
Various scrap strips
1 --- 18"x 18" Batting
1 --- 18"x 18" backing(I used muslin. It is going to be in hidden inside of the pillow)
2 --- 11"x 16 1/2" fabrics for the back panels to create the pillow

* HOW TO

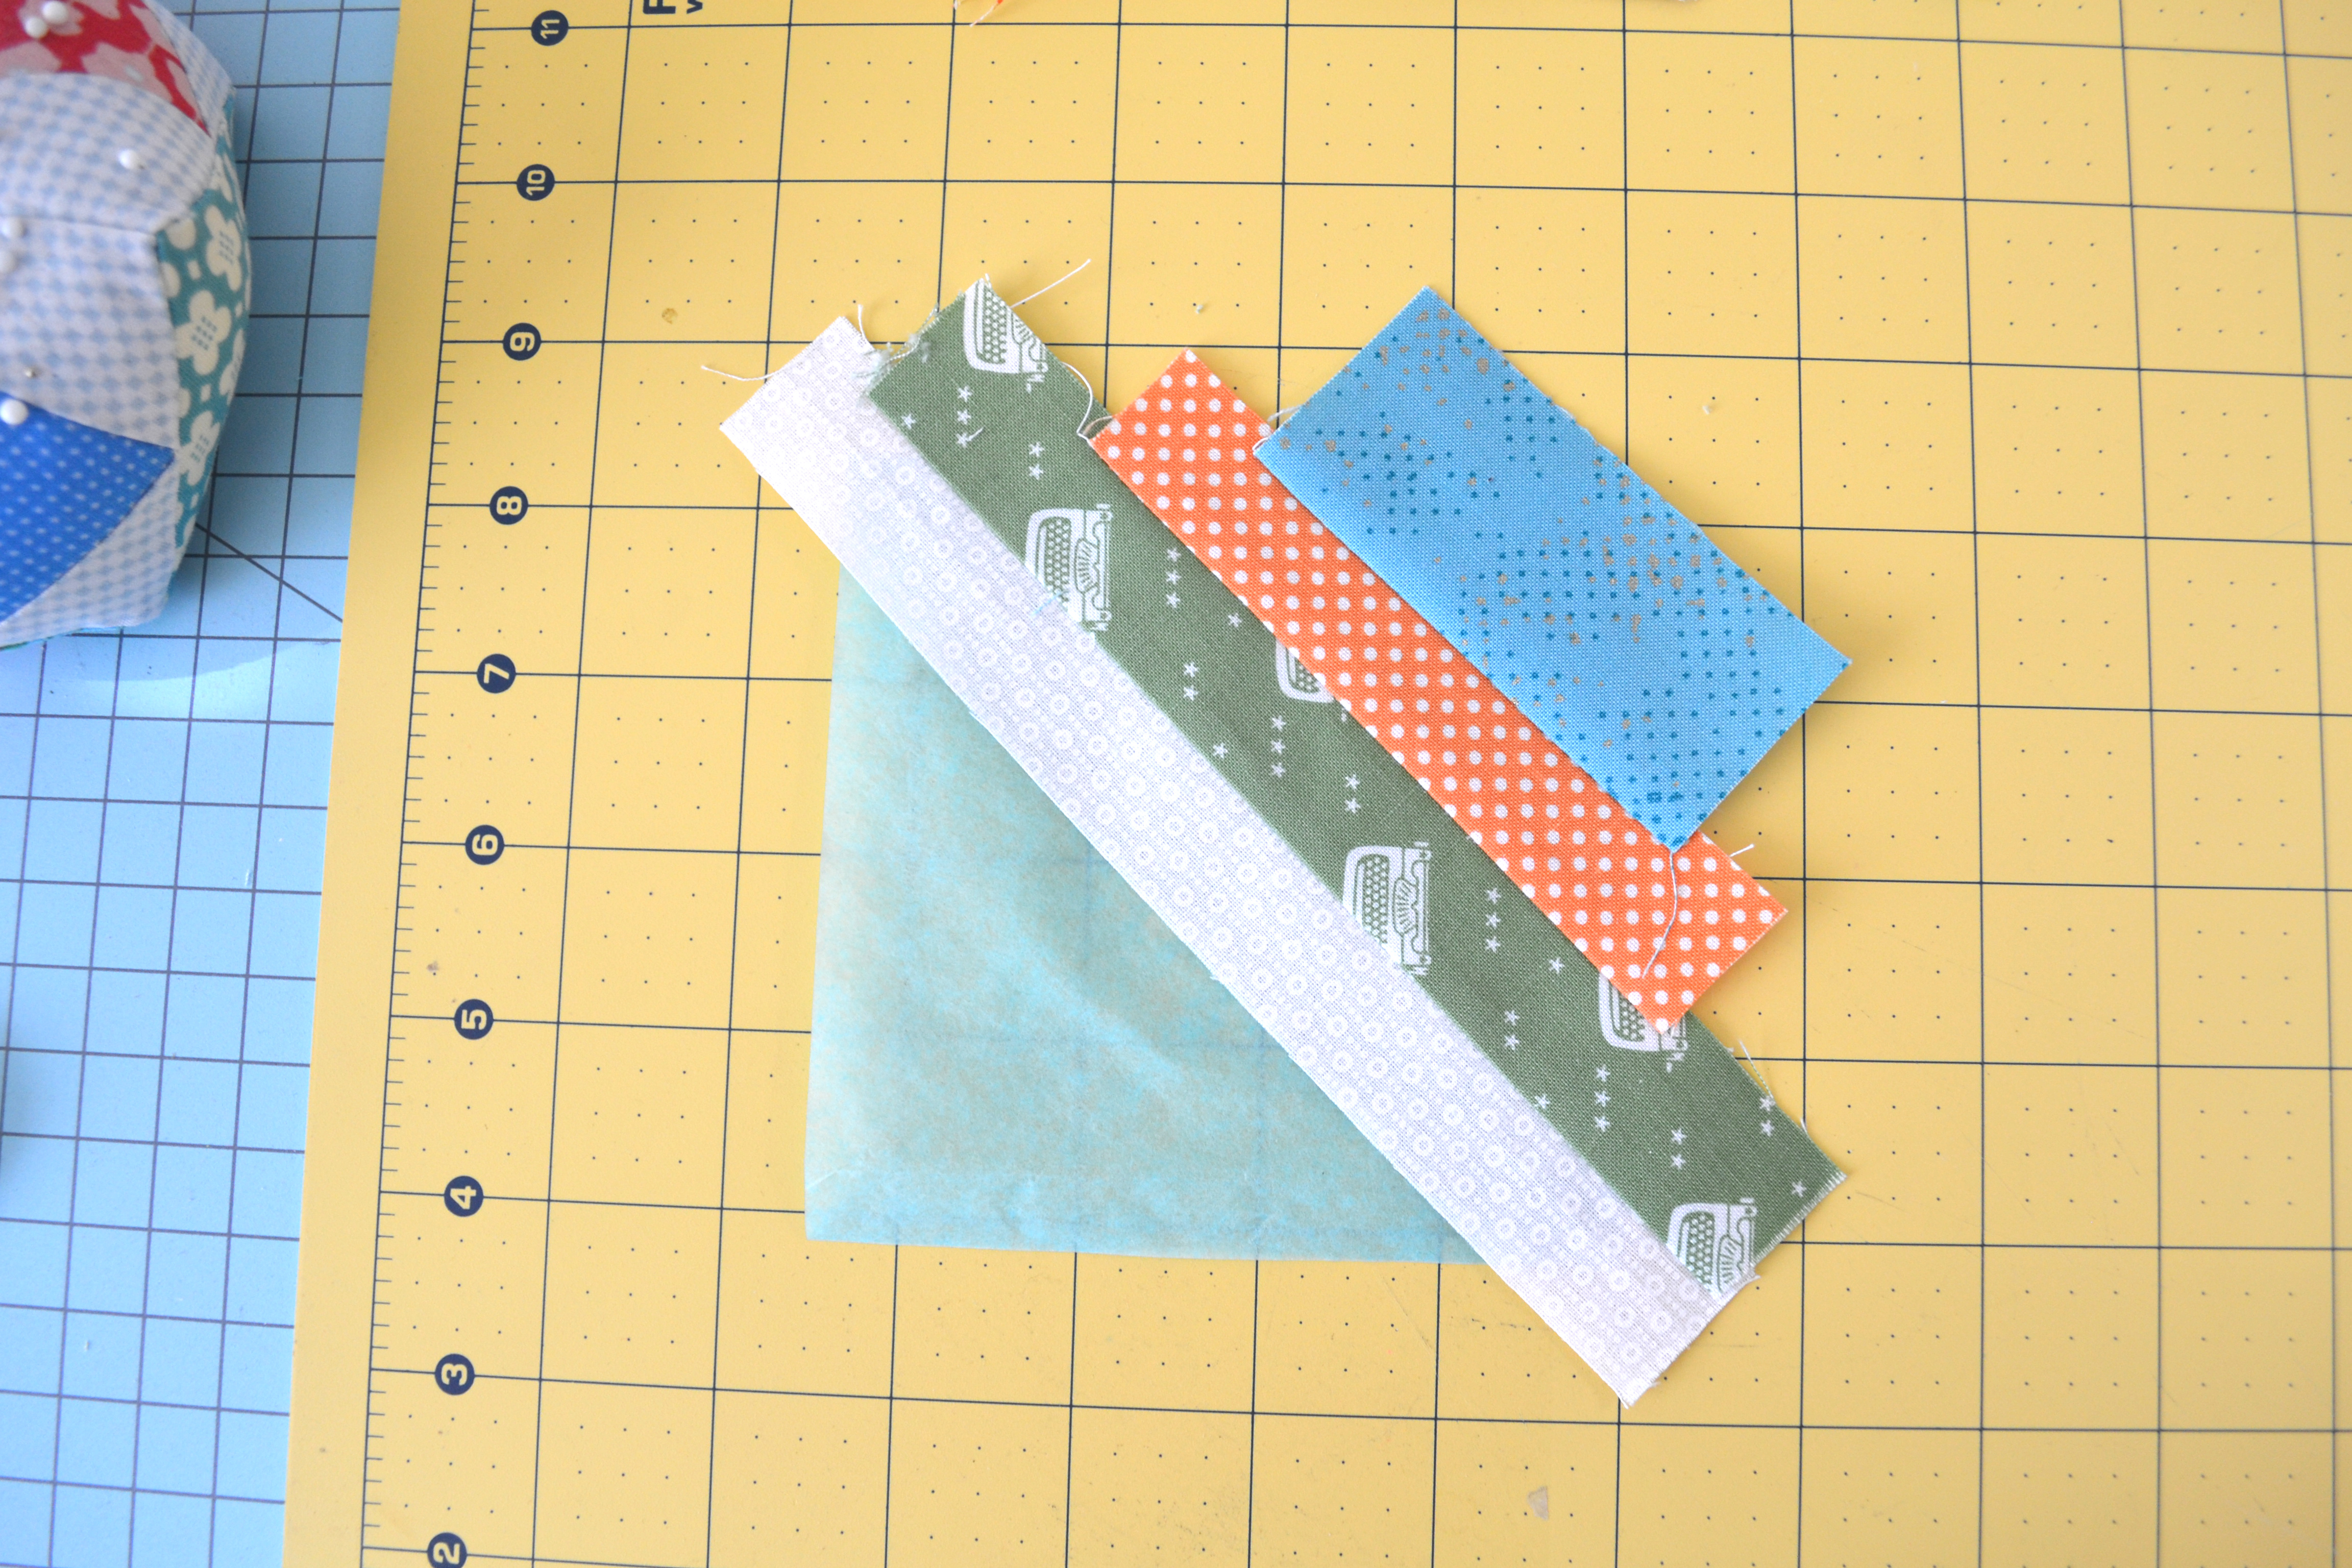
1. Fold both ends of the 1"x 7" white strip in half. Match the folded line to the opposite corners of the tissue paper.
2. Lay the printed scrap strip on top of the white strip. I used pins to keep them aligned and the corners matched.
3. Sew them together onto the paper with 1/4" seam, open the seam and press with iron.
4. Repeat the process and do the same with the opposite side as well.
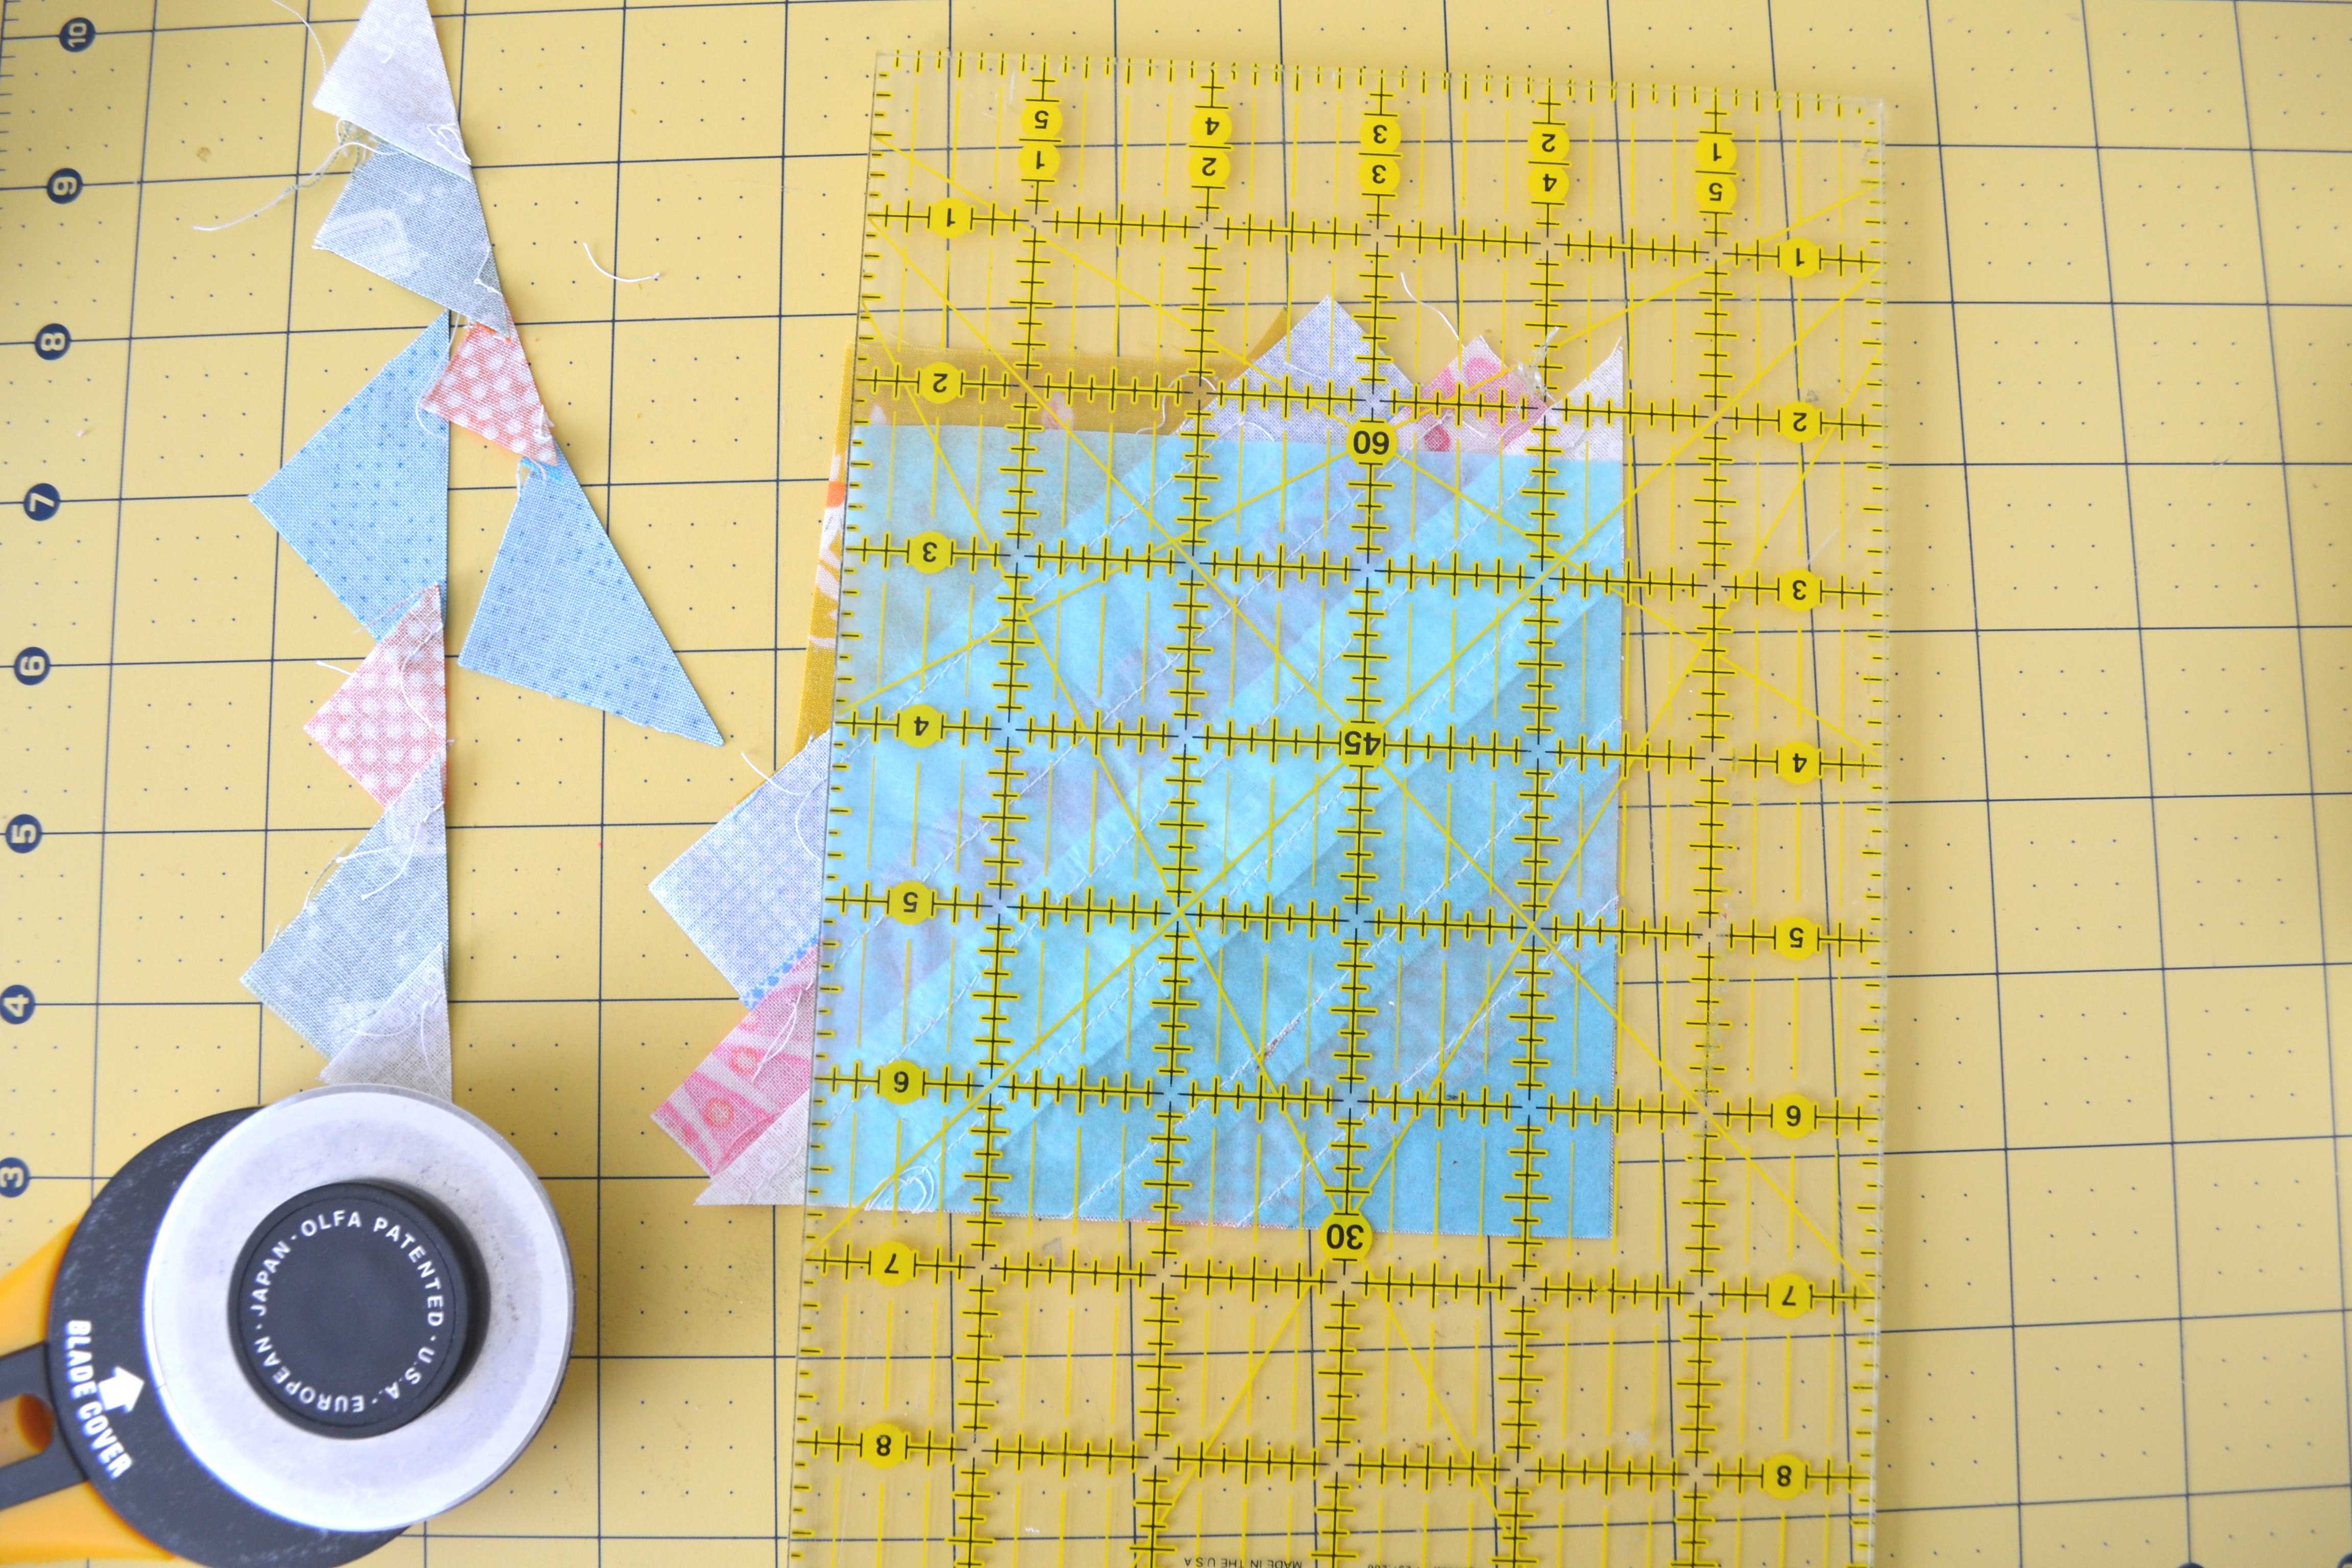
5. Lay the pieced fabric side down on the cutting mat. Trim the excess fabrics using the tissue paper as a guide.
6. Peel the tissue paper off.
Tada! A block is done. Isn't this so fun?
7. When you are done making the rest of the blocks, play with them to decide on the layout and piece the blocks side by side to create the rows.
8. Then, piece those rows together.
9. I did simple rows of quilting on this. Degital Dual Feed foot is one of my most favorite accesorries for my Babylock Aria. It feeds the fabric evenly and consistently. I felt the big difference on finished projects especially when working on larger items. Trim the excess around the quilted square.
10. Take a 11"x 16 1/2" piece and fold one side of 16 1/2" twice (1/2" each time)and sew. Leave the other side row edge. Do the same with the other 11"x 16 1/2". Lay them on top of the quilted square right side down. Center part will overlap by 4". Pin and sew around the edge. I used zigzag stitches to finish the edges to prevent flaying.
11. Turn it inside out and press with iron.
Time to enjoy!
This is a simple project and a great way to use your strips of scraps. Also, this quick project will make a great gift. I created this pillow in one afternoon while I was half watching Korean dramas on my phone. I had so much fun doing it, so I decided to make a bonus project for you!


Bonus! Scrappy Strip Mini Halloween Pillow --- finished size 11"x 11"

*YOU WILL NEED

4 Pieces --- 6"x 6"tissue paper
4 kinds of 1 1/4" strips
1 kind of 2" strips for the corners
1 --- 12"x 12" batting
1 --- 12"x 12" backing (I used muslin. It will be hidden in the pillow)
1 --- 11 1/2"x 11 1/2" fabric for the back of the pillow
1 1/2 yard of pom-pom trim
*HOW TO

You can pretty much follow same steps as I provided above There are few differences between those pillows, which are:
* I used unified width of strips (except for both corners of the square).
* The each squares are larger and you only need 4 pieces
* The back is one piece, instead of two panels. When you are ready to make it in to a pillow, sew quilted top, pom-pom and the backing together leaving a few inches opening. Turn inside out. Stuff and stitch the opening to close.
Thank you for visiting. I hope you will enjoy making those projects! :)

Friday, September 20, 2019

Halloween Themed Tiny Tin Sewing Room

Hello! It's been a while since I posted. My recovery is going well and I am so happy that I can do things as long as it doesn't require me to lifting or putting too much pressure on my left arm.
I created these 4 Halloween themed tiny tin sewing rooms this week. At first I was going to make just Halloween themed rooms. Then, looking at black sewing machine with gold details made me think "How fun would it be to put together sewing room with Halloween colors...".

I love how they turned out!

These will be seasonal limited addition and available in my etsy shop. I might make more depending on how well they are received. It is fun to do things bit differently. Now I hear Christmas bells ringing... ;)
Blog Widget by LinkWithin