Saturday, October 9, 2010

Whip up Guest Post


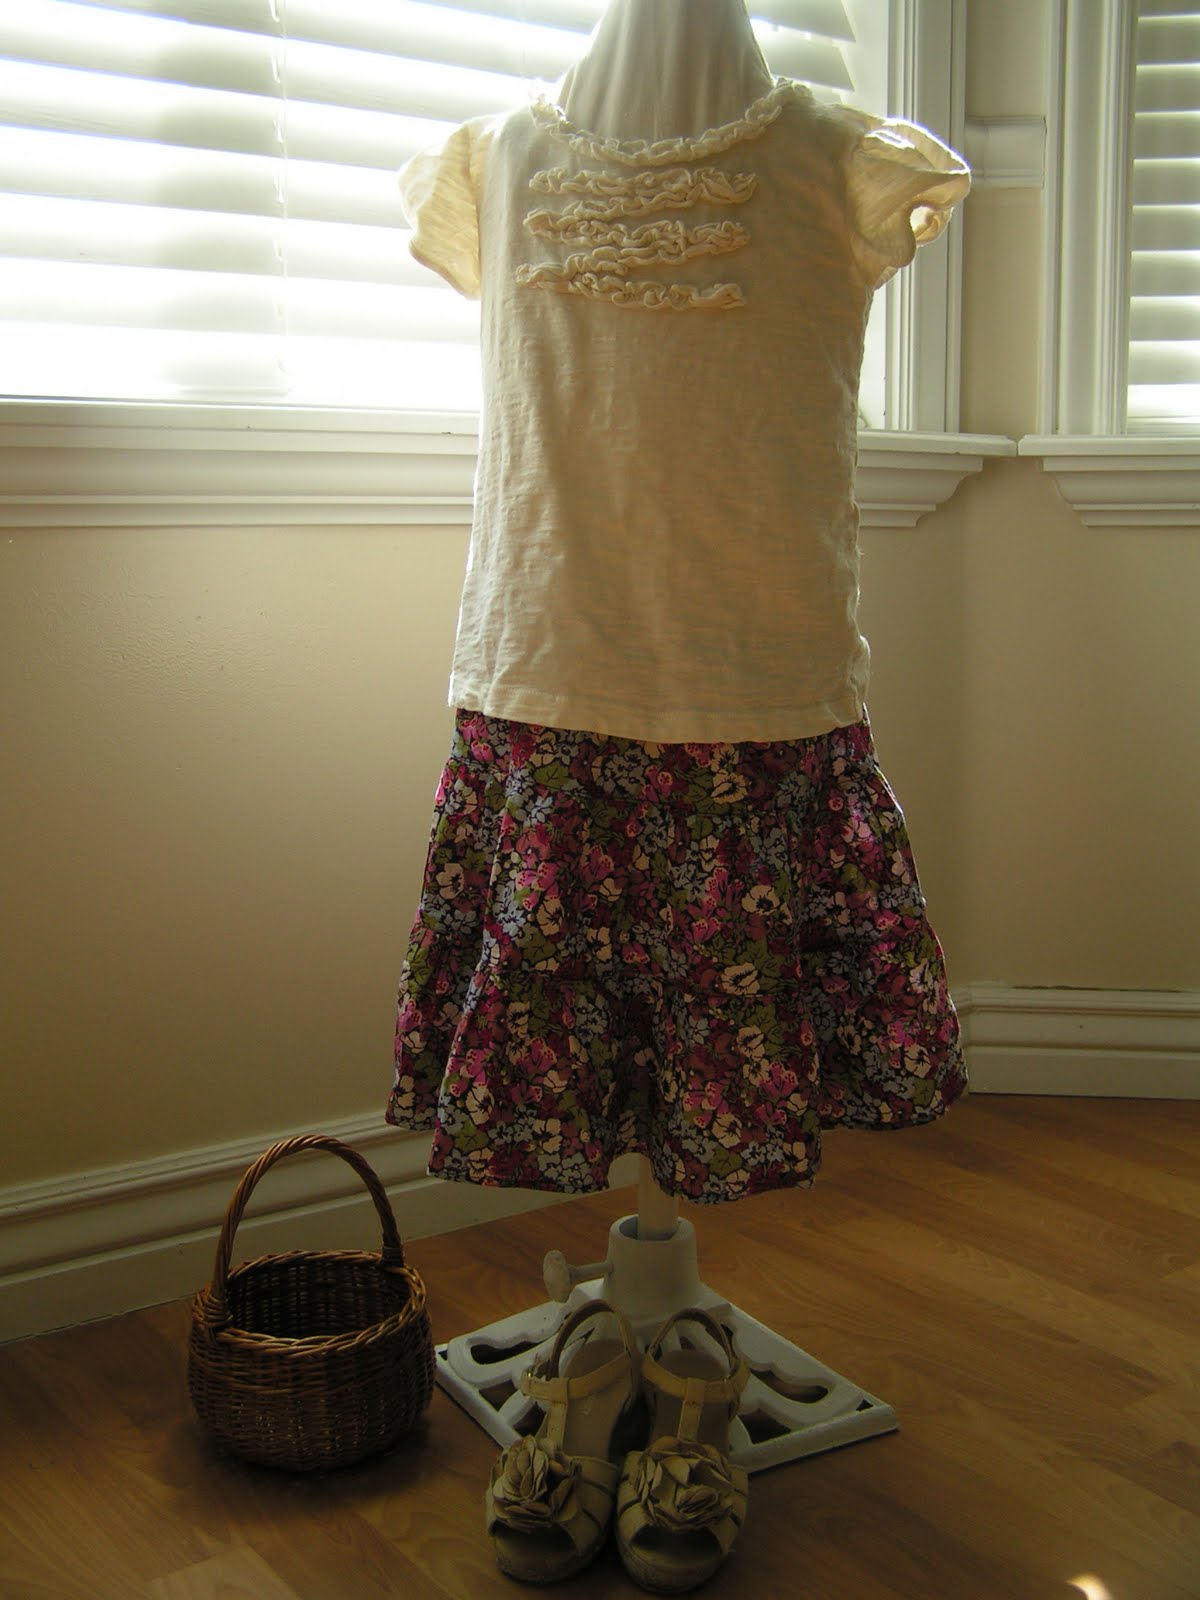
You might be wondering when I am going to do another re-fashion tutorial...

A while ago, Whip up asked me to be a guest blogger for her blog and I accepted the offer gladly!

You can find my newest refashion tutorial at Whip Up. Head over and say hi, I hope you enjoy it!

Thursday, October 7, 2010

CSN Store Review

I want to say "THANK YOU" to all of you who left kind well wishes and shared your own car accident experiences with us. I know, we were so lucky that we were ok... you know that means, I get to do more blogging! :)

I have been given the opportunity to do review for CSN store, go to my sponsor's page and check out what I have decided to review. I am pretty excited about this!

Wednesday, October 6, 2010

Link Party No 26!

Hi everyone, before I start this week's link party, let me tell you what happened to me yesterday...

As usual, I picked up my boys, ran some errands, and was on the way home driving down the street. On Monday, the kids don't have any activities to go to, and it is our family night. I prepared a special Japanese dish for dinner; all I needed was to go home, help with their homework while I deep fried the main dish. There was a red light, and everyone was slowing down including myself and I was about to stop... then,


BANG!!!

Our car was hit from behind.

For a second, I didn't know what had just happened, and then I realized that I got rear-ended. I was shaking, but my mind was racing thinking about what I am supposed to do. I looked in the rearview mirror; all my kids were shocked but seemed ok.

I called the police, and my husband. I was still shaky...Phew...ok, what's next.
At first my reaction to the accident was shock then to scared, after I made sure the kids were ok, the next emotion that came to me was anger. It was a brand new VAN we just bought!!!
I was ready to get out the car and talk to the driver who just hit me, oh... I was thinking he is going to get it.

I got out of the car, and I saw, a boy walking towards my direction. He seemed anywhere from 16 to 18 years old.

I could tell he was stressed and upset about what happened, and he said,
"I am so sorry..."

He was all apologetic and honest about it. He told me that he stepped on the brake but couldn't stop in time. After that he said sorry several times.

Right after his first "I am sorry" my attitude changed. I felt bad for him.
He will probably get in trouble for this and his insurance will go up too. (I feel for the parents).

Besides, someday my kids will start driving, and things like this might happen. How do I want people to treat my kids? Especially when no one is seriously hurt and the boy is feeling so bad about the whole thing. I believe in Karma. If he was my child I want people to treat him fairly.
I swallowed the words that filled my mouth (the ones that he was going to get; don't worry, no swear words were involved. I had my kids in the car too; I don't wanna scar them for life. They would talk about this time after time "the day my mommy lost it").

Eventually, the police came and we took care of the paper work. My husband came, the boy’s parents came. You know what? The boy’s parents were very nice people too.
His father came to us and apologized couple times after he saw the damage on our minivan and said "We will make this right; we will take care of this".

Wow... how nice is that? People would say, you shouldn't apologize after a car accident, because that is admitting that you are at fault. You might get sued for lots of money.

Not them. I felt like the "Sorry" was very sincere, and came from bottom of their hearts. Wouldn't it be wonderful if we are all that way?

It was unfortunate that the accident happened, but I felt like I witnessed something rare and beautiful that moment.

Side note: After the accident, we end up going to an emergency room, for my neck pain and headache. They did a CT-scan on me, and an x-ray on Michael which made him feel all important. Also, the kids were so excited about visiting the ER (we sometimes watch, "Untold Stories of the ER" they thought that it is so cool to be at the ER themselves) :)

Our family night was a lot more eventful than I planned. Before I went to bed, I was thinking how blessed we were. Everyone is ok, and we are able to go to bed under the same roof.

Ok, everyone, that was the end of the story. Show me what you got for this week’s link party!

1. Please post something YOU made. It doesn't matter if it is crochet, quilt, clothing, anything would be fine. I want to see it! If you use someone's idea or patterns please give them the rightful credit.

2. Link to your specific post, that way it is easier for everybody to find and read it.

3. Please grab the "Tea Rose Home" grab button, and link back from your post. If you can mention the party in your post or place the button on your side bar, that would be great! I want more people to have a chance to come and show off their creation.


Sunday, October 3, 2010

Link Love No.25!

Wow, 144 links this week. Thank you all so much for participating and sharing your work with everyone. I thoroughly enjoyed going through the links but it is very difficult for me to find the time to leave comments on every single one.

I hope you will understand and still come back to next week's link party!

Here are the projects that caught my eye this week...

I am usually not a big fan of yellow, but this Rosette Decor Ball is so darn cute!
Sounds like it took All About Mommies a really long time to make this, but the result is stunning, great job!


Mandy's Yellow Corner made a really pretty decor from a plain, simple door. It was amazing to see the step by step pictures on how the door was transformed. You are very skilled with a paint brush!


At Second Street made this super cute eyelet dress. I love everything about the dress, I need one for myself!


I believe she is new to this link party, I visited the link and I love what I saw! 612 Riverside posted several different creations on there, but my favorite is this bracelet. So unique and different, I love the warm colors too.


You have to check out this dress by Aesthetic Nest... the dress is vintage style (which is pretty already) and she added farm animal applique around the edge of the skit. How unique and pretty.


There are many talented people out there; you guys are one of them. Thank you for visiting, I will see you at my next post!

Thursday, September 30, 2010

Booster Seat Makeover (Costco)


Buying a new car made me realized one thing...our booster seats need serious TLC!

I know sometimes my boys will step on the booster seat (of course with their shoes on!!) to climb over to the back seat or to the trunk area to get something they dropped. I never really paid attention how dirty the booster seat covers were until I was trying to transfer everything from our old minivan to the new one. There were unidentifyable stains everywhere and it was just very nasty looking. Especially in the new car, those car seats looked so out of place.

I washed the seats and disinfected them while I threw the covers in the washer.
Guess what, those covers were still dirty looking even after the wash...

That's when I decided to make booster seat covers! One booster seat is from Costco, and the other one is from Graco. The Costco booster seat cover is just flat and looks very simple to make, and the Graco one is a little bit more work.


I will share what I did...

1. I made patterns first...


2. Cut out the top fabric, batting and backing by using the pattern. This costco one had tabs. I used vinyl (the kind that is used for table cloths and such) to make tabs. Lay the right side of the fabrics and batting together, and insert three tabs in place and pin. Using 1/4" seam allowance sew the one side together.
When you turn it inside out, the tabs will be sewn in.


3. Line up all three edges that are not sewn and flatten the fabric. Sew on the layered fabric to stablize them. I did 4" apart between the lines, this gives a quilt effect.

4. Sew bias tape on all three sides.


5. Make holes with an awl on the tabs and bottom of the cover. When I created the pattern, I also marked them on the paper to make things easier.

6. Done!


I love it! I couldn't use flower print (my boys would refuse to sit on it if I did), but I am happy that I got to use the fabric I already had and it came out better then I expected. I am working on the Graco one now, it is a little more work, but I can't wait to see them side by side in my mini van. :) Oh, before I forget, since I used vinyl for the tabs, I will not be able to put it in the dryer. I just realized this as I was writing this post. So use something else for the tabs, and if you find any better material for that, let me know! :)

Wednesday, September 29, 2010

Link Party No. 25!


At the beginning of this year, I promised myself that I would not buy fabrics (well, within the reasons...maybe occasionaly...) and use whatever I have on the shelf instead.

So, I was going through my shelf and decided to make another swaddle blanket. I also made a burp cloth with the leftover marterials. I have so many other things on my "To do list" and this was certainly NOT on the list, but when I saw the fabric combinations, I couldn't help but sew it. :)


I have a few other on going projects I will share the pictures when I am finished. :)

I can't believe it is almost October, I love fall but I don't know if I am ready for the busiest months of the year!

I am so excited to see what you got for this week!

1. Please post something YOU made. It doesn't matter if it is crochet, quilt, clothing, anything would be fine. I want to see it! If you use someone's idea or patterns please give them the rightful credit.

2. Link to your specific post, that way it is easier for everybody to find and read it.

3. Please grab the "Tea Rose Home" grab button, and link back from your post. If you can mention the party in your post or place the button on your side bar, that would be great! I want more people to have a chance to come and show off their creation.


Monday, September 27, 2010

What I Made From a Scarf


I was working on a project last week, which was to use a 42" x 61" scarf to make something. Lots of ideas flooded my mind, and I finally decided to make an outfit for Rachel.

At first I wanted to make a dress, than I thought, instead of making a dress, if I make a blouse and skirt, that will widen the variety of her outfits. And, she can still wear them together to make it look like she is wearing a dress.

I came up with a pattern for the tiered skirt. I had a pattern by “New Look(6882)” and really liked the design, I changed a few things here and there and made the top.

I also made a belt for when she wears them as a dress. I wanted to make the skirt a little bit longer, but I only had 42"X 61" (it was little bit challenging yet fun!). I had no wiggle room.

She can wear this for three seasons; Spring, summer and fall. Depending on what she coordinates with, there are so many ways to enjoy this outfit (Not that Rachel would care that much, yeah, it is mostly for me to have fun).

Here are some combinations that I came up with using stuff that Rachel already has...


Isn't it fun? Rachel loved her new dress and we had a fun time taking pictures. :)

Blog Widget by LinkWithin