Showing posts with label Sashiko Machine. Show all posts

Tuesday, October 1, 2024

Baby Lock Sashiko Machine Project ~ Scarf

In the morning and in the evening it is getting a bit chilly where I live. I prefer cold weather to hot weather (the heat sucks out my energy) and I am anticipating the upcoming seasons. Fall is where I can start incorporating sweaters, cardigans, jackets, coats, boots and scarfs and have fun with layering. Speaking of scarfs... what I have here today is a quick tutorial on how I made a light weight scarf using my Baby Lock Sashiko.

* You Will Need
2 yards of Gauze or other lightweight fabric
Various Yarn, threads you want to use on the scarf

Note: I decided to use two yarns. One is a little thicker with waves and the other one is thinner and smooth to give variety and visual interest. For the thread, it is recommended to use medium weight thread because the machine doubles the stitches. Using a heavier thread can cause shredding and inconsistent stitching. Some recommend smooth cotton threads, like Aurifil; I personally love Aurifil. I made several projects with Aurifil on my Baby Lock Sashiko and the sewing process went smoothly and I liked the results. Also, remember to avoid metallic threads that can be too elastic or loosely spun. If you want to know more about thread and other tips, my friend Evy from A bit of Stitch has a fantastic Youtube video about Thread recommendations.

* How to
1. I cut the gauze in half, so the scarf will not be so wide. My scarf is going to be 25" wide x 2 yards. Then I used my regular sewing machine to zigzag the side so it doesn't fray.
2. From this point on, you can be an artist. Just imagine how you want the stitches and yarns to look on the scarf and start stitching. I started out with cream color thread first with stitch length of 5 and space length of 5. The stitch won't show much, but I love the subtle texture it creates on the fabric. Run a few lines on the scarf top to bottom.
3. I added the thick yarn next. All you need to do is to hold the yarn and stitch on top of it. Remember, the yarn doesn't need to be perfectly straight. I purposely made mine a really soft wavy line.
4. Next, I used thin green yarn. I used 2 strands of yarn and braided it as I stitched it down.
5. I didn't take a picture of this process, but lastly, I added stitches with Blue thread. I used the setting of 5 stitch length/ 5 space length. In the picture, you can see blue stitches running through the scarf. I love how the color pops.
Here is a picture of that part of the scarf. As I said in the beginning, I didn't have a set plan of what and how I am going to stitch and add yarn. It is pretty random, but it worked out as I pictured in my mind. The great thing about this project is that you could add even more stitched lines and yarn if you want to make them even more the focus of the scarf. I usually like muted colors and subtle designs, and that's what I did, but your scarf might look very different from mine.
Time to take it for a test drive!
I love how it turned out and it is making me want to make another one with a different color. Perhaps Navy fabric with brighter colors? I am looking forward to using this often this fall!

Friday, December 29, 2023

Red & White Table Runner with Baby Lock Sashiko

Every year, from October to now I feel like I am in full gear between three birthdays in my family, Thanksgiving, parties, all the preparation leading up to Christmas and Christmas celebration. Phew... it is definitely fun and exciting, but it can be a bit exhausting. I bet many of you feel the same way. And guess what? Next up is New Year’s Eve!

In Japan, New Year’s Eve and the few days of celebration following New Year’s are very special. I am not very traditional, but I still remember how my family deep cleaned the whole house (yes, in Japan we do a special year end cleaning called Oosoji instead of spring cleaning) on New Year's Eve to welcome the New Year. My mom prepared special meals for New Year’s Eve and Osechi for New Year.

We exchange Nenga-jo (it's like Christmas cards), watch TV shows just for this season, visit Buddhist temples or Shinto shrines to make wishes for the New Year. I get a little nostalgic before New Year and want to carry on some of the traditions in my family. It is safe to say that I do it through my cooking. To enhance the celebratory feeling, I wanted to make a red and white table runner to set my table. I had some design ideas in my head and now it is time to make it happen with my Sashiko Machine!

* You will need
Red fabric 2/3 yard for the top
Fabric for the back -- You could use the same red fabric or something different 2/3 yard
Interfacing --- I used Pellon 987F Fusible Fleece, but it is personal preference
White thread for the Sashiko machine --- I used Gutermann 100% cotton thread for this

* How to
1. From 2/3 yard red fabric, but two 10 1/2" wide x width of the fabric strips. Usually, fabrics are sold 44" wide, but cut off the selvedges. Sew these long strips together to make it longer. Open the seam and press with iron. I did this to save money, but if you don't want the seam in the middle of the table runner, you could buy the length of the table runner you desire.

2. Iron the interfacing to the fabric strip you made in step 1.

3. Draw Sashiko Design on the fabric. On the center of the fabric I drew a 9" x 9" square first. Then I drew three more squares on both sides with 1/2" spaces in between. The both ends of squares are 9" x 8", but this all depends on your desired length of table runner. As far as sashiko design goes, I googled some of the traditional sashiko designs and I made some of them up.

4. Make satisfying sashiko stitch with Sashiko!

5. Right sides together, pin front fabric and backing together. With 1/4" seam allowance, sew all the way around the edge of the table runner. Make sure to leave a 5" opening for turning.

6. Snip the corners to a cleaner finish. Turn the fabric inside out. Use a pin to pull out the corners neatly.
7. Press the edges with iron.

8. Close the opening with slip stitch.

It is all done. I was able to finish the whole table runner in two days because of the sashiko machine, but I know it would take a lot longer if I was doing this all by hand. The table runner has good stiffness to it and I love how it turned out!

I love to think about table arrangements. I am going to do a low key flower arrangement...

Accompanied with red and white tableware.
I hope your 2024 will be filled with love, hope and much happiness. Happy New Year everyone!

Tuesday, January 31, 2023

Baby Lock Sashiko Sewing Machine

Sashiko is in the hooouse!

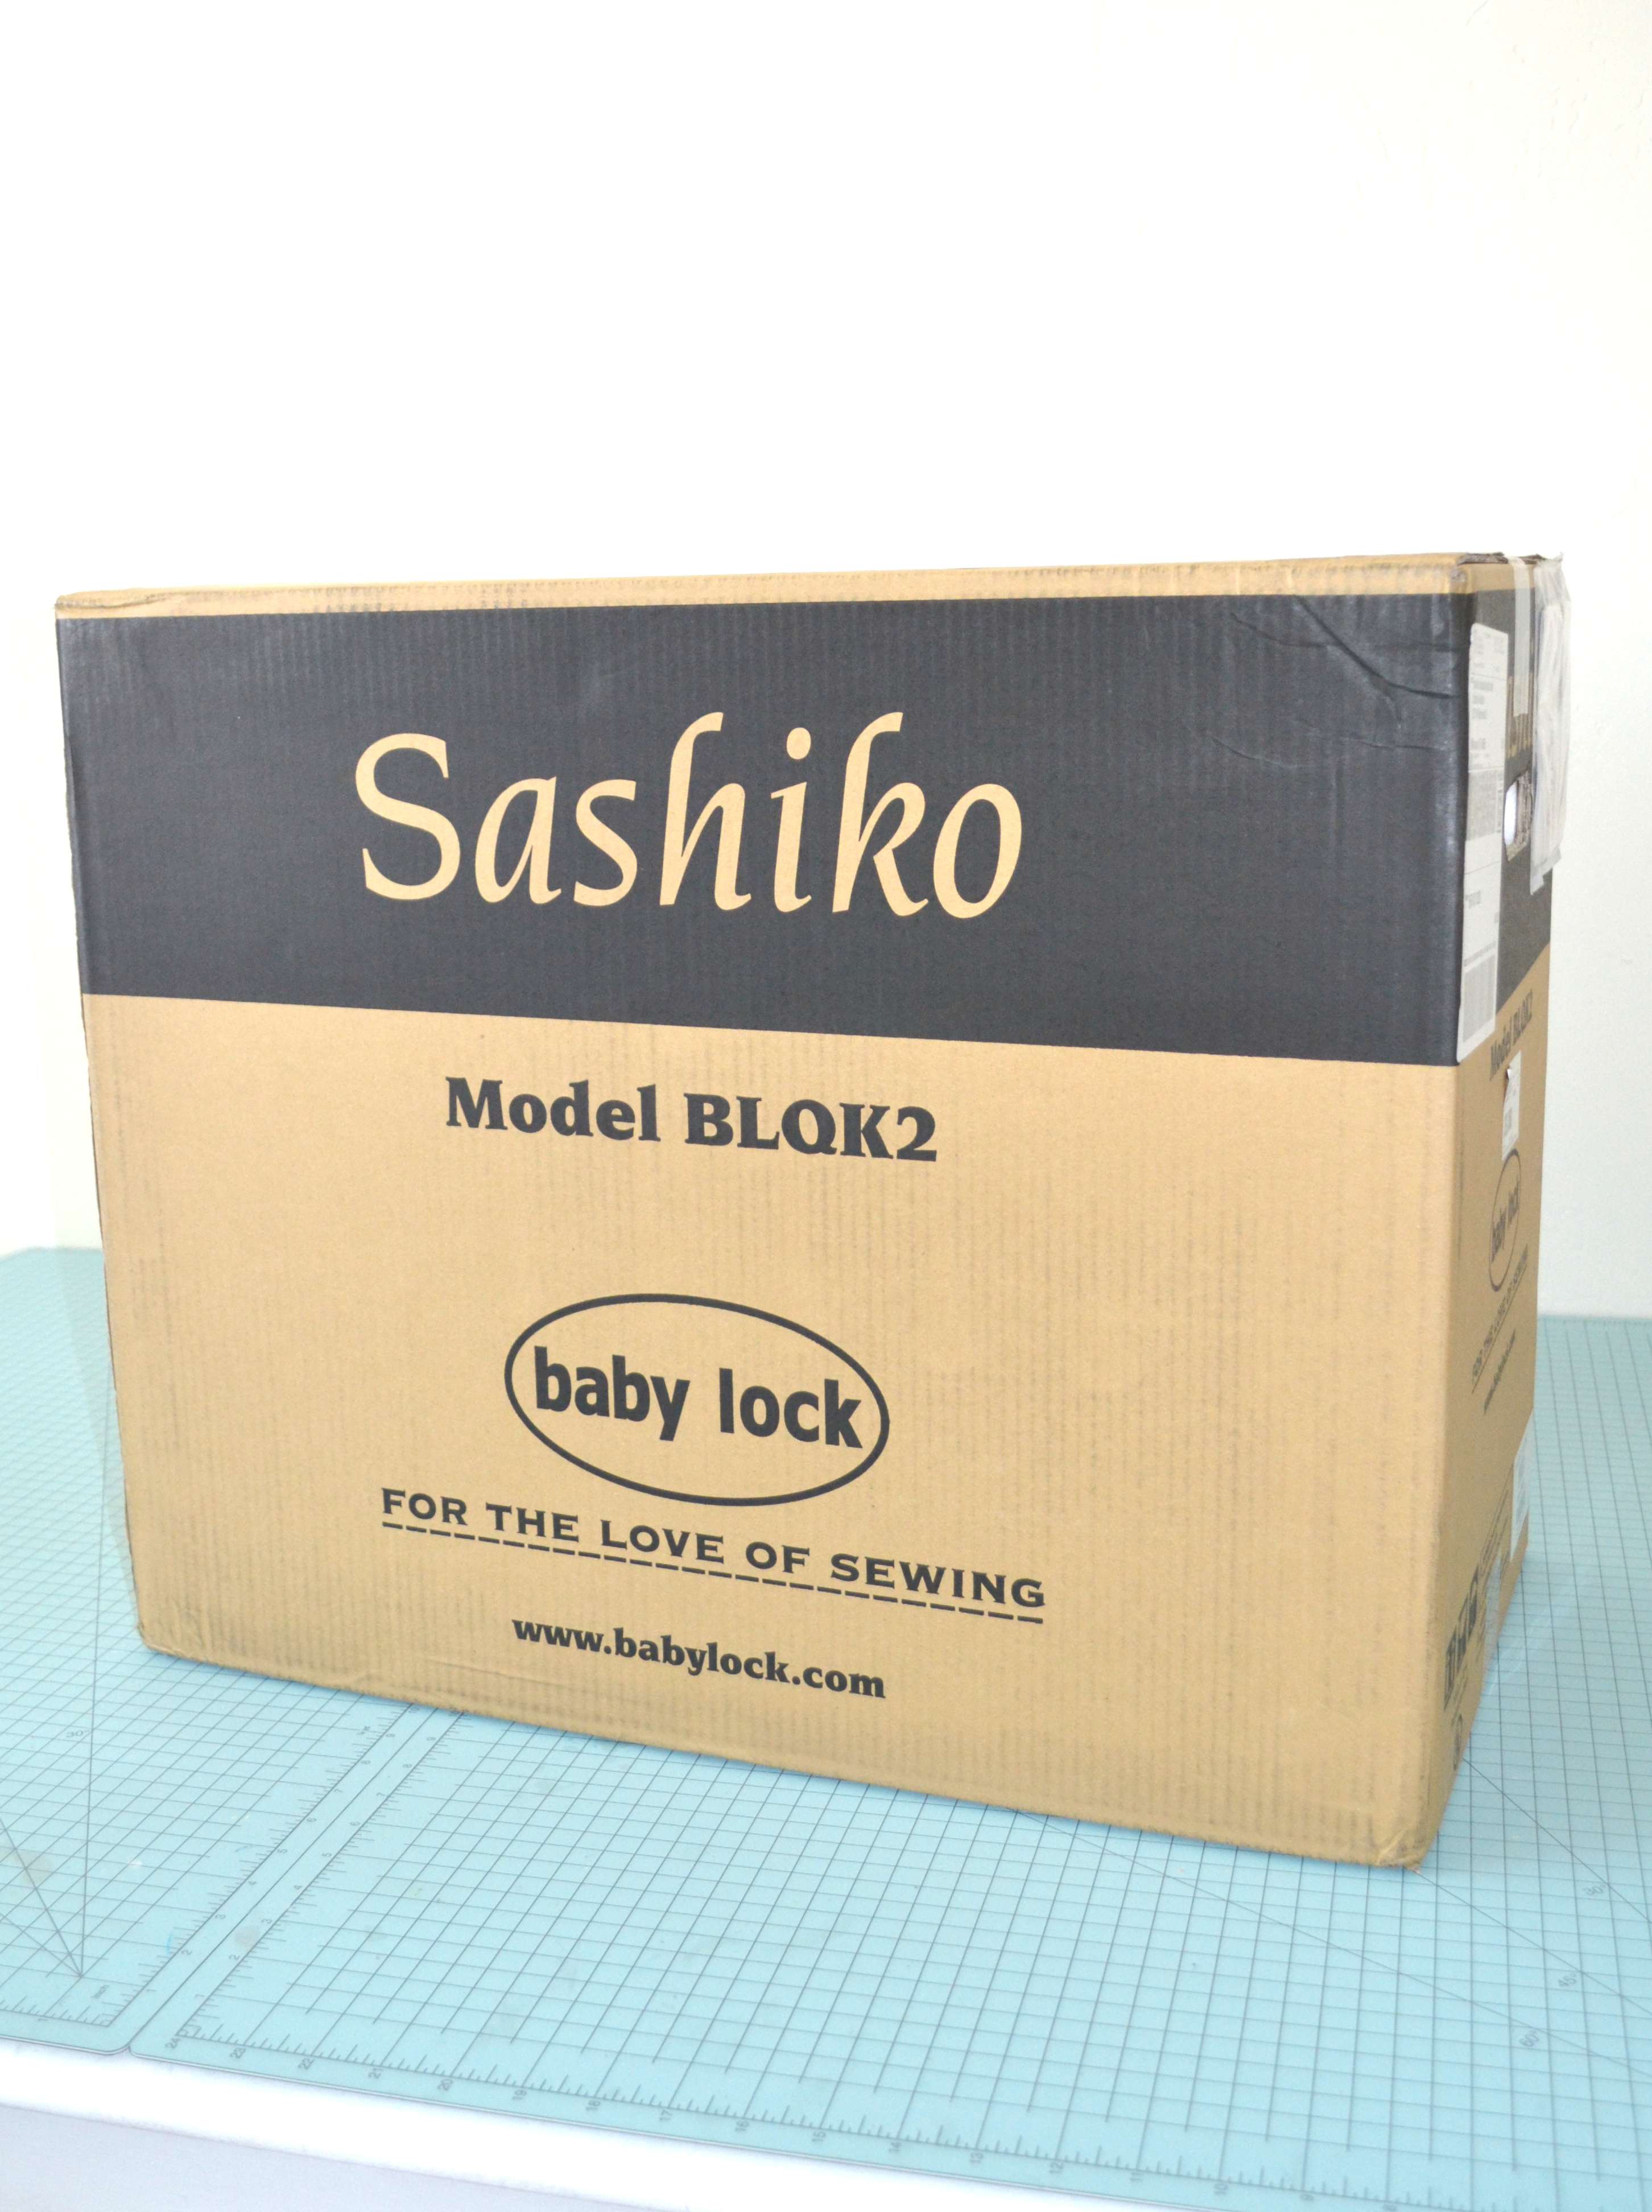
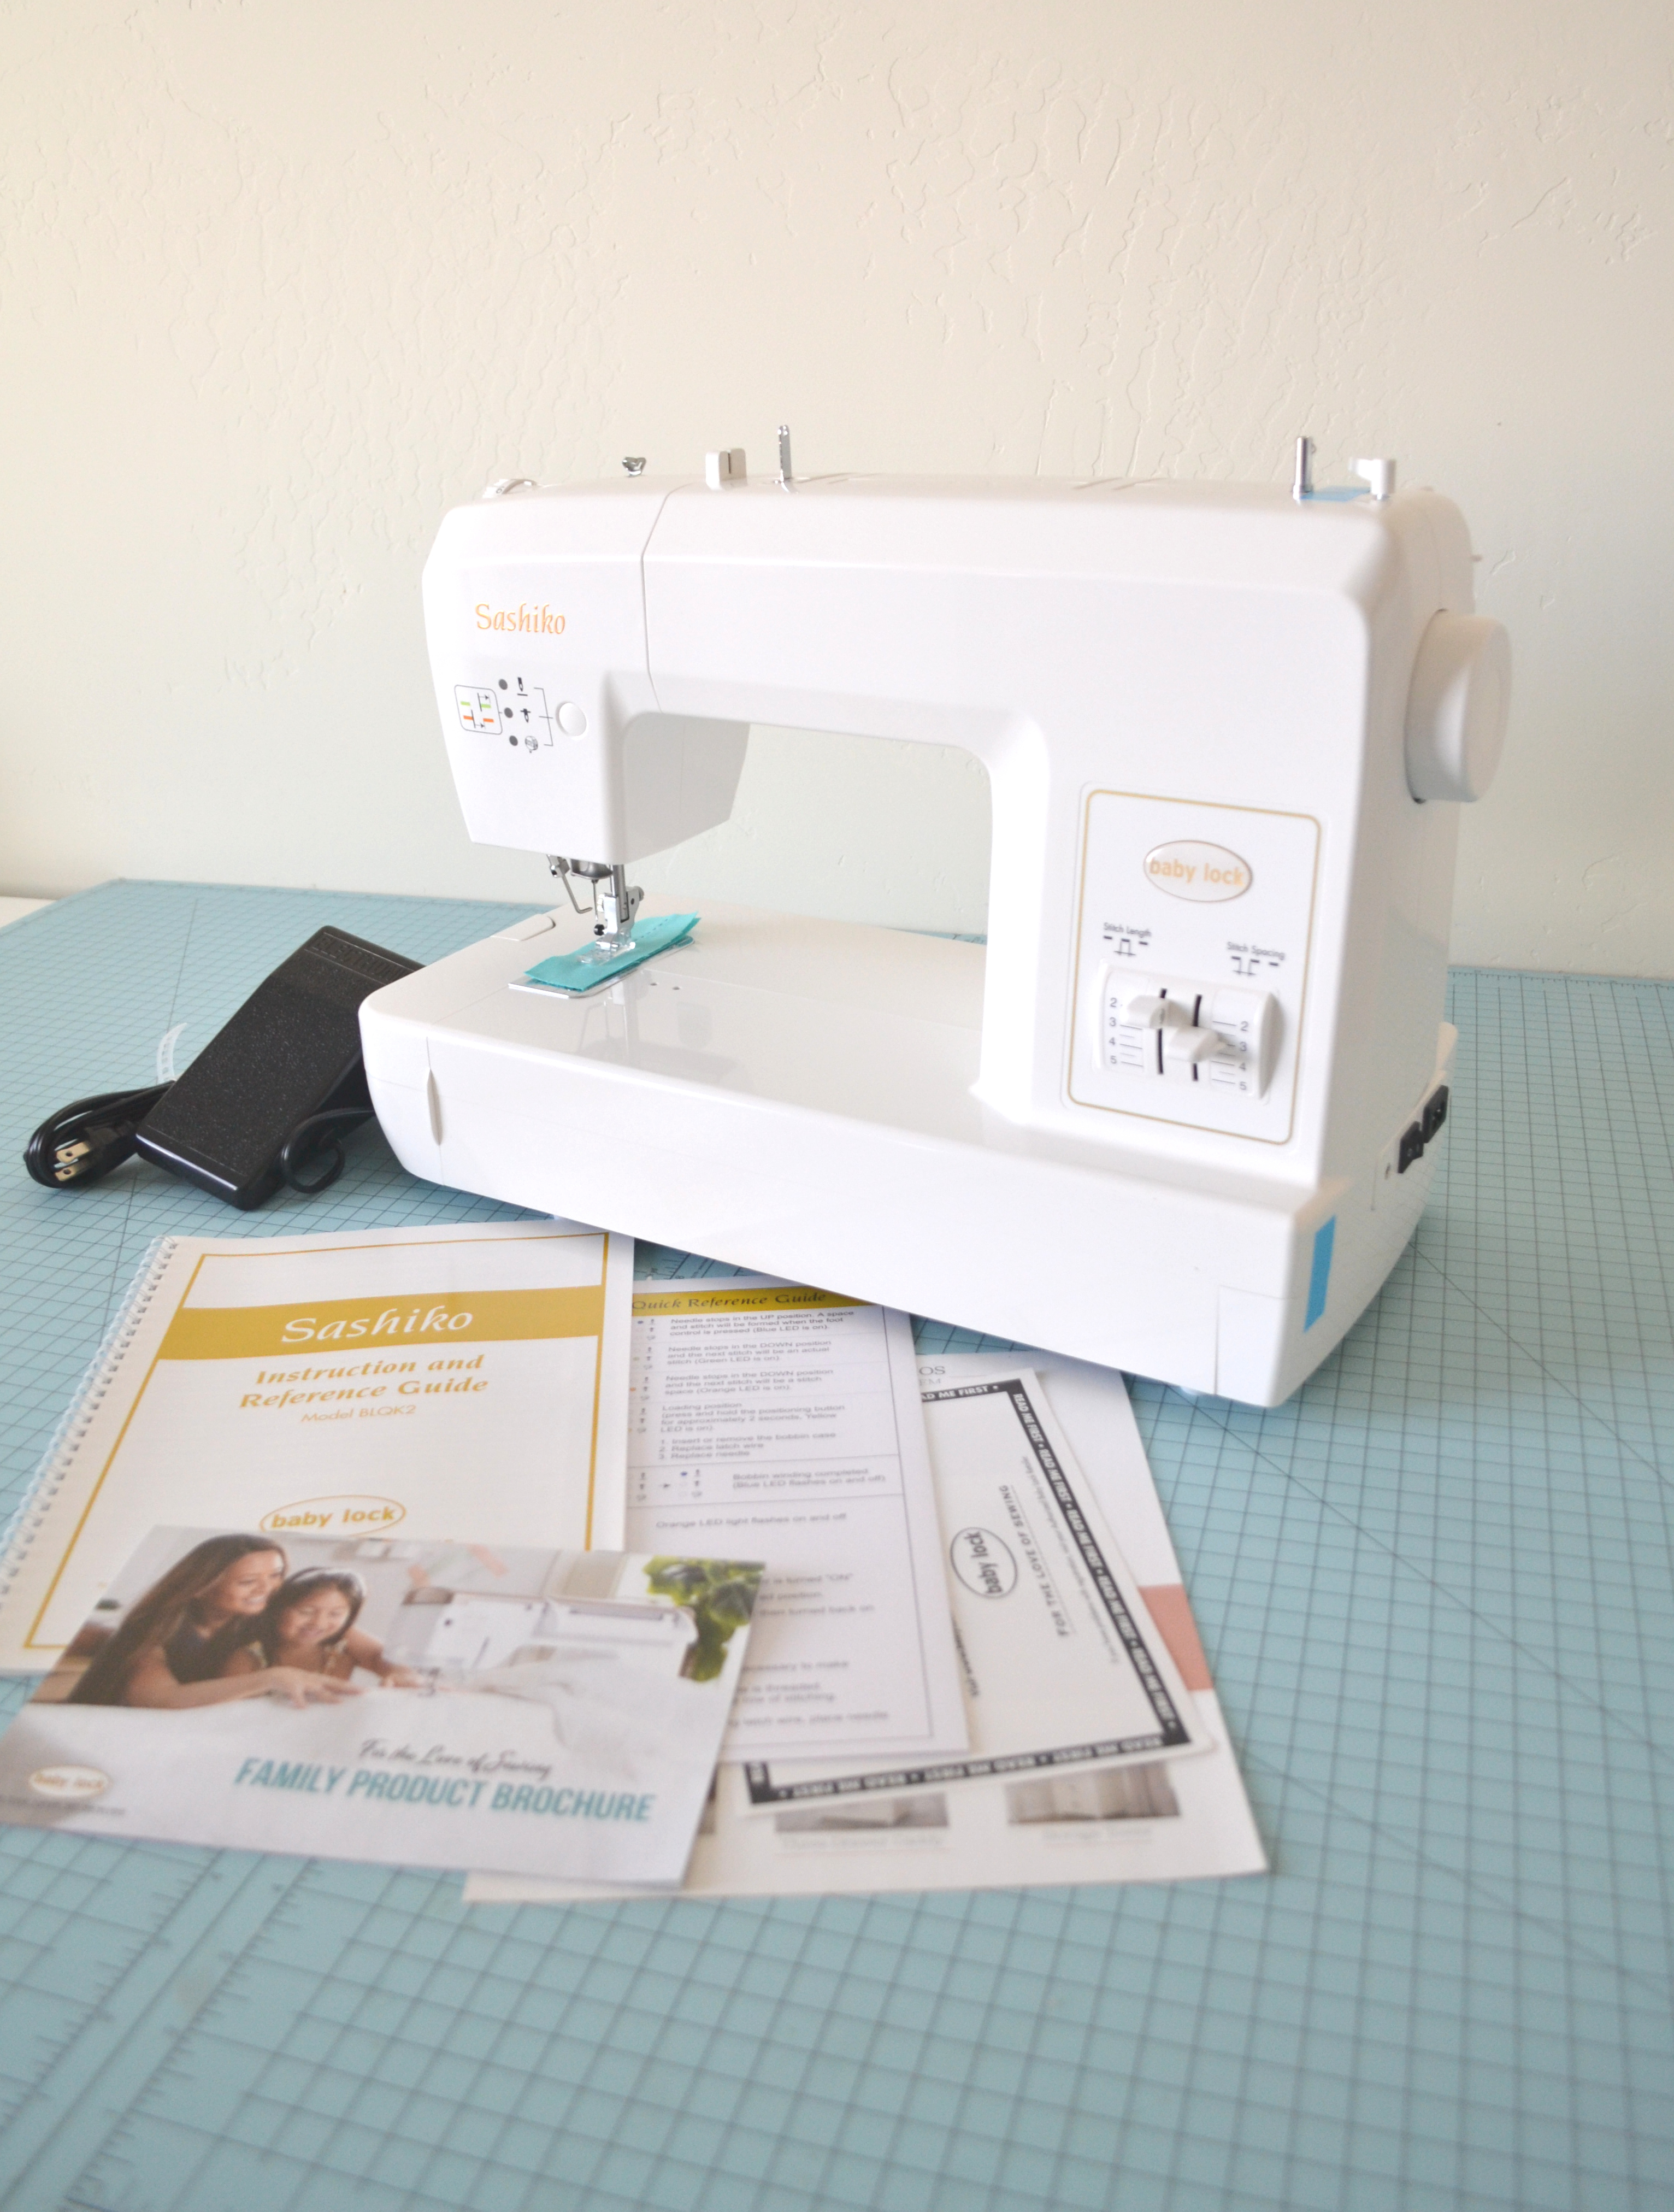
This giant box from Baby Lock was delivered to my doorstep the day before Christmas Eve. I had my birthday in December (I turned 50! Yep, it's kind of a big one), it was like receiving a birthday present and a Christmast present both at the same time! The name of the machine is "Sashiko", look closely, not Sachiko; which is my name(means a happy child or blessed one). Sashiko is a traditional Japanese embroidery or stitching used for the decorative and/or functional reinforcement of cloth and clothing. The items that were created using Sashiko stitching are very beautiful and I feel like many traditional Sashiko designs resonate with modern design lovers too. I found a great website if you know more about it.

A long time ago, I was at a quilt store and saw a Sashiko machine for the first time. To be honest, I really thought that Baby Lock named one of their machines "Sachiko", just like they had named some of their machines "Anna", "Amelia", "Rachel" and such. But I thought to myself "why a Japanese name???" I looked closely and realized it was "Sashiko" instead of Sachiko. I learned what the machine can do and ever since then, it has been one of my dream machines!
Now you might ask; "So, what could this machine do?". Let me tell you ... you can do hand stitching with this machine!!

I was astonished when I first found out about this!

I started out as a hand quilter in my teens and I did piecing/quilting all by hands. I am always drawn to traditional hand quilted quilts. I love the spaces in between the stitches and I feel like hand stitching gives a more softer, cozier and whimsical touch to the quilt. I still enjoy hand quilting, but I am starting to get concerned about my hands now that I am getting older. I will continue to hand-quilt here and there, but it will be amazing if I can use a machine and have it look like it was hand quilted! Wouldn't you agree?

I haven't started learning how to use the Sashiko machine yet, but Baby Lock has helpful online resources and my ever talented and skilled friend Evy of A Bit of Stitch has created a book all about Sashiko machine. I know they will help me tremendously in my learning process.

I can't wait to share my new creations using the Sashiko machine in the near future!
Blog Widget by LinkWithin