Thursday, December 2, 2010

Advent Calendar


I am so excited about the new look for my link party! Don't you think it's better to have pictures for the links showing? I hope you can visit each other and have fun. :)

Well, it is December; the countdown to Christmas has started in our household. Several years ago I started an advent calendar for my kids. The first year, I didn't have a fancy little house like you see in the picture. I made 25 small envelopes with a little note inside and taped them on the wall. The kids had no idea what I was trying to do at first, but soon they realized that "This is fun!”

For those small notes, I wrote down stuff like "Three golden coins"(they were chocolate candies), "Christmas movie with hot chocolate", "Bake cookies"; the list goes on.
Sometimes they will get a small gift from the dollar store.

Since there are three kids, they each take turns opening the door to see what the surprise is each morning. They get soo excited and giggly. I love watching their happy faces!

This year I have decided to do something different. I will write the usual list of things, but since they are older now, I added a couple "service" activities on the list. I know they will be so excited to be a secret Santa for someone, or shovel the drive way for our neighbor. I truly believe that "giving" gives us ultimate joy, especially around Christmas. I can't wait to see their reaction to the "service" notes.

Also, there is something different that happened this year to our advent calendar. My son Christopher came to me and said,

"Mom, when you open the calendar to get ready… DON’T OPEN the 3rd."

I was busy cooking and totally spaced that that is my birthday. Michael and Rachel were behind Christopher giggling.

"That's your birthday! Don't open and peek ok?"

I smiled and said, "Ok, I can't wait!"

I was so surprised and excited to see that my kids are growing up enough to care and do something for someone. Sometimes being a mom can be hard and exhausting (I don't know about you, but it is for me, ha! I said it!). Because of moments like this, all the hard work, time and love invested in them are totally worth it.

I shall see what they are planning for me on my birthday. :)

Wednesday, December 1, 2010

Link Party No. 32!


It is the time of year that things get busy and crazy sometimes, if we are not careful. I am not an exception either. I feel like the things I need to do are piling up, calendar filled with parties, functions, and get-togethers. There are so many projects that I was supposed to finish this year... really? It is December already?! Hopefully I can share the project that I am working on (or at least have been trying to the last week or so) soon.

Meanwhile, if you were able to work on some projects, I would love to see them! Here are the rules:

1. Please post something YOU made. It doesn't matter if it is crochet, quilt, clothing, anything would be fine. I want to see it! If you use someone's idea or patterns please give them the rightful credit.

2. Link to your specific post, that way it is easier for everybody to find and read it.

3. Please grab the "Tea Rose Home" grab button, and link back from your post. If you can mention the party in your post or place the button on your side bar, that would be great! I want more people to have a chance to come and show off their creation.


Thank you all for linking, I hope you can go through this busiest time of the year safely and enjoy every minute of it!

P.S. I'm trying something new with the link party; you can now add a picture!

Sunday, November 28, 2010

Special Guest

A few posts ago, I posted about a cookie cake that Mr. Tea Rose Home made for our son's birthday party. So many people asked for the recipe that I asked Mr. Tea Rose Home if he would be interested in doing a guest post. He gladly accepted. So enjoy the recipe tutorial!

Hello ladies! Thanks for all the compliments on the cookies. I told Mrs. Tea Rose Home that I could write a post about how I make my cookies. She said, "Why, can't we just post the recipe?"

I jokingly replied, "Well, then we could write: It's on the back of NestlĂ©’s. The End."

So, there is my secret, the recipe is on the back of NestlĂ©’s Toll House Chocolate chips, however, that is not all. There is one thing that I learned over the years and it's not on the back of some bag. So without further ado, here is the recipe:

2 1/4 C. flour
1 tsp Baking Soda
1 tsp Salt
2 Sticks Butter
3/4 C. sugar
3/4 C. packed brown sugar
1 tsp Vanilla extract
2 Large Eggs

I use a KitchenAid mixer, and I always make the cookies in this order following these steps. This is why they turn out so good, and since I know of no one that makes them like this (because they've said so) it has got to be done this way.

Put the butter (Use the real stuff, no margarine; I use either salted or unsalted sweet cream. I haven't made two batches side by side to see if there is a real difference. When I make a double batch, I'll mix them.), sugar, brown sugar, vanilla, and eggs into the mixing bowl. Raise it up and turn the KitchenAid on to its lowest setting. Clean up (you don't have to clean; I'm just trying to keep the KitchenAid on longer.)

Mix the other ingredients into a separate bowl. Really you are supposed to sift those ingredients, but we either don't have one or I'm too lazy to find it, so I just put them in a bowl and lightly mix with a wire whisk.

This whole time the KitchenAid should still be mixing. You might have to stop it to get the butter clump off the mixing arm then start mixing it again. I will sometimes speed up the kitchen aid and lower the bowl to shake some of the mixture off and slow the KitchenAid down and raise the bowl back.


If the dough looks like this, you haven't mixed it enough, keep mixing. Go watch TV with the kids or something, depending on how cold or solid the butter was; this could take some time.


This is what the batter should look like, nice white and fluffy. No lumps from the butter or sugar. Now what I do is add about a tablespoon of the flour mixture in at a time. While the KitchenAid is mixing at its lowest setting, I'll add a scoop of flour and wait for it to get totally mixed in before adding another. This keeps the flour from clumping. Maybe you can just pour it all in and be done with it, but my cookies always turn out perfect if I do 1 heaping tablespoon at a time.

Once all the flour is mixed in, turn the oven on to 375°. Keep the KitchenAid going for several more minutes, and then turn it off. The dough should be delicious; yes, me and my kids love to eat the dough. Anyways, remove the mixing bowl from the KitchenAid and pour in the chips. When making a double batch, I mix in milk chocolate and semi-sweet chocolate. Mix with a spatula; be sure to dig in and pull the dough from the bottom and get a good even spread of chips throughout the dough.

For the cookie “cake”, I made a double batch and then scooped most of it into the pan and spread it out as much and I could. I think the dough was somewhere from a 1/4 inch to 1/2 inch thick, I'm not sure, I didn't measure. Either way, with cookies, you are supposed to cook for 9 to 11 minutes. I like my cookies doughy and gooey, so I go for 8 1/2 minutes (I use teaspoons to scoop out individual cookies.)

With the cookie “cake”, I cooked it for 9 minutes and that was too short, so back in for another 4 minutes... still not enough; 4 more seemed to do it; there was a nice light golden brown starting to form on the edges, it was done. Nice soft moist gooey cookies... mmmm.... Great with milk!


They were almost all gone by the end of the party.

Well ladies… that was it. The KitchenAid was nice and warm from all the work, I must have mixed for 30 minutes or more but that is my secret. Keep mixing and then mix some more.

I hope this recipe tutorial will be helpful for you to make the cookie "cake". Thank you Honey for the special guest appearance!

Friday, November 26, 2010

Thanksgiving Giveaway Winner!

Hi all! How was your Thanksgiving? I posted the winners for the Thanksgiving giveaway If you are not one of the winners, don't be sad. :) I will be doing another giveaway in the near future by CSN Stores. CSN Stores have over 1 million products on their site, toys to tv tables. It is fun to browse, and you might find the perfect gift for your loved ones just at your fingertips!

I am going to decorate the house for Christmas tomorrow with kids’ help (?) and with Christmas music on. Doesn't that sound fun? I hope you all are having a wonderful weekend.

Visit my Sponsors' Page to see if you are one of the lucky winners! I will see you on Monday!

Wednesday, November 24, 2010

Thankful...

First of all, I want to thank all of you who participated in the Thanksgiving giveaway! I read all the "Blessings" in your lives, and they are amazing. Many people are grateful for their spouses, children and friends. Also, there are quite a few people who were able to find something to be thankful for in difficult circumstances. Thank you so much for sharing your stories, and for being an inspiration.


I have so much to be thankful for. Sure, life gets crazy sometimes; I have locked myself in the bathroom for about 5 minute or so to get a moment of Zen in the past (it happens less frequently now). There are ups and downs and meltdowns too.

But I know I have FAR MORE blessings than I can count and far more than those difficult times. Let me share some of the blessings I recognized this year...

I am thankful for "cause" and "effect". Along the way, I always learn something...


I am thankful for ENTHUSIASM. It reminds me that I should be excited about the little things and enjoy the moment...


Although, I am thankful for stillness too. When I take time to do so, I can see the sweet and wonderful things in my life more clearly...


I am thankful for INDIVIDUALITY that makes us unique and makes the world an interesting place to live in.


I am thankful for LOVE and LAUGHTHER; they truly strengthen and enrich my life.


I am thankful for HOPES & POSSIBILITIES. They keep me going through the tough times. I will look ahead and wonder about the possibilities, and hope for the best.


Above all, I am thankful for the Gospel and our Lord Jesus Christ. They glue us together as a family and show us how to live in these uncertain times.

I hope everyone will have a wonderful Thanksgiving with your loved ones.

Happy Thanksgiving!

Note: These wonderful pictures were taken by my friend, Michelle. She is an awesome photographer. Please go check out her blog.

Monday, November 22, 2010

Tutorial ~ Indoor Frisbee ~


Usually, I share lots of ruffly, romantic and girly items on my blog, but get this...

I had two boys first (and boy they have been active and busy ever since they were toddlers!!) so I know what it's like to raise and entertain busy, energetic boys (oh, did I say that again?). So, I decided to share something geared towards them today. :)

When my boys were a lot younger, it was a bit tricky to entertain them on rainy, snowy or cold days. You can't go to the park, but they had tons of energy to burn off. (How come we mommies can’t take some of that for ourselves?) One of the things we did was to play Frisbee. At first we used a regular Frisbee, but in small spaces, it doesn't work very well. You have to be super careful not to throw it too hard or too far, otherwise you could hurt someone, or knock over one of us mommies’ precious decorations! One day I found a fabric Frisbee at the dollar store, and it was awesome! We used it all the time and we didn't have to worry about anything. You can pick your favorite fabrics and make a few to have a Frisbee tag war! Here is what I did;

{You will need}

9" X 9" two different fabrics for front and back
Batting (I used thin cotton batting that I had, but I made it two layers thick and was perfect)
Matching thread

{How to}

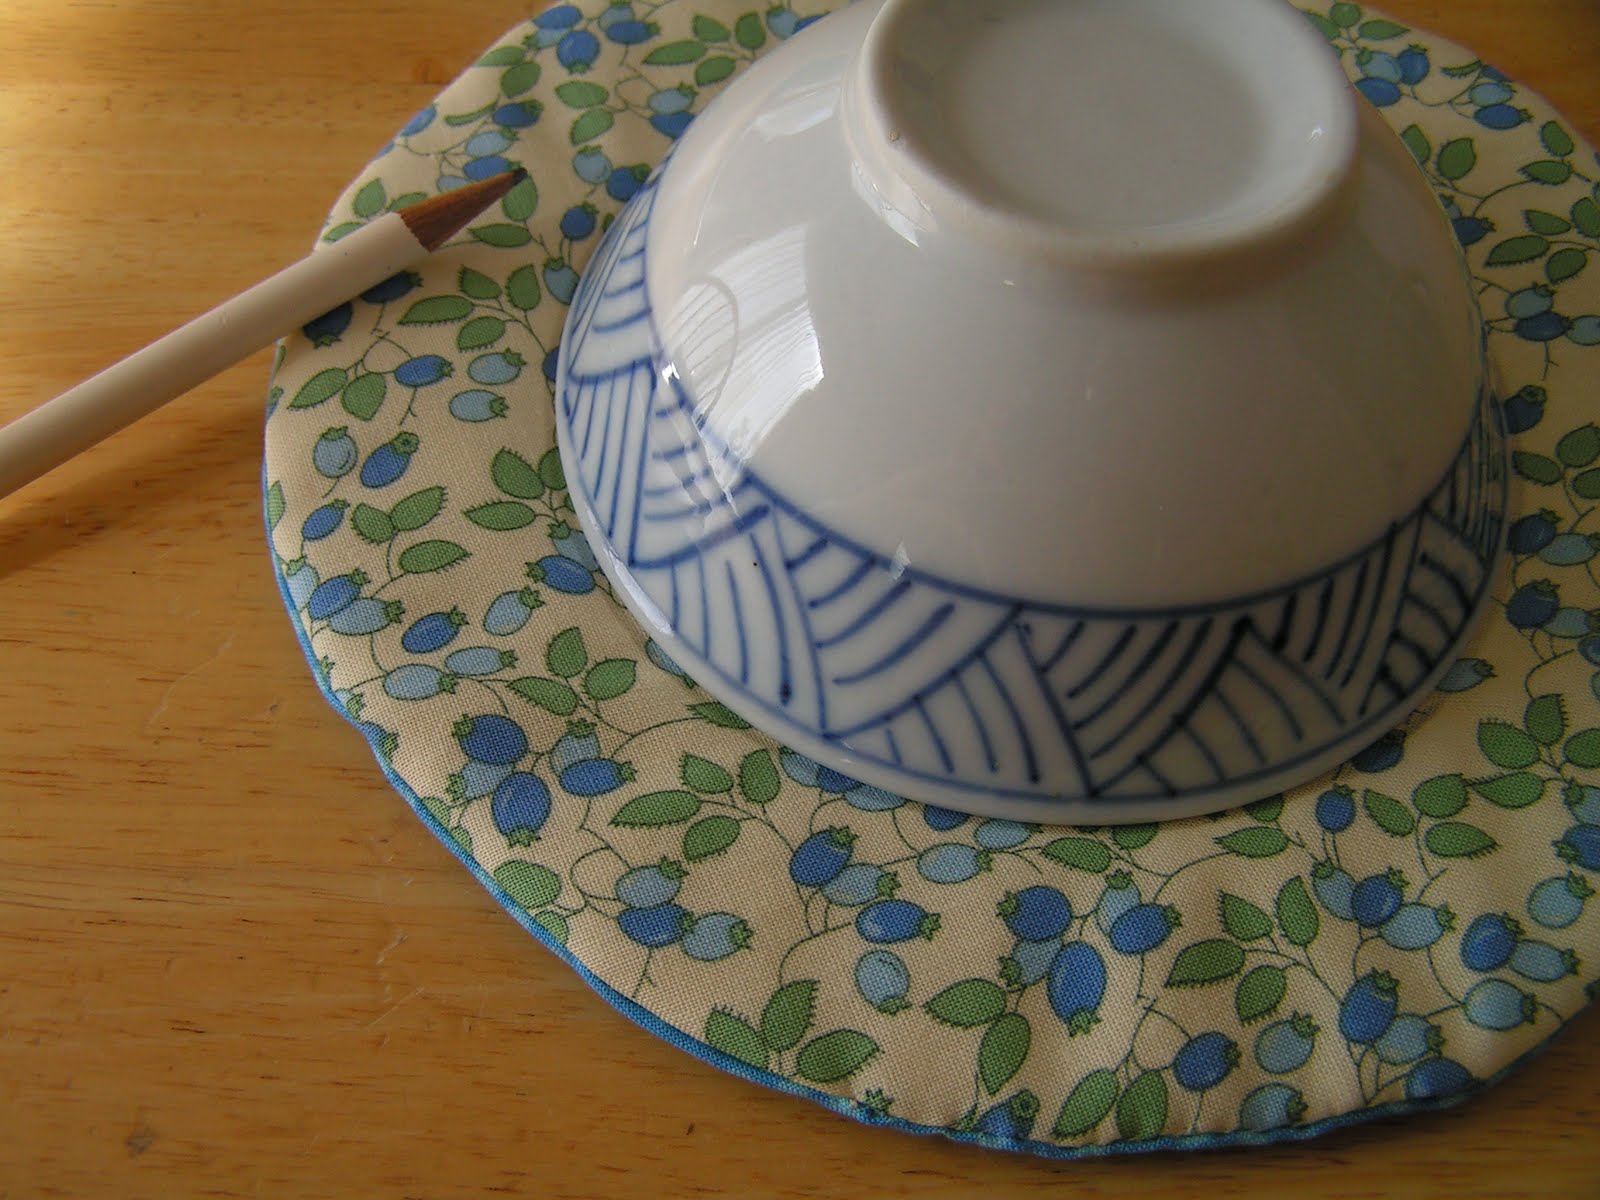
1. Lay front and back fabrics together with right sides. Trace the circle, and cut. Do the same with the batting. I used 8"diameter mouse pad, but you can use anything around the house.


2. Pin the batting with fabrics (still right sides together).


3. Leaving a 3"opening, sew all around the circle with 1/4" seam. Turn, whip stitch closed.


4. After pressing the edge with iron, trace the inner circle(5"diameter) and sew to stabilize the batting.


This will make a perfect stocking stuffer and party favors for birthday parties.


My kids love to play with this Frisbee! It is so easy, inexpensive to make and provides hours of fun play time.

Note: I am taking a break from the link party for this week too. If you haven't entered for a chance to win something from the Thanksgiving Giveaway. Please do so!

Saturday, November 20, 2010

A Birthday Party & Giant Cookie Cake


We had a birthday party for our oldest child today... I can't believe he is already 10 years old, two digits! It is a big deal, and I was all for baking a special cake for him.

Then, he said, "I want a giant chocolate chip cookie for my birthday instead of a cake".

OK then.

There is something you don't know... in our household, Mr. Tea Rose Home bakes the best chocolate chip cookies EVER. He usually doesn't cook, but there are a couple of things he can make well and one of them is chocolate chip cookies.

And, he did it. He baked a yummy, gigantic chocolate chip cookie last night and it was a big hit!


There were nine kids running around our house (there was only one girl, yup, you guessed it, it was Rachel...) during the party. We all had a great time!

I hope someday he will look back on this day and say, "Oh, I remember the big cookie dad made for me...". Working hard all day and then came home to bake a cookie takes effort, our kids are so blessed to have a daddy who cares and loves them. A day like today makes me feel warm and fuzzy inside.
Blog Widget by LinkWithin