Showing posts with label tote bag. Show all posts

Friday, September 29, 2023

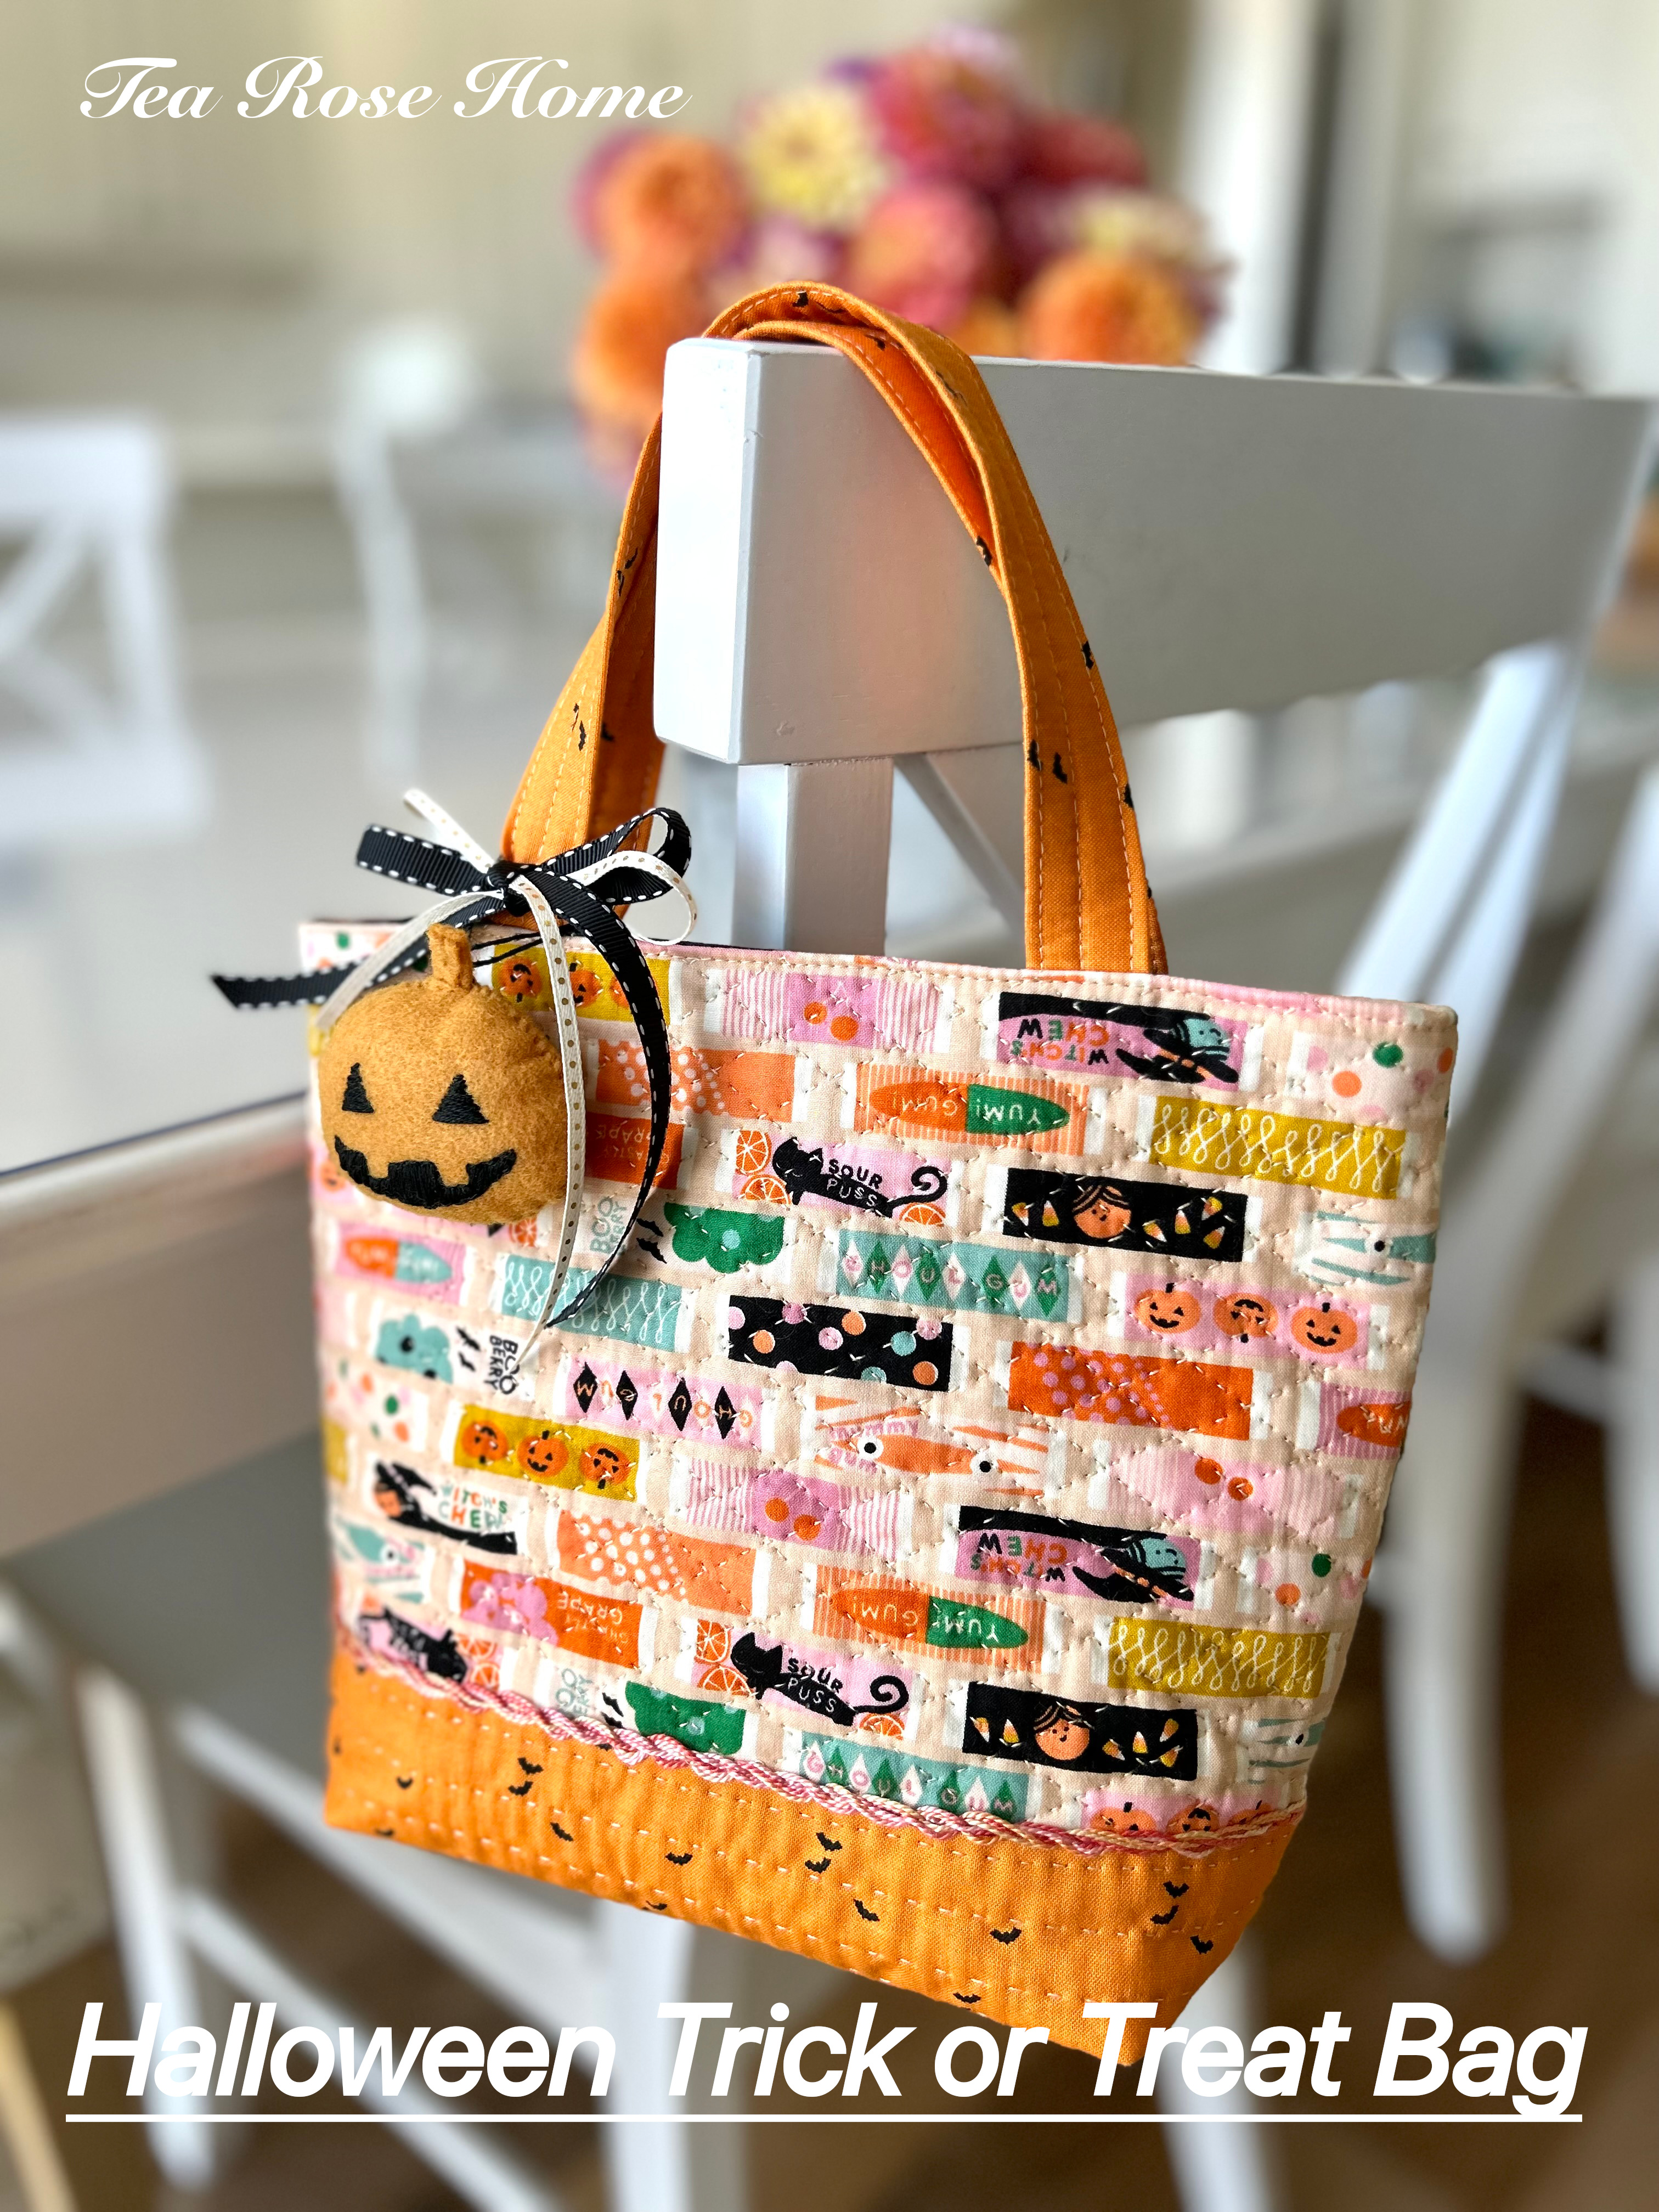
Halloween Trick or Treat Bag Tutorial

Trick or treat! I can't believe we are already entering October. The year flew by so quickly and it has been a bit chilly where I live. I wanted to share a quick, useful and fun Halloween project using my Sashiko machine. Of course you could make this project with your regular sewing machine, but I wanted to showcase Sashiko stitches with this project. Are you ready?

*You will need

A fabric to cut side fabrics
A fabric to cut bottom and handles
A fabric to make lining 12"x 20"
Muslin for backing 12"x 20"
(sorry, it is not in the picture, but you need it...)
Fusible batting 12"x 22" (this is for the body of the bag and the handles)
Pearl Cotton to add trimming (optional)
*How to

*Note* I used 1/4" seam for this project

1. Sew the side fabrics to the bottom fabric. Open the seam and press with iron.
2. Baste the fabric you pieced with fusible batting (follow the manufacturer's guideline) and muslin. If you prefer, you could use pins to secure the corners. For quilting, I just quilted straight lines on the bottom fabric and crosshatch quilting on the side fabrics.
3. Add trim. I am still acquainted with Sashiko machine. While I was watching some tutorials on youtube, I came across a video. There is one technique I wanted to try. This step is totally optional.
4. Make the handles. Take the fabric and fold it in half horizontally. Open the fabric and bring both long edges to the middle and fold. Now you have three horizontal lines. Cut 2 - 3/4"x 12" strips from fusible batting and fuse next to the center line. Fold the fabrics and top stitch outer lines. Repeat to make the other handle.
5. Pin a handle to the quilted fabric and sew. See the picture for the placement of the handle. Do the same with the other handle.
6. Fold the fabric right side together in half and sew the sides.
7. Make the boxed bottom. Fold the bottom and create a triangle. sew. If you are interested in better instructions, there is a tutorial I did for this post, around step 7.
8. Follow steps 6 and 7 for the liner.
9. Put the bag and liner right sides together. Leaving about a 4" opening, sew the top around the edge. Turn the fabric inside out and press the edges with the iron.
10. Top stitch all around the top and it is ready for Halloween night! Well, almost... on a whim, I decided to make a felt pumpkin charm to accessorize the bag. Now, it is really ready, haha
You could make this bag or two in one afternoon, so you still have enough time before Halloween. Enjoy!

Tuesday, June 21, 2016

Re-purpose Tutorial~ Mexican Dress to Tote Bag

Several months ago, I found this beautiful Mexican dress at a thrift store (It was one of the items I was looking out for). I was so excited and started to examine it, then I found some ripped seams and stains that may not come off. Here was the moment of truth... Should I buy it or not... the embroidery was too beautiful to pass up, so I decided to get it. The wheels in my head were already turning and last week I finally made it happen.

I cut the dress in half... There was no turning back at this point! Because of how your dress might be a different size than mine and also Mexican dresses are not made too precisely (the seams are raw and often times uneven in many areas), I am not going to give you exact measurements in this tutorial. I will give some numbers for you to have an idea and you can use that to apply to your re-purpose project.


Ok, let me go over the list of things you will need for this project.

{You will need}

Mexican dress
Lining fabric
Fusible interfacing (medium to thick, according to your preference)
Matching thread
Magnetic closure
Paper

{How to}

1. Just as we started before the material list, cut the dress in half(set the bottom half aside) and unpick the sleeves. Decide on where to cut the dress in half; this depends on how deep/shallow you want to make the bag and the embroidery design.

2. Cut the shoulders and trim the sides. The goal for these steps are to make the front/back and left/right unevenness as even as possible.

3. Lay the dress piece on the large piece of paper and trace to create a pattern for the lining. If you want to trace it directly onto the lining fabric, that is fine too.

4. Fuse the lining piece onto the fusible interfacing according to the manufacturer's instruction. To add magnet closure, fold the lined fabric in half vertically to find the center. Then measure 1 1/4" from the top seam. Mark with pencil or erasable marker. Follow the instruction of the package to add the magnet.

5. Put together the main fabrics right sides together. Measure 3 1/2" from what used to be the shoulder line and mark with pencil on both sides; That is the starting/stopping point when you are sewing to make the bag. This way your bag will have bigger opening and it will be easier to find things. Sew. Also, sew the bottom corners to create the boxed bottom. You can find how to make the boxed bottom on the post I did in the past.

6. Sew the lining piece same as in step 5.

7. Make handles. Cut 2 - 4" x 15" strips off the bottom half of the dress. Also cut 2 - 1/2"x 15" of fusible interfacing. Fold the fabric strips in half right sides together and fuse the interfacing as pictured. Sew on the side, turn the tube inside out and press with an iron. Sew Both sides with 1/8" seam and two more lines in between.

8.Put together the outer bag and lining right sides together, then place the handles in the middle of those two layers and pin. Leaving 4" of opening, sew all around it. Turn the bag inside out and press the opening with the iron and pin. Top stitch to finish it off.

Now, it is ready to enjoy!


Oh! You might be wondering what happen to the rest of the dress... I made that into a pillow with some pom-poms. It is sitting pretty in my house. :)

Blog Widget by LinkWithin