Showing posts with label Riley Blake Designs. Show all posts

Sunday, October 10, 2021

Breast Cancer Awareness Month and Heart Pillow

Today marks my 3rd mastectomy anniversary. If you are interested you can read about it in my blog post after when I was diagnosed, the day of the mastectomy and the day I came home from the hospital.

I reflected on the past three years and the main thing that comes to my mind is that how grateful I am. I woke up this morning, got ready, went to church and later that day I was able to Facetime my sons who are both serving our church in Japan. I was able to cook and had dinner with my family. They are all small and simple things, but to me the fact that I am still here and able to be with my family is a tremendous blessing. I have been working on heart shaped pillows to donate again this year. As I was stitching them I had this epiphany, that it is better if there were no need for these pillows, that means no one is getting breast cancer. But the reality is, there is a need for them. 1 out of 8 women get diagnosed with breast cancer. I hope you are not the one in these statistics, but if there is someone somewhere diagnosed with breast cancer, I hope my pillow will bring some comfort and love; just like the pillow I received, did.

Cindy of Riley Blake Designs has a great video tutorial using my heart pillow pattern; if you would like to make some to give to someone or to donate, please do so.

"Early detection is the key!", I say this all the time to whoever wants to ask me questions about breast cancer. Getting a mammogram doesn't take much time out of your day but it makes a big difference in your survival rate and treatment options. Please take care of yourselves everyone!

Thursday, March 7, 2019

Accidental Baby Quilt

Have you seen the cute fabric line Gretel designed by my sweet friend Amy Smart for Riley Blake designs? I had a chance to work with them and I made a quilt top a few weeks ago. What? the quilt up above? NO. That isn't it. The picture below is the quilt top I made first. For some reasons, my dog always shows up from nowhere when I start taking pictures of my quilt and gets in the pictures. Sorry if you are not a doggy lover. ;) It is not quilted yet, but I love how it turned out. I made it up as I went along, which is great, but because it wasn't planned nor did I follow a pattern, I had some left over blocks. I hate to waste so many blocks, so I started playing with them and kept switching things up to see the design potential... and pieced them together...


and ta-da! This baby quilt was born.

I was so happy how it turned out and got carried away. I hand quilted it, decided to do scalloped edges, and embroidered some red motif on it.

Sometimes you can come up with something fun and unexpected when you go with the flow and just let it happen. My baby sister is pregnant with her first baby and I am crossing my fingers that the baby is a girl, so this aunt can ship this quilt to Japan!

Friday, September 21, 2018

Quilt Block Charms and More Sunnyside Avenue Projects

I have been making some fun things with Sunnyside Avenue fabrics designed by Amy Smart. This is her second fabric line and it is such a fun and cheerful collection. I have been playing with them and made a couple things in the last few month.

Have you had a chance to take a look at the bag I made back in June? If you missed it, here is the link to the tutorial.

I also couldn't resist maing some bottle cap pincushions with them. Aren't they so cute together? This is such an easy project to do and perfect addition to the Christmas gift exchange with your quilter/seamstress friends.

Now, I made some quit block charms. The idea popped in my head and I couldn't resist. You can make this with pretty much any quilt block designs you desire, but I recommend picking ones with a simpler design. It gets trickier to work with seams, since the blocks are so small.

Here are the four charms that I created and the measurements for them.

*PinWheel (finished size 3 1/4" x 3 1/4")

Cut 2- 2 1/4" x 2 1/4" squares from light fabric
Cut 2- 2 1/4" x 2 1/4" squares from dark fabric

Amy has a great tutorial about Half Square Triangle Short Cut on her blog. With that, you can just piece them together to create the pinwheel.

*Simplex Star (finished size 3 1/2" x 3 1/2 ")

To make 4 half square triangles
Cut 2 - 2"x 2" squares from red polka dot fabric
Cut 2 - 2"x 2" squares from Blue background with white flower fabric

Cut 4 - 1 1/2" x 1 1/2" squares from red and white fabric for corners
Cut 1 - 1 1/2" x 1 1/2" square from red polka dot fabric for center

*Aunt Ruth's Fancy Finished size 2 3/4 "x 2 3/4")

Cut 2 - 1 1/2" x 3" strips from white background with yellow flowers
Cut 1 - 3/4" x 3" Strips from navy fabric
Piece them together Navy fabric in between the white fabrics. Cut in half.

Cut 1 - 3/4" x 3/4" sauare from white back ground with yellow flowers
Cut 2 - 3/4" x 1 1/2" strips from navy fabric
Piece them together white fabric in between the navy strips

Use the picture as a guide; piece all the pieces you made and finish the block


*Log Cabin (finished size 3" x 3")

I started with a red square in the middle, which I cut in to a 1 1/4"x 1 1/4" square. Cut the same size of green fabric and piece them together. Then you can keep adding the 1 1/4" wide strips to create a log cabin look.

After I completed the blocks, I finished them with the same steps that I finish a quilt, except, I didn't add batting in between the top and the backing. It will add extra bulk and it is going be harder to quilt. The string is actually elastic, so it is easier to put it on purse handles and such. The scissor charm and little wooden spools are an extra touch which is a completely personal choice on whether to add them or not.

Thank you for stopping by and I hope you enjoyed the post today!

Thursday, September 6, 2018

Let Them be Little Baby Quilt (Giveaway!!)

Have you had a chance to take a look at a adorable new fabric line by Simple Simon and Company? It is called Let Them Be Little (When I heard the name of the new line, I already knew I would love it!!).

As you can guess by the name, it is geared towards babies and toddlers, but I see some designs are very much suitable to create whatever your heart desires.

I had a chance to create something fun with them and I decided to make a baby quilt. If you are a long time reader, you know that I don't have a baby at home...guess what? I
am giving away the quilt!!! I will let you know how to enter at the end of the post, but let me tell you how I made the quilt.

I drew out the pattern and made the quilt. I don't have a pattern for you to purchase or to download, but here is what I did.


Gingham Baby Quilt
finished size 40 1/2" x 58 1/2"

*What you will need

Black --- 1 1/2 yard (3/4 yard for the top and 1/2 yard to make bias tape)
Gray --- 1 1/4 yard
White --- 1/2 yard
Backing, batting, thread and proper equipment to make a quilt

*How to

1. Cut 35-5"x 5" pieces from the black fabric, 58-5"x 5" pieces from the gray fabric and 24-5"x 5" pieces from the white fabric.

2. Use the picture as a guide, lay the squares out and piece them together. (using an iron for between piecing will help the finished top come out much nicer)

3. Base the quilt, quilt, and bind.

*Here is the link to how to make bias tape if you know how.


Ta-da! And here is the finished quilt. Now, are you interested in finding out about the giveaway???


The rule is simple, just leave a comment here and tell me your favorite things to sew. That is it! It is easier for me to do a giveaway at one place, so I encourage you to 1.follow me on instagram and 2. to leave a comment on my giveaway post there (that counts as two entries!). But, if you choose to leave a comment here, I will count that in. ;)
I will close the giveaway midnight Friday MDT, and announce the winner on Saturday morning. Good luck everyone!

Tuesday, July 10, 2018

Floral Hues ~ Pullover Top


Have you already hear about Floral Hues designed by Sue Daley? She is a talented quilt and fabric designer. Also, she is well known for her amazing English paper piecing skill and knowledge. A few years ago, I had the privilege to meet her in person when she was in Utah. I will always treasure the night I spent looking at her beautiful quilts and talking with her.

I was given a chance to work with her new fabric collection, Floral Hue from Riley Blake Designs. I was so excited to find out that they are 100% cotton lawn. Lawn is lighter weight than regular cotton and great for making clothing as well. I decided to make a relaxed flowy top for summer and fall.

Searching for a perfect style, I came across a pattern by Simplicity; number 8417. There are several design options for this pattern, but I liked option B which combines a couple different fabrics. I chose Floral Hues Main Gray and Floral Hues Daisies Gray for my top.

I finished sewing it and I am ready to try it on!

I was wearing it at home at first, but I thought beautiful floral fabrics such as these deserve nice outside light for the photo shoot...

That's exactly what I did (Thank You Mr.Tea Rose Home!)

It was over 100 degrees outside and I was wearing this 3/4 sleeve top but because of the light weight fabric I felt fine. :)

I hope you hop on over to Riley Blake Designs to see the other color schemes. They are worth checking out!


Monday, June 4, 2018

Quilted Bag + Mini Quilt Block Charm

Summer is here and in full swing, I bet many of you are going places; local or far from home vacations. One of the things that is always nice and useful is a large bag you can throw things in and take it everywhere you go. I decided to do a tutorial of such a bag using fabrics designed by Amy from Diary of a Quilter. Sunny Side Avenue is her second fabric line from Riley Blake Designs. Hop over and check them out!

I decided to use these fabrics from her line for this project.

So, here is what you need:

*You will need

Two different green fabrics --- 1/2 yard each

Two different Blue fabrics --- one 1/3 yard, the other one 1 yard

Batting and muslin

Matching thread


How to

1. Cut 3 - 3"strips from each one of the fabrics and lay them out in the order you want. Once you have decided, sew them together. Open the seam and press with an iron.

2. Once you finished piecing 7 to 8 strips together, cut out 3" strips diagonally. To figure out the first line, I used the 30 degree angle line of the cutting tool and marked it with a pencil and started cutting.

3. Lay all the diagonal strips out to see the design before piecing them together. Once you are done piecing, it will look like this:

Open the seam and press with iron.

4. Cut off the ends. It is best to match the fabrics on both sides, so when you sew them together, the half diamond becomes one and gives a nicer finish.

5. Layer the muslin, cotton batting and pieced top together and baste. I used safety pins to secured them.

6. I can't tell you enough how much I love my new Aria sewing machine from Babylock. I should have a post just dedicated for this quilting feature someday! Anyways... I just did straight stitches on both sides of the seam. Cut off the excess.

7. Fold the quilted fabric in half right sides together. Sew the sides.

8. Create boxed bottom. Pinch the bottom corner and draw a 5" line (2 1/2" on one side of the seam and 2 1/2" seam on the other) and sew.

9. Sew liner. Cut 18 1/2" x 30" rectangle out of the blue fabric that is 1 yard. Also, cut 6" x 8" rectangle to create a pocket. Fold both sides and the bottom of the fabric, press with iron and fold the top twice 1/2" each time and sew. Sew it on to the large fabric. Sew the large fabric to make the liner in the same manner as you sewed the outer bag.

10. Sew handles. Cut 3" x 20 1/2" strips out of the left over strips you have already pieced to create the bag. I added fusible interfacing to strengthen the handle. Fold the fabric in half right sides together and sew. Turn inside out, press with iron. Using 1/8" seam stitch both sides.

11. Put the outer bag, liner and handles together and pin. Leaving a 4"opening, sew all around the top. Turn the fabric inside out, press with iron and give a good top stitch to finished it off.

I just gave quick steps for how I made this bag. If you are new to sewing and need more detailed instructions, you can visit my other tutorials such as She Carries Flowers or Reversable Crossbody Bag.

I made a mini quilt block to accessorize the bag... the idea popped in my head and I just couldn't resist! I am planning on doing a tutorials for this in the near future, stay tuned!

I am going to have a very exciting (and a little scary because this is a bit of out of my comfort zone...) week and I am going to let you know in a future post. Happy Summer everyone!

Wednesday, March 7, 2018

Tutorial ~ Book Lady's Library Bag


There are many things I love to do. Besides spending my time with my family, I love to design, sew, cook, create and read. I always liked to read while growing up and read several books every day to my children. I know many people love their books in digital form now a days, but I still love the actual books on my shelf.

I love the soft muted color of the new fabric line "Once Upon A Rhyme" from 
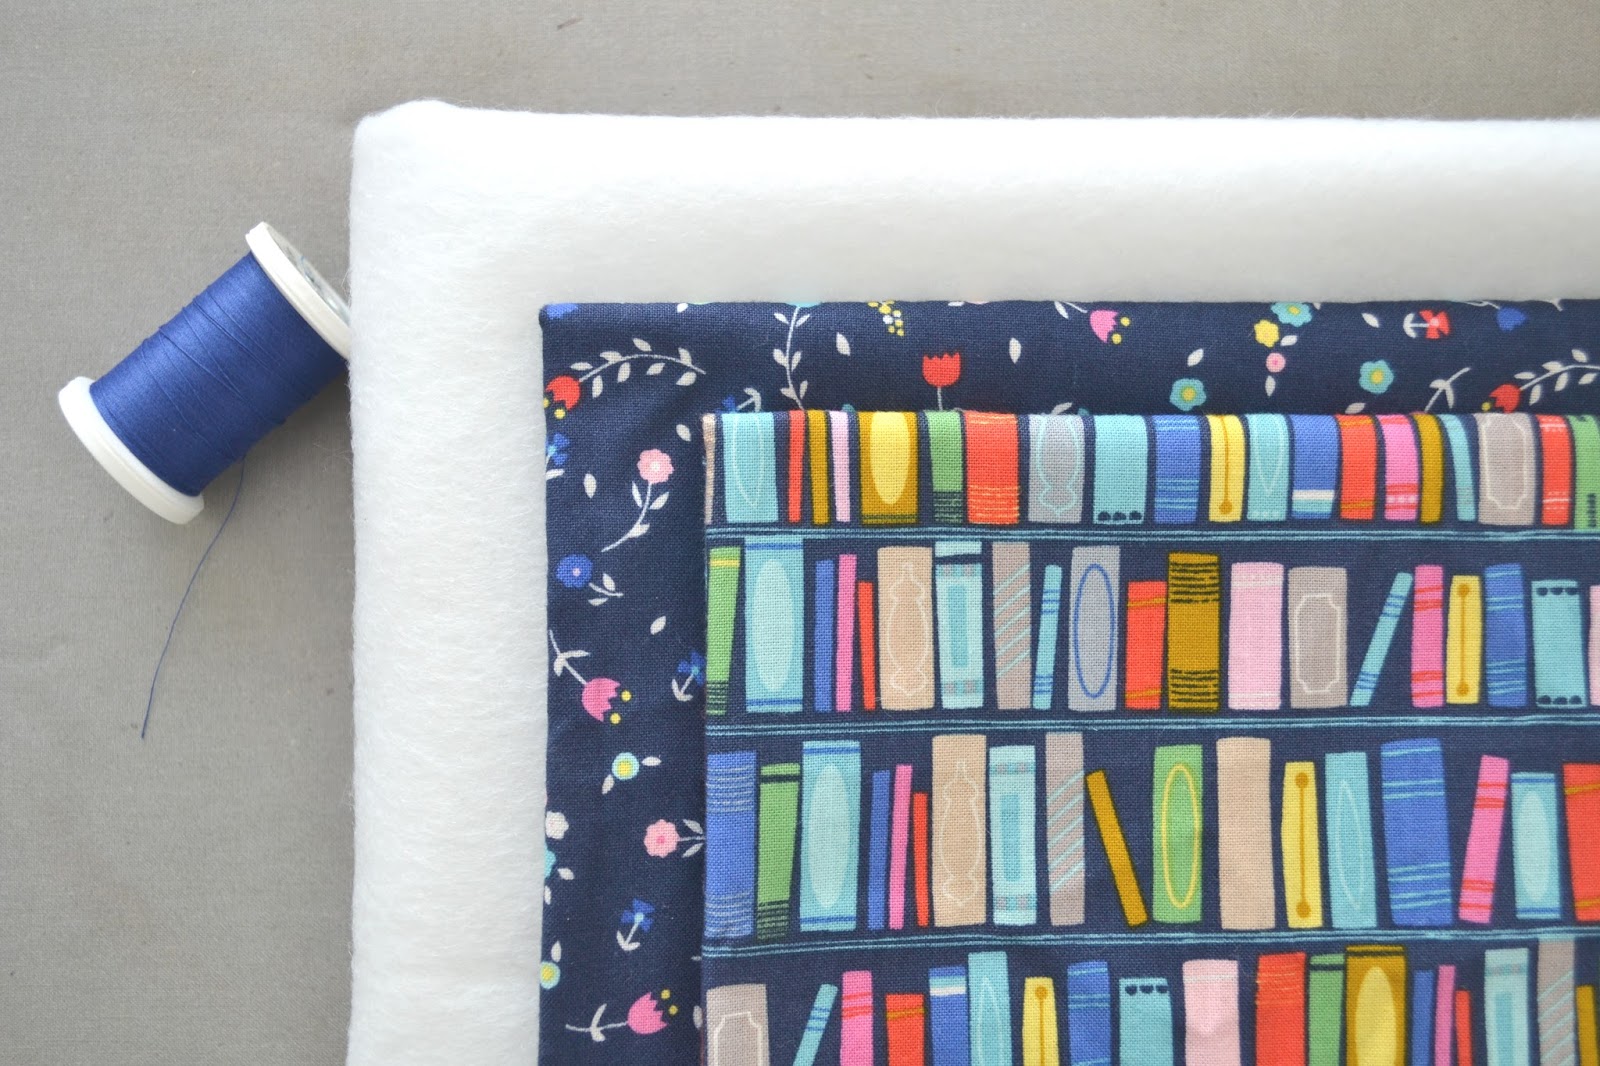
Riley Blake designs. Then, when I saw the book shelf fabric I immediately fell in love with it! There are a couple other color themes I had hard time choosing from, but I decided to go with blue. I thought it would be so fun and fitting to make a library bag with this fabric for my daughter.

*Material and cutting

1/2 yard of Once Upon A Rhyme Books Blue fabric --- Cut 2 pieces of 14"x 16" for the outer bag, 2 pieces of 3"x 20" for the handles, 1 piece of 6"x 9" for the pocket

1/2 yard of Once Upon A Rhyme Toss Blue --- Cut 2 pieces of 14"x 16" for the inner bag

1/2 yard of Pellon fusible interfacing (Heavy weight)--- Cut 2 pieces of 14"x 16", 2 pieces of 1"x 20" strips

1 1/2" x 8" of thin fusible interfacing

7" zipper

Matching thread>

*How to
1.Fuse the thin interfacing to the back of the pocket, 1/2" from the edge of the top of the pocket piece. Draw a 7" line in the middle of the interfacing and from the tip of the line draw short (a little shy of 1/4") diagonal lines to the left and right.

2. Cut on the lines. Then, fold the edges about 1/4" and press with the iron. Be careful not to melt the interfacing.

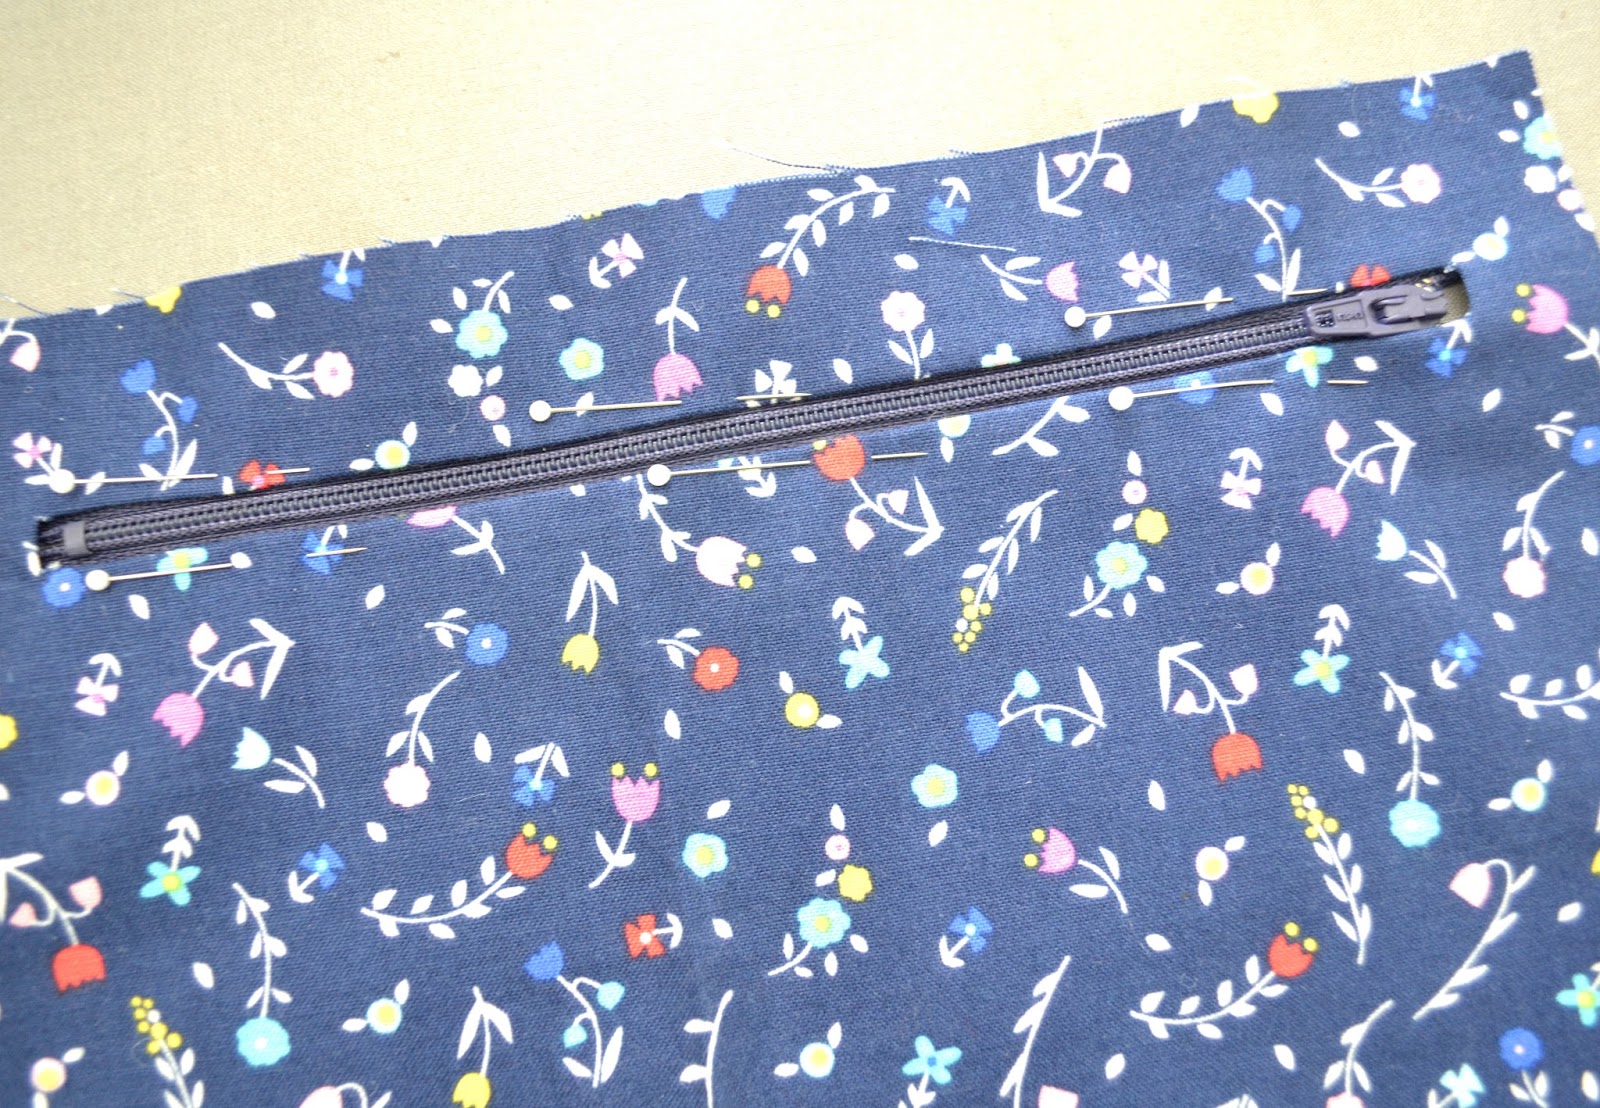
3. Pin the zipper, switch the presser foot on your machine and sew it on. Trim the excess material from the zipper on the sides and press 1/4" around the edges on the pocket. Set aside.

4. Follow the manufacturer's instructions and fuse the interfacing on the wrong side of the 14"x 16" fabrics to make the inner bag.

5. Sew the pocket piece from step 3 onto one of the inner fabric from step 4. Make sure that the center of the pocket and the center of the fabric matches and place the top edge of the pocket 3" from the edge of the inner bag fabric.

6. Put together the inner fabrics right sides together and sew.

7. To make the boxed bottom, pinch the bottom and side seam together. Make sure the seams line up perfectly. Pin and measure 3" (1 1/2" from each side of the center line) and draw a line and sew. Cut off the excess. Do the same to the other side.

8. Sew the outer bag in the same manner as steps 6 and 7.

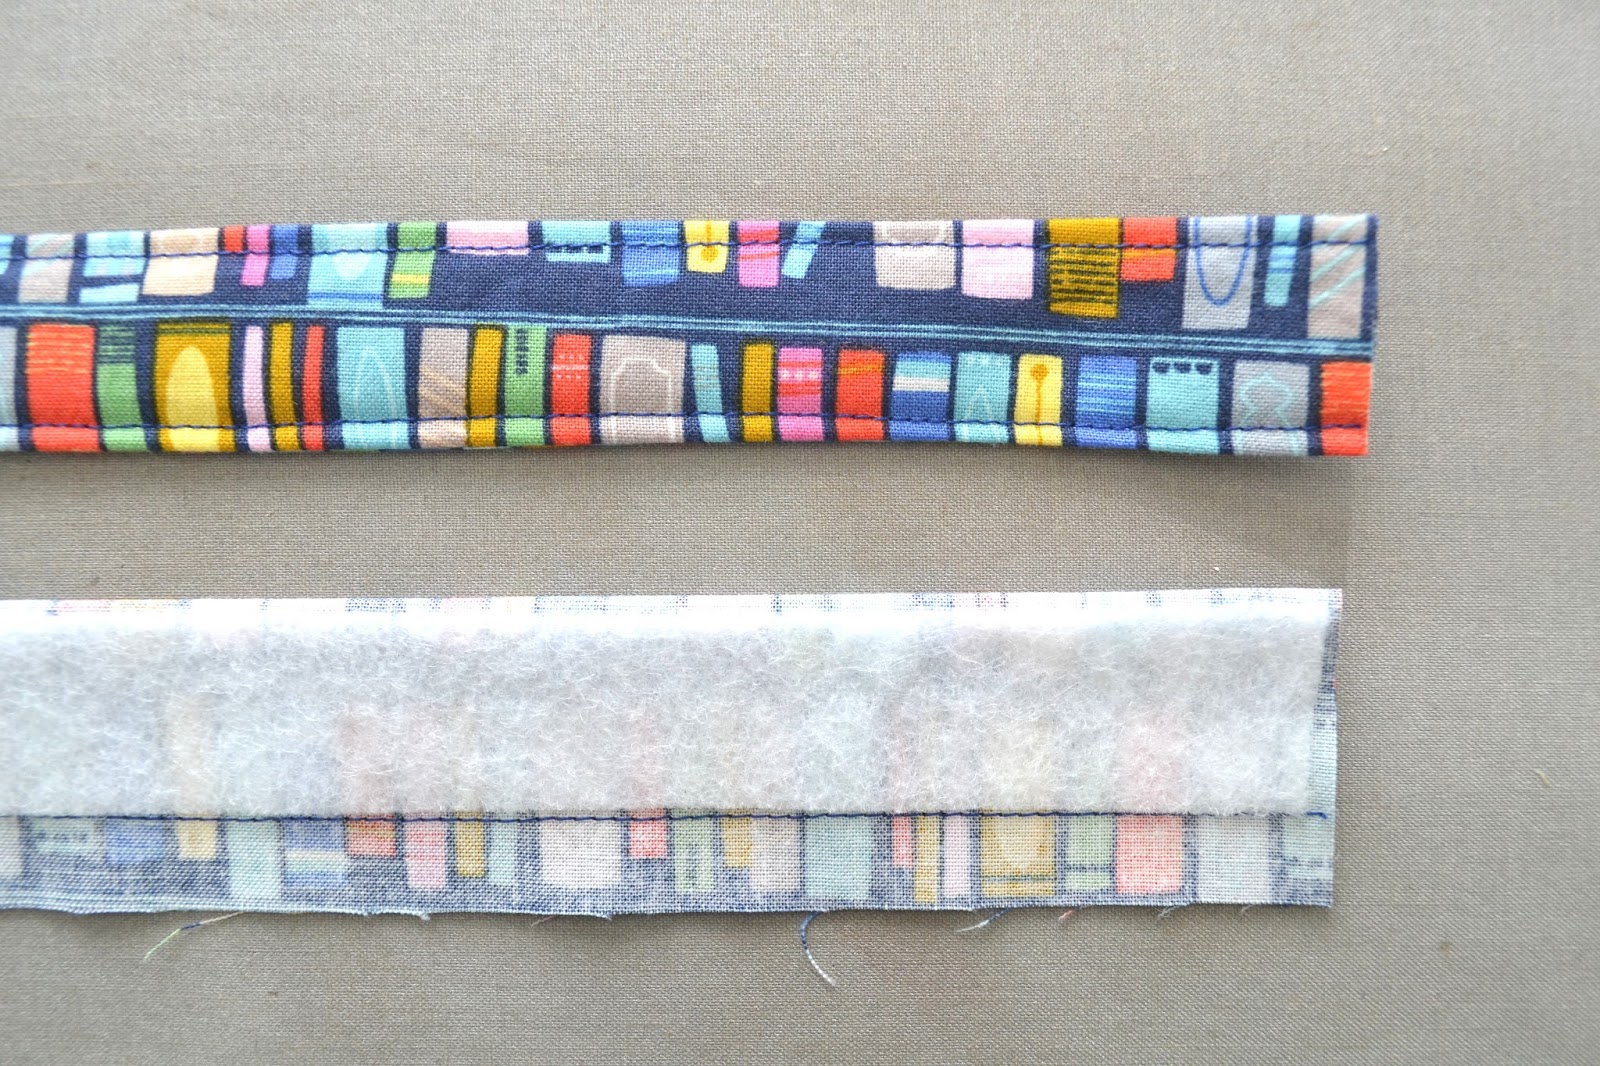
9. Make handles. Fold the 3" x 20" strips in half horizontally and fuse the interfacing along the folded line. Sew and turn it inside out. It will make the job easier to use a tube turner. Press with the iron and sew both sides with 1/8" seam.

10. Put together the outer bag and inner bag right sides together. Insert the handles between both layers where the picture is showing, and pin. I left 1/2" out from the edge, so when you turn the fabric inside out and do the top stitches, you will go over the handles again. This way, the handles are more securely sewn.

11. Leaving a few inches for opening, sew the top edge.

12. Turn it inside out. Press the opening, pin and do the top stitches around the edge. Then, sew another top stitch 1/2" from the first top stitches.

I am pretty happy with how the inner pocket turned out. This will be convenient for a library card and some cash.

It is finished! I added tassels I made last week to add a touch of detail. If you are interested in how to make them, you can find the tutorial here.

This book shelf fabric is such a brilliant design. You can make so many fun things (skirt, pouch, book cover, pillows for your reading nook and more!) for yourself or your book lover friends. Can you imagine making some Christmas gifts for your book group friends? My daughter, who finally got into reading last year, loves her new library bag and this was a perfect gift for her!

Blog Widget by LinkWithin