Friday, June 10, 2016

30 Days of Sundress ~ Effortless Trixie Dress


I am participating in 30 Days of Sundresses blog hop which Melly Sews is hosting right now.

Then get this... not only do you get to see all the fun dress tutorials, there are fun giveaways through out the event at her blog!

I was going through my stash to see what I could make and found some charcoal fabric with a light shimmer. It is rayon blend and very soft... an idea came to my mind right away! I sketched up a pattern and stated to sew. It all happened in an afternoon. Why I named the dress "Effortless Trixie Dress"? Because this dress is super simple to make and so comfortable to wear. You don't need to fuss with zippers, interfacing, button holes... none of that! Did you know the name Trixie means "Bring joy" or "Happy"? This dress certainly does that for me. The dress is a little roomy when it's finished, but the ribbon you can tie in front and the asymmetrical hem line gives a dressed up look to this comfortable dress.

I created a PDF pattern for you to download and use; it is XS/S. If you know how to alter patterns, you can create a larger dress too. I know Melissa has a wonderful post she did in the past, you can check it out here.

{You will need}

Fabric 52" to 54" width x 2 3/4 yards; if you are tall you might need 3 yards.
Matching thread

Other sewing necessities

{How to}

1. Print out the PDF pattern, assemble them together according to the number on each paper.

2. Fold the fabric vertically, right sides together, in half. Then, lay the pattern on top of it. Make sure that the straight line of the pattern says "Center Front/Back on fold" line up perfectly with the folded line on the fabric. Pin, trace and cut all necessary parts, which is: one front, one back, 4 ribbon pieces and 1 3/4" wide fabric strips to make bias tape for the neckline.

3. Treat the edges of the shoulders with zig-zag stitch or with serger to prevent fraying. With right sides together, sew the front and back shoulders together on both sides. Open the seam and press with iron.

4. Start the process to create the arm hole. Fold the fabric twice (1/4", 1/4") from one mark to the other. Press with iron and sew.

5. Fold the four straight edges after the curved line to the bottom seam twice (1/4", 1/4") and sew. This will create simple, yet interesting asymmetrical hem line on this dress.

6. Make two ribbons. Take one set of ribbon fabric and sew all around it except the straight part of the ribbon; leave that part open for turning. Snip the tip off then trim the seam to 1/4" for clean finish.

Turn the fabric inside out and press with iron.

Fold the open seam twice to create pleats. Using the largest stitch on your machine, stitch them down. In same manner, make the other ribbon.

7. Pin the ribbons you have made in between the front and back dress piece. The curved line on the ribbon is suppose to be on the bottom. I have a short torso and I put the ribbon slightly higher than my natural waist line. You can move them up or down based on your body type. Pin both sides all the way down (from arm pit to the end of the curved line) and sew. Once you are done with the dress, it will look like this...

8. Sew bias tape around the neckline to finish it off. You can see the tutorial how to make bias tape on my blog, but bias tape doesn't have to be cut perfectly at 45 degree. Also, here is the link to how to attach the bias tape on the post I did last year.

9. Fold the bottom seam twice (1/2", 1/2"), press with iron and sew. You, just finished the dress!

Since I made this dress I have worn it many times already. It is the perfect summer dress because it is comfortable to wear around the house, but at the same time I can just grab a purse and head out the door to go to lunch with friends.

I love how the asymmetrical hem makes this dress more fun to wear.

Thank you for stopping by today. I hope you enjoyed my tutorial!

Wednesday, May 25, 2016

Thrift Store Treasure ~ Plates

Over the years I have blogged about my thrift store finds here and there. Years and years ago, when Mr. TRH and I were newly married we couldn't afford much. Out of necessity (and it was fun to find things at such a cheap price too!) I shopped at thrift stores a lot. I still love shopping at thrift stores and garage sales, but the way I shop has changed over the years. There are things I look for and collect and one of the things is small floral plates.

They are so many plates at the store, but to find a plate with beautiful floral design in good condition is very hard. Little by little my collection grew...

When I checked the back of the plates to see where they were made, most of them are from England and Japan. Then some from china and unidentified ones. My collection is still small, but someday I want to display them to create a "great wall of china".

Because there are several things I look for when I enter the thrift store I hesitate where I should start looking. What if when I am looking at vintage sheets, pretty floral plates are taken by someone. What if when I am looking at vintage books, a rare milk glass vase was thrown in to another person's cart?! Ahh! Such drama! If you are a thrift shopper at heart you will understand exactly what I am talking about.

I will write about other things I collect in the near future. Is there anything in particular you look for at thrift stores?

Wednesday, May 18, 2016

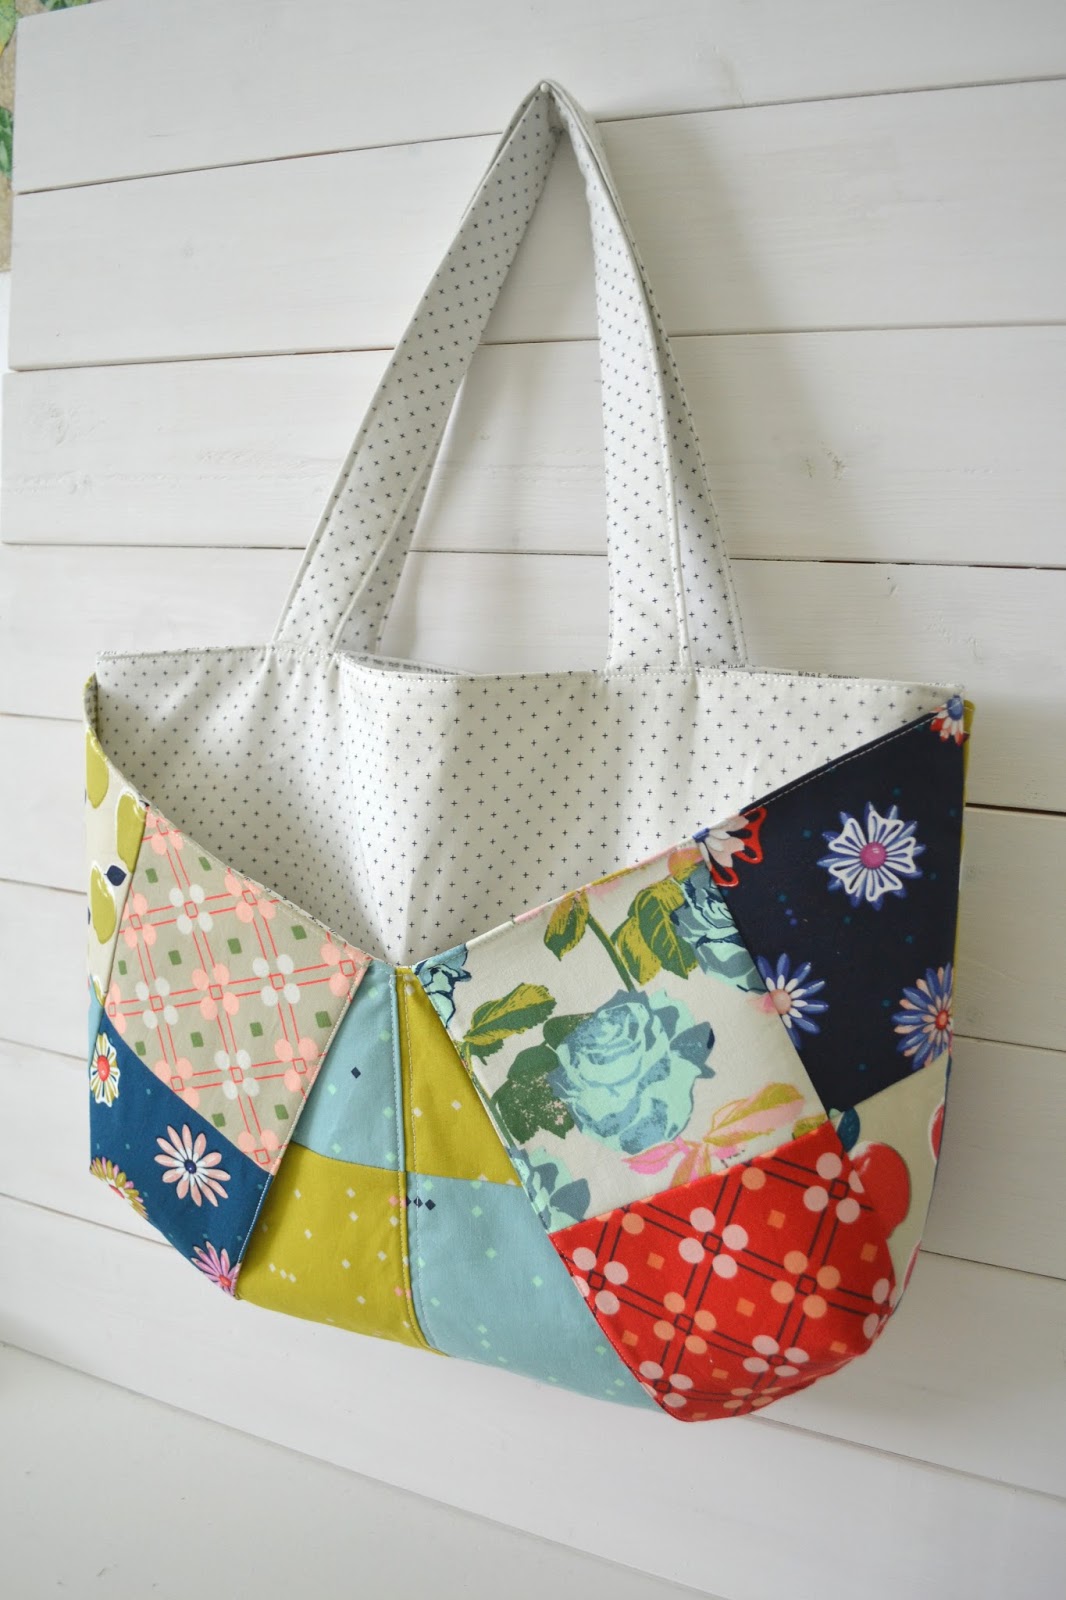
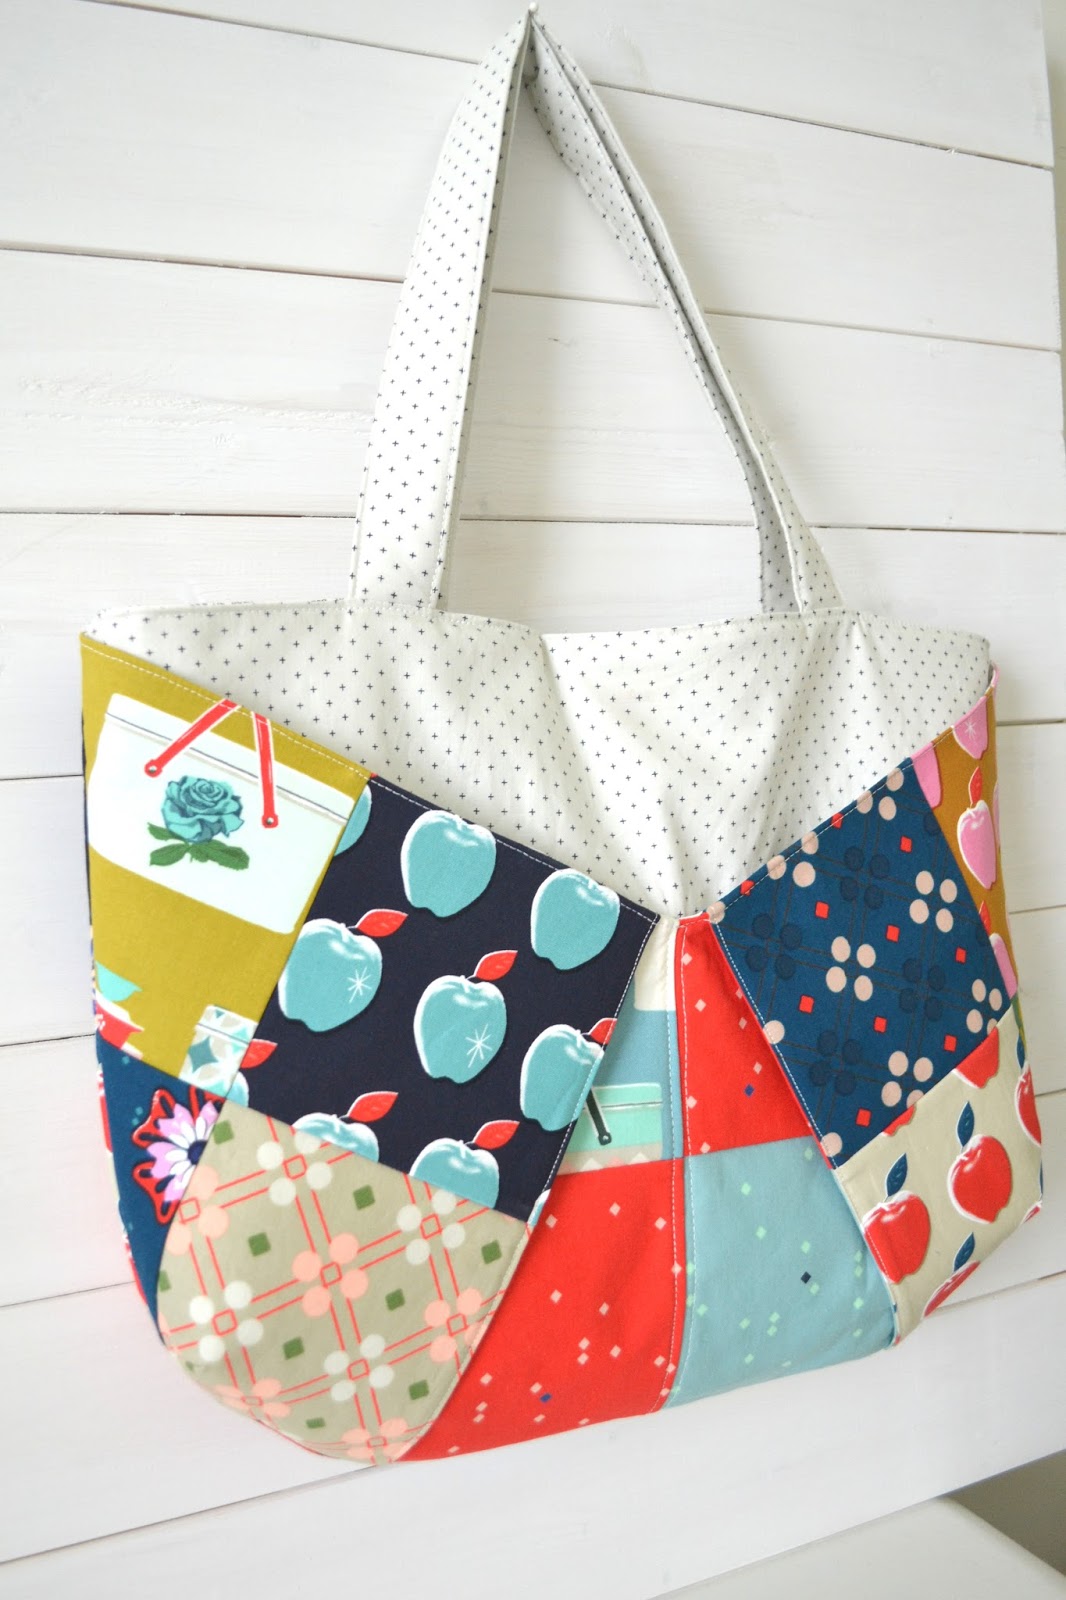
Colorful Patchwork Bags and Baskets Blog Hop & Crafsy Class Review

Hello! I am participating in Colorful Patchwork Bags and Baskets blog hop today! Caroline of Sew Can She and Co-author of Just for You has a new Craftsy class and I got to review it and make a fun tote bag. Let me tell you my experience first and at the end of the post, I have a special surprise for my readers (grin).

I had a couple pre-cut bundles from Cotton + Steel and have been dying to make something with them. When I started watching her class, I knew this would be perfect project for the pre-cut bundles. Rachel needed a new church bag; not just for scriptures, but for a note pad, pens, church magazines and such. Well, the usual stuff that I always end up carrying for her in my bag. Those baskets are cute, but I chose to make a bag this time.
Since I am not doing a tutorial, I get to share the finished bag right away! I love how it turned out.

Here is the other side...

I love how it showcases the prints on the pre-cuts.

I changed things up a little bit and used leftover squares to create the inner pocket. I also decided to do pockets on both sides of the bag and sewed down the middle, I have four pockets outside. Isn't that fun and nice to organize things?

What I love about Caroline's class is, it is very easy to follow! This is coming from someone who is not very good at following instructions to begin with, and English is my second language. She explains things very clearly and covers details very well. I loved how she uses Gridded Interfacing to do the patchwork too! This will make it easier for someone who has never done patchwork and may be a bit intimidated by it.


Rachel LOVED her new bag and that made me so happy. :) Whether you are making the bag for yourself, your daughter, grand daughter, mom or a friend, this is a such a fun bag to make. Here is the special link to receive 50% off for her class.

Check out all the other blog hop participants for more fun projects!

Wednesday, May 11, 2016

Tutorial~ Half Hexie Fly Away Quilt with Desert Bloom

I had fun designing this Fly Away quilt using half hexie (you can download the template) using Amanda Herring's new fabric line "Desert Bloom"!
You can hop over to see the whole tutorial on Riley Blake Design.

It is such a simple and easy quilt to make. If you are looking for a easy and quick quilt to make on the weekend you might possibly find one. :)

Have a lovey day!

Sachiko

Monday, April 25, 2016

Quilts and More Feature ~ Color Wheel Pincushion

I received the newest issue of Quilts and more in the mail today... and guess what??? The color wheel pincushion I designed made the front cover of the magazine, Yeah!

This is a simple and fun project to work on and I wanted to make it even easier for you to start the project (grin). Head over to my etsy shop; you can purchase the kit for this pincushion.

I thought it might be a hassle for some people to go through fabrics to find the exact shade of fabrics to create the color wheel. This way, you can just start the project. The kit doesn't include that pattern, you still have to buy the magazine for the instructions.

The fabrics in the kit may not be exactly the same as the picture in the magazine, but I did my best to keep the same shade and feel.

Are those colors calling to you?

Hop over to my shop if you are interested.

Happy sewing!

Friday, April 22, 2016

Earthquake

My oldest Child and I were in Japan from March 31st through April 14th. I was going to write about our trip and fun time we had while we were there. The day we left Japan there was an earthquake in Kumamoto and other areas (it's in southern Japan). You can read more about it here.

I heard the news when we landed in LA. I was relieved to hear that it wasn't the area where my family lives, but immediately my heart turned to the people who were affected by this. My mind raced back to March 11th, 2011 when a magnitude 9 earthquake hit the Tohoku area followed by a monstrous Tsunami where my family lives. You can read about my experience here and here.

It is torture not knowing loved ones whereabouts, so devastating to lose people you deeply care about and it must take such courage to press on to survive and rebuild a life that has been taken away from them.

I will post about our trip in a different post, but I wanted to dedicate this post for the people in Japan, and also the people in Ecuador who were affected by an earthquake. I am pretty sure there are organizations that you can donate money, supplies and make quilts etc...

What can we do for them?


Wednesday, April 6, 2016

Magnetic Bookmark Tutorial

I would love to share how to make this easy and useful magnetic bookmark today.

I had these paper pads for a long time and I thought they were the perfect size for creating many bookmarks of various designs. I wanted to make some for my neighbors who brought us dinner after my procedure: a little extra with a thank you note. Also, I am going to see my family in Japan soon. I always love to have some small gifts for my friends when we get together.

{You will need}

Thick scrap book papers with different designs
Thin magnet with adhesive
Cutting tool

{How to}

1. My papers were 6" x 6". I cut the papers 2" wide. Now you have three 2"x 6" strips. If you are using regular size papers such as 8 1/2"x 11" or 12"x 12", you can cut it to make it into the same size as mine or make up different size strips.

2. Fold the strip in half.

3. Cut the magnet about 1/2" to 3/4".

4. Stick the magnets to the paper centered at the ends.

5. Now they are ready to enjoy!

I usually have several books I am reading laying around in the house or in my car. It is nice to have a stack of these bookmarks. I hope you enjoyed my tutorial today. Thank you for visiting!

Note: I will be gone till the middle of this month (I will be in Japan, Yeah!!). Stay tuned for my post about my Japan trip! :)


Blog Widget by LinkWithin