Showing posts with label skirt. Show all posts
Friday, June 27, 2025
Sewing with My Baby Lock Victory ~ Skirt
As I mentioned in my previous post, all my projects in 2024 were quilts. After receiving the Babylock Victory serger, my desire to sew more garments increased by 100%! I have many Japanese sewing books and American patterns I bought from Joann's. I have many apparel fabrics and knits for future projects. I have no shortages there. All I need is to just start. I guess the hardest part for me is deciding the perfect match of sewing pattern and fabric. Sometimes this process takes months and years for me, because I see many possibilities with the fabric piece and I have a hard time making a decision. I don't want to cut into the fabric and go "oops, I should have used this for something else". But, I am starting to think differently… saving the fabrics for a "special" occasion or purpose doesn't do any good for me or the fabric. I am not getting any younger and I should just sew something I want, wear them and enjoy them while I can!
My first project with my Victory was a simple white t-shirt. Today, I am sharing a skirt I made.
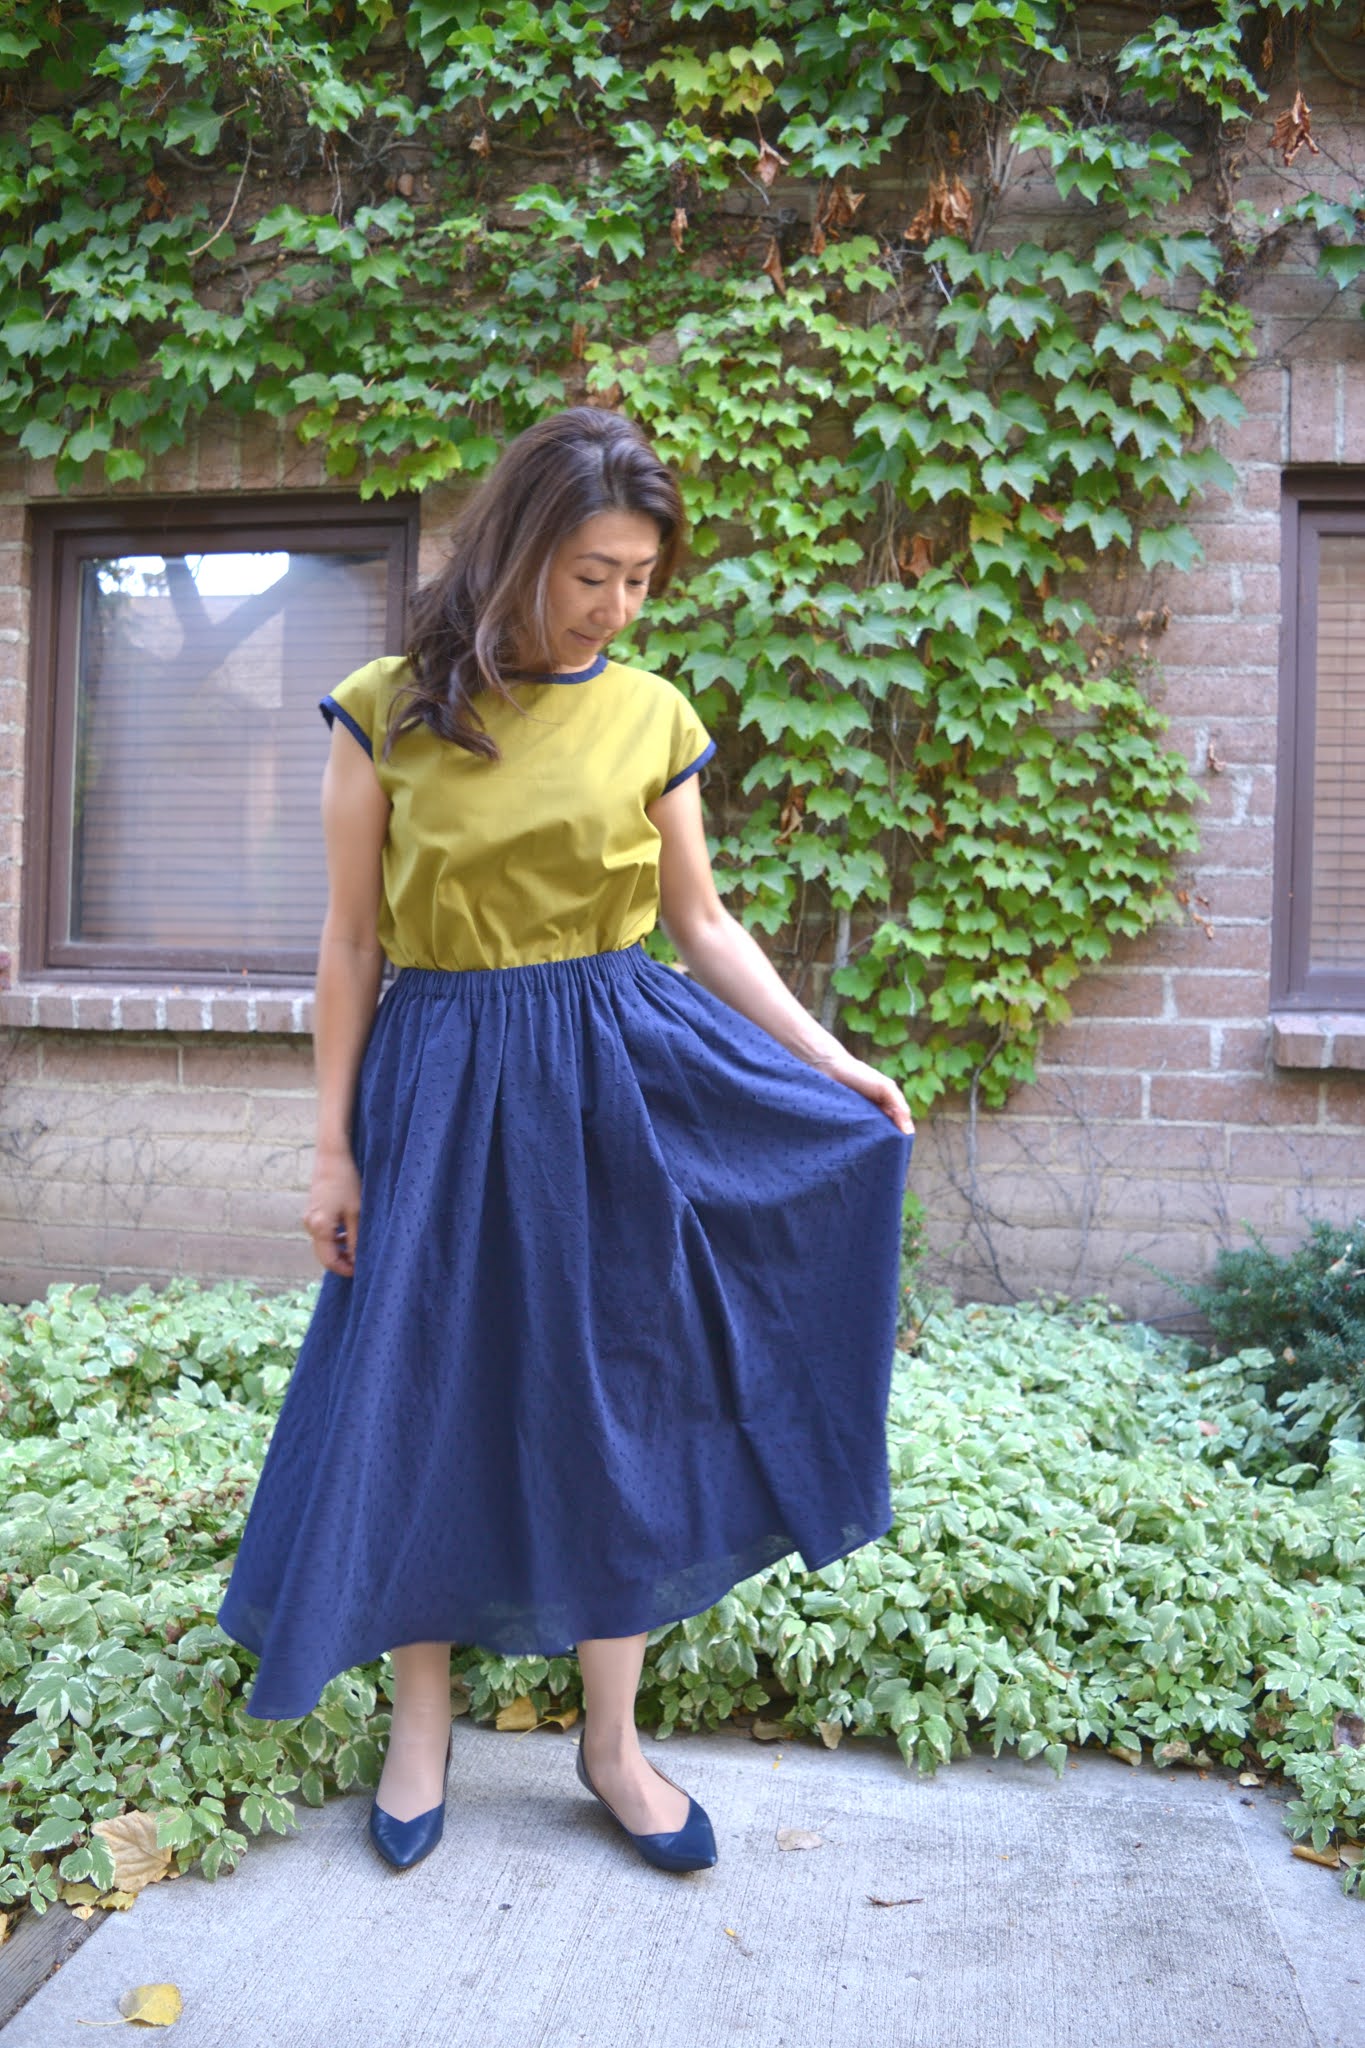
Nani Iro Sewing Studio is a great sewing book and it is translated into English. If you are interested in trying Japanese patterns, this is a great one. I thought this skirt was totally my style and such a great design for day to day living.
After I traced the pattern pieces, it was time to start cutting into the fabric! I just needed to get over the fear of messing it up and just enjoy the process.
This is a pretty simple pattern to follow, but having a nice and dependable serger makes the process so much faster. I love to look at the clean edges too.
I love the waistband of this skirt, the front is smooth...
and has elastic on the back. I think it makes a little more elevated look.
The skirt was done in one afternoon.
Mr. TRH and I took a quick trip to southern Utah and I decided to take this skirt with me. Cotton skirts are always my favorite. Even in hot weather, it was breezy and comfortable. I love how this skirt fits me, so I will definitely repeat this one. I already sewed a couple garments after I sewed this skirt and I am going to share them soon. :)
Labels:
baby lock ambassador
,
Baby Lock Serger
,
baby lock sewing
,
handmade
,
sewing
,
skirt
Thursday, September 30, 2021
McCall's 8044 Skirt with Linen
Hello! How have you all been?? As I mentioned in the last post, I had a pretty busy summer and I didn't sew much... I just wanted to spend more time with my children. They are growing up too fast, but they seem to not mind that at all. I was having a hard time catching up with the speed. Now that my middle son has left home and my youngest has gone back to school, I am getting my sewing mojo back! There were a few things I wanted to sew, but I decided to try the McCall's 8044, pattern first.
When my family and I took a quick trip to Colorado this summer, I visited a fabric shop called Fancy Tiger Crafts. They had a great selection of linens and I picked up a Terrazzo printed linen without any particular project in mind. When I was looking at the pattern, the fabric came to my mind right away. I was drawn to the picture of style C on the pattern, but I didn't quite have enough to make that, so I went with style B instead.
I used my Babylock 5/8" adjustable seam guide foot again to ensure the accuracy of the seam while I was sewing. It not only sped things up, I feel like I could sew with confidence.
It is hard to tell with this fabric, but there are buttons on the side. I like how this pattern doesn't require that much fabric, the skirt drapes nicely and also looks slimming.
Since this is made with thin linen, I won't be wearing it during the winter, but I could enjoy it a little bit longer with the right layering. I pulled out a cardigan from my closet and got ready for the evening.
Labels:
Babylock ambassador
,
Babylock sewing
,
McCall's pattern
,
sewing
,
skirt
Thursday, October 22, 2020
Cotton + Steel Rayon Separates
I bought this beautiful Rayon Challis "In Bloom" by Cotton + Steel a while back. this Rayon is the perfect weight and very smooth to the touch. It is a little different choice of fabric than my usual pick from solid or floral, but when I saw it I immediately fell in love with the design. After going back and forth between sewing a dress or separates, I decided to go with separates! For the pattern, I used Simplicity 8910 dress pattern from my previous post for the top but extended the length and made a blouse. For the skirt, I used my all time favorite flare skirt pattern I drafted. With the left over fabric, I was able to make sashing. I prefer wider sashing, but I didn't want to buy more fabric just to make the it... so it is what it is and I still like it.
I thought it would be fun to have a wrap belt with black fabric for a different look and whipped up one with cotton fabric I had in my stash
The blouse has moderate puffy sleeves, so I knew it would be a little difficult to wear it with a standard sweater or cardigan, that was part of the reasons why I decided to go with separates. This way I could wear them separately with other items and have more options. I normally don't wear black, but the sweater in the picture is an exception. I love the softness, v-neck, and fluffy texture.
During the process, I second guessed my decision for my fabric choice... I thought maybe the pattern and the colors are a little too bold for me, but once I wore it I was glad I trusted my gut instinct for loving the fabric. Sometimes it's nice to get out of your comfort zone and be a little adventurous. :)
Labels:
Babylock sewing
,
blouse
,
Cotton + Steel
,
Rayon
,
separates
,
sewing
,
simplicity pattern
,
skirt
Monday, October 12, 2020
Olive + Navy Top with Flare Skirt
Labels:
Babylocksewing
,
color block
,
fashion
,
sewing
,
skirt
,
top
Monday, August 17, 2020
Red Linen Skirt
I have been wanting a red skirt to wear for a while and I remembered that I bought some red linen fabric a long time ago. Sure enough, I found this fabric in my fabric closet, yay! One thing I have loved ever since I started my own "sew my stash challenge", is that I am more mindful of what I already have and am thinking creatively. I love clothing made out of linen, but 100% linen gets wrinkled very easily, so I usually buy linen blend fabric for easier care and it's nice drape.
I only had just over a yard, so my design options were very limited, but I was able to find an A-line skirt pattern in my old Japanese sewing book. I wanted a skirt with a simple line, so this worked out perfectly. I cut the fabric diagonally and started to sew!
I love how it turned out and wondered why I haven't sewn a skirt like this in the past. It is easy to sew, the style goes well with many tops and makes me look slimmer (bonus!). I might dig through my closet again and sew the same skirt in a different color. :)
I only had just over a yard, so my design options were very limited, but I was able to find an A-line skirt pattern in my old Japanese sewing book. I wanted a skirt with a simple line, so this worked out perfectly. I cut the fabric diagonally and started to sew!
I love how it turned out and wondered why I haven't sewn a skirt like this in the past. It is easy to sew, the style goes well with many tops and makes me look slimmer (bonus!). I might dig through my closet again and sew the same skirt in a different color. :)
Labels:
Babylock ambassador
,
Babylock sewing
,
linen
,
sewing
,
skirt
Saturday, December 29, 2018
Gray Apron Skirt
I have been wanting to make an apron skirt but no luck finding a pattern that I exactly wanted. I looked through my old Japanese pattern books(I bought 20+ years ago!) and found a couple patterns that I thoguht I can combine some aspects from both of them and create my own and that's what I did.
There are a few things I would change if I decided to make this in a different color, but I like how it turned out. Mr.Tea Rose Home said I look like a "farm girl" from the old movies... ok, maybe a little. :)
Sunday, May 28, 2017
Sewing Some New Skirts 2
As I mentioned in the last post, I made another skirt for my daughter. One of the exciting things is that I used the fabrics from my stash and didn't buy any new fabrics for either of the skirts. Yay!


She loves both of the skirts I sewed for her and we had a fun time taking these photos. I told her that I am going to sew a couple more skirts for her but she looked at me and said, "Mom, I am not being ungrateful or anything, but I don't need any more skirt. I have enough."
"But... but...I already have fabrics for it and I think it will be fun for you to have more during the summer since you are not going to wear uniforms"
With a very serious look, she said, "Mom, I really don't need anymore".
"OK, I guess I respect that... are you sure??", I said playfully.
She just looked at me but didn't roll her eyes.
Fine. I am not going to sew any more skirts for her this season, but what she doesn't know is that this mama is going to sew a Summer dress for her soon. Hehehe.
"But... but...I already have fabrics for it and I think it will be fun for you to have more during the summer since you are not going to wear uniforms"
With a very serious look, she said, "Mom, I really don't need anymore".
"OK, I guess I respect that... are you sure??", I said playfully.
She just looked at me but didn't roll her eyes.
Fine. I am not going to sew any more skirts for her this season, but what she doesn't know is that this mama is going to sew a Summer dress for her soon. Hehehe.
Sunday, May 21, 2017
Sewing Some New Skirts
One day, Rachel and I took inventory of her closet and found out that she out grew many clothes. Not so much of the tops, but pretty much all the skirts that I made for her a couple years back. I have been looking for some skirts to buy at the stores, but they were all too short for my (and her) liking. I promised her that I would sew some skirts for her and that's what I started doing. In the previous week, I cleaned out my fabric closet, so I had a pretty good idea of what I had and this variegated pink fabric seemed like a perfect fabric for her.
I used Simplicity pattern 8106 as a base and tweaked a little, added a cotton liner which gave the skirt slightly more body. It was very simple to make and the best part is that she loved everything about the skirt: I mean, the fabric, style and length! I am going to make a couple more skirts with the same pattern before I move on to making dresses and other items.
It is so cute for her to ask me to make a skirt. I don't know how long this will last but I am willing to sew more skirts every time she grows out of them. :)
I used Simplicity pattern 8106 as a base and tweaked a little, added a cotton liner which gave the skirt slightly more body. It was very simple to make and the best part is that she loved everything about the skirt: I mean, the fabric, style and length! I am going to make a couple more skirts with the same pattern before I move on to making dresses and other items.
It is so cute for her to ask me to make a skirt. I don't know how long this will last but I am willing to sew more skirts every time she grows out of them. :)
Friday, September 25, 2015
Tutorial ~ Skirt Refashion and Headband
There are several reasons why I like to do refashioning and re-purposing; here are some of them:
* It is fun to see the transformation of plain or not so attractive things
* In many cases it is more economical than buying something new
* I get to be creative
* I love the feeling of giving new life to otherwise unwanted items
* I can create one of a kind items
One of my favorite refashionings is to use grown up (or teen) skirt to make a skirt for Rachel. I am not a big fan of spending a lot for kids; clothing especially since they grow out of them so quickly. Some of the skirts Rachel likes online are around $50 to $60!
I was at a thrift store one day and found a short skirt for a grown up. I immediately liked the lacy fabric with smoky blue color, it had nice lining and a price tag of $4... I was sold! It will cost way more than that to make a skirt like this from scratch.
I will share a quick tutorial of what I did. :)
{You will need}
Skirt
1" elastic for the waist
Matching thread
{How to}
1. Cut off the original waist band.
2. I measured from Rachel's waist line to slightly above the knee, and decided to cut off a couple inches from the top edge to make the skirt shorter. When you do this you will want to make sure that the top fabric and lining are aligned well (lining should be slightly shorter when you are done cutting), also consider the width of the elastic you are going to put on because that will add to the length of the finished skirt.
3. Pin the top edge of the skirt and lining. This will keep them together better when you are sewing them to the elastic. Measure your child's waist and add 1" to that measurement and cut a 1" wide strip of elastic. Overlap both ends and sew to make a loop.
4. Sew the skirt to the elastic using a zigzag stitch. Stretch the elastic as you sew. That's it! Depending on what is worn on top of the skirt; this can be easily be dressed up. I had left over elastic, so I made a matching headband as well.
Rachel is the type of a girl who doesn't like to fuss over her hair too much. She likes to wear headbands because they are quick and keep her hair in place. I love watching her try on something I made for her especially when she actually loves it. Each time when that happens, I give myself a high five. :)
I hope you will remember this little tutorial next time you see a unique and pretty skirt at a thrift store (or you might find something in your own closet!). It will be a chance to make a one of a kind skirt for one of your loved ones for cheap!
Thursday, July 23, 2015
Tutorial~ Half Circle Skirt {Skirting the Issue}
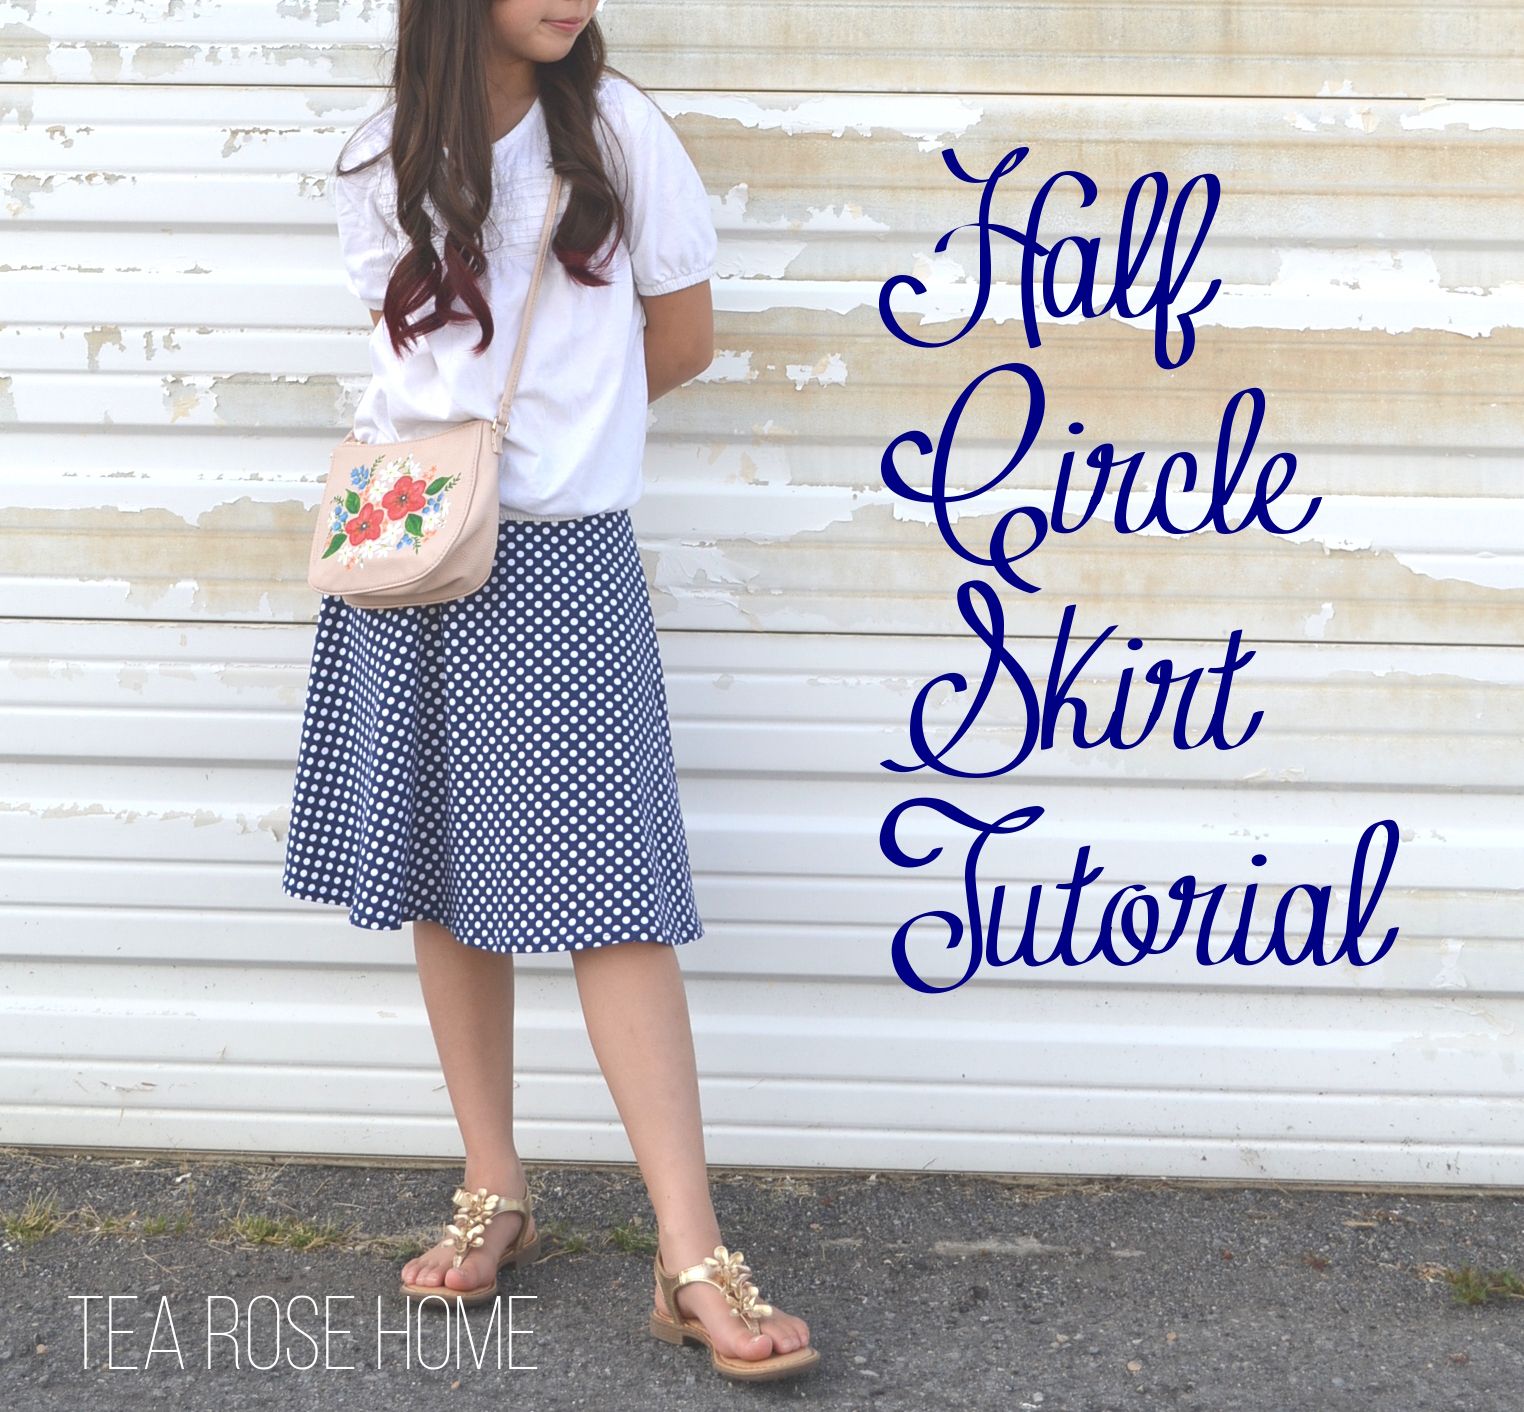
Hello everyone, I am participating in "skirting the issue" blog hop today! What is skirting the issue? It is a month long event where you are invited to sew along with Liz and Elizabeth of Simple Simon & Co and other participant bloggers to sew skirts to donate to local Foster Care centers. They have a goal of 1000 skirts to donate this year, so that the girls in the foster care have new skirt to wear on the first day of school.
I am sharing the tutorial how to make a half circle skirt today with knit fabric. The half circle skirt is one of my most favorite styles, because it still has a look of full circle but less drama and actually stays with your body lines better (full circle skirts tend to blow up more with the wind!). It is a perfect mix of prettiness + functionality which is perfect for school! There are a couple things before we begin.
{Fear of Knit fabric}
I know, I have been there. You don't have a serger? Not to worry, you can still sew with knits if you know some tricks to work with them. I wrote a tutorial on how to sew a knit skirt with tricks you need to know a while ago, please head over to the post and see what kind of needle and working foot you need to use.
{Drafting a Half Circle Skirt}
It is a lot simpler than you think. Once you know how, you can customize a half circle skirt for anybody! There are many great tutorials in blog land, but some are harder to understand than others. Here is a very simple explanation of how I figured out the numbers to customize a half circle skirt for my daughter.
1. Measured her waist.
2. Take the measurement and do a little math problem.
Waist ÷ 3.14 = inner circle radius
My daughter's waist was 23", so I did 23 ÷ 3.14 = 7.324.... round the number. I decided to go with 7 1/4".
3. Start drafting the pattern. I used my measurement, but when you are drafting a pattern you can use your number that you figured out for the inner circle and apply the number that you like for the length of the skirt. Remember, when you are figuring out the length, don't forget to include the number of the highs of the belt.
{Talk about Seam}
In this pattern I use 3/8" seam for all except the bottom seam of the skirt. I know this is much narrower seam compared to commercial patterns, but since I wasn't sewing with a serger I did't need a wide seam allowance. Also I don't care for wide bulky seams on my clothes. This is a personal preference, so you can change it to whatever width you like. :)
Ok, the rest is easy-peasy!
{What you need}
58/59 Wide Mid weight knit fabric ------ 3/4 yard (I used the knit from Riley Blake Designs they are easy to work with and very nice quality). My daughter is 9 years old, if you are making this for older girls, you will need more yardage.
3/4" Wide Non Roll Elastic ---- waist length + 1"
Matching Thread
{How to}
1. Fold the fabric in half in the middle and lay down the pattern you created on it. Make sure that one side of the pattern seam matches perfectly with the folded seam. Pin and cut.
2. Cut 1 strip of fabric 2 1/2" Wide x the length of the waist + 3/4" seam allowance.
3. Fold the half circle fabric right side together. Match the seam perfectly and sew with 3/8" seam. Then treat the edge with your preferred stitches. Fold the seam towards one side and press with iron.
4. Bring both ends of the waist bands right sides together. Leaving a small opening for the elastic to go through later and sew.
5. Open the seam and press with iron. Then, fold the waist band in half horizontally. Match the top edge of the skirt and the edge of the folded waist band and pin. Make sure that the seam of the skirt and waist band match perfectly in the back and the opening for the elastic will show in inside of the the skirt.
6. Sew all around it and treat the edge as well. fold the seam toward the skirt and press with iron.
7. Top stitch to secure the seam and give a finished look.
8. Fold the bottom seam by 1/2" and sew with double needle to finished it up.
I knew the polka dot navy skirt would be so cute and versatile same with the gray polka dot as well. Because it was so easy and fairly inexpensive to make, I made two to add to her wardrobe.
Time for a test run... I hope she likes it!
You can find many free skirt tutorials at Simple Simon & Co. Visit them and discover lots of other participant bloggers! :)
I am sharing the tutorial how to make a half circle skirt today with knit fabric. The half circle skirt is one of my most favorite styles, because it still has a look of full circle but less drama and actually stays with your body lines better (full circle skirts tend to blow up more with the wind!). It is a perfect mix of prettiness + functionality which is perfect for school! There are a couple things before we begin.
I know, I have been there. You don't have a serger? Not to worry, you can still sew with knits if you know some tricks to work with them. I wrote a tutorial on how to sew a knit skirt with tricks you need to know a while ago, please head over to the post and see what kind of needle and working foot you need to use.
It is a lot simpler than you think. Once you know how, you can customize a half circle skirt for anybody! There are many great tutorials in blog land, but some are harder to understand than others. Here is a very simple explanation of how I figured out the numbers to customize a half circle skirt for my daughter.
1. Measured her waist.
2. Take the measurement and do a little math problem.
Waist ÷ 3.14 = inner circle radius
My daughter's waist was 23", so I did 23 ÷ 3.14 = 7.324.... round the number. I decided to go with 7 1/4".
3. Start drafting the pattern. I used my measurement, but when you are drafting a pattern you can use your number that you figured out for the inner circle and apply the number that you like for the length of the skirt. Remember, when you are figuring out the length, don't forget to include the number of the highs of the belt.
In this pattern I use 3/8" seam for all except the bottom seam of the skirt. I know this is much narrower seam compared to commercial patterns, but since I wasn't sewing with a serger I did't need a wide seam allowance. Also I don't care for wide bulky seams on my clothes. This is a personal preference, so you can change it to whatever width you like. :)
Ok, the rest is easy-peasy!
{What you need}
58/59 Wide Mid weight knit fabric ------ 3/4 yard (I used the knit from Riley Blake Designs they are easy to work with and very nice quality). My daughter is 9 years old, if you are making this for older girls, you will need more yardage.
3/4" Wide Non Roll Elastic ---- waist length + 1"
Matching Thread
{How to}
1. Fold the fabric in half in the middle and lay down the pattern you created on it. Make sure that one side of the pattern seam matches perfectly with the folded seam. Pin and cut.
2. Cut 1 strip of fabric 2 1/2" Wide x the length of the waist + 3/4" seam allowance.
3. Fold the half circle fabric right side together. Match the seam perfectly and sew with 3/8" seam. Then treat the edge with your preferred stitches. Fold the seam towards one side and press with iron.
4. Bring both ends of the waist bands right sides together. Leaving a small opening for the elastic to go through later and sew.
5. Open the seam and press with iron. Then, fold the waist band in half horizontally. Match the top edge of the skirt and the edge of the folded waist band and pin. Make sure that the seam of the skirt and waist band match perfectly in the back and the opening for the elastic will show in inside of the the skirt.
6. Sew all around it and treat the edge as well. fold the seam toward the skirt and press with iron.
7. Top stitch to secure the seam and give a finished look.
8. Fold the bottom seam by 1/2" and sew with double needle to finished it up.
I knew the polka dot navy skirt would be so cute and versatile same with the gray polka dot as well. Because it was so easy and fairly inexpensive to make, I made two to add to her wardrobe.
Time for a test run... I hope she likes it!
You can find many free skirt tutorials at Simple Simon & Co. Visit them and discover lots of other participant bloggers! :)
Labels:
half circle skirt
,
knit
,
sewing
,
skirt
,
skirting the issue
,
tutorial
Subscribe to:
Posts
(
Atom
)