Saturday, February 27, 2016

Miniature Rooms on Etsy Shop!

I have been wanting to create more miniature rooms after I made my miniature sewing room a while ago. It's not only because I got many positive responses about what I created, it is honestly so much fun to make miniature rooms! I realized that it allows me to do designing, sewing, quilting, crafting and interior decorating. Things I LOVE to do all in one!! No wonder I enjoy it. :)

I created one living room, titled ~ reading time and a couple sewing rooms and listed them on my etsy shop today. Please head over to check them out if you are interested.

Some of you might think it is a bit pricey, but after considering the cost for the materials and my time that is the price I came to.

I will have a more detailed post soon for each miniature room. I want you to look at the details of each one. :)

Wednesday, February 17, 2016

Circle of Fun ~ Delight


A week ago, I shared this mini quilt tutorial at Riley Blake Designs. I am posting the full tutorial on my blog today just in case you missed it. I am in love with Apricot & Persimmon by Carina Gardner. I love her use of colors and the beautiful timeless designs.

Before you begin, print out the templates I provide in a PDF. I traced them onto clear plastic to make template. It is so much easier and quicker to use those templates and cut out the shapes with small rotary cutter. You can also trace the template onto the fabric and cut them out with scissors if you prefer.

Circle quilt (finished size 18 1/2" x 18 1/2")

{You will need}

Mint Apricot Petal--- 1/3 yard
Cream Apricot Main, Coral Apricot Floral, Peach Apricot Criss Cross, Coral Apricot Fern--- Fat quarters
Thread
Thin 80/20 batting

Other quilting necessities

{How to}

1. From the Mint Apricot Petal, cut 3 - 3 1/2" strips. Lay them together perfectly and cut 36 - 3 1/2" squares.

2. Use template 1. Match the two straight edges of the template to the two edges of the fabric square and cut out the shape.

3. From the Coral Apricot Fern (fat quarter), cut 2 - 3 1/4" wide strips. Lay them together perfectly and cut 9 - 3 1/4" squares.

4. Use template 2. Match the two straight edges of the template to the two edges of the square and cut out the shape.

5. Repeat the process in steps 3 and 4 and cut out shapes from the rest of the three fat quarters. Now, you have 36 pieces of Mint Apricot Petals, 9 x 4 = 36 pieces of quarter circle pieces from the fat quarters.

6. To make the blocks, take one piece each from the inner and outer circles. Fold them in half diagonally.

7. With right sides together, pin on the creased center line.

8. Pin the ends and between. Then, sew with 1/4" seams. Press the seam with an iron. Do the same with the rest of the 35 blocks.

9. Use the picture as a guide to lay them out. Sew side by side first then row by row.

Tada! Ready to be quilted!

I am not going to cover the details of basting and such, but I used fat quarter left overs to piece the backing and bias tape. Ready to see the end result??


I love hand quilting, but I can picture this quilt being machine quilted in my minds eyes too...

Here is the back of the quilt. It is just simple strips pieced together, but I like this look as well!

I hope you enjoyed my post and the tutorial will become handy for your sewing adventures. :)

Monday, February 8, 2016

Much Needed Photo Session


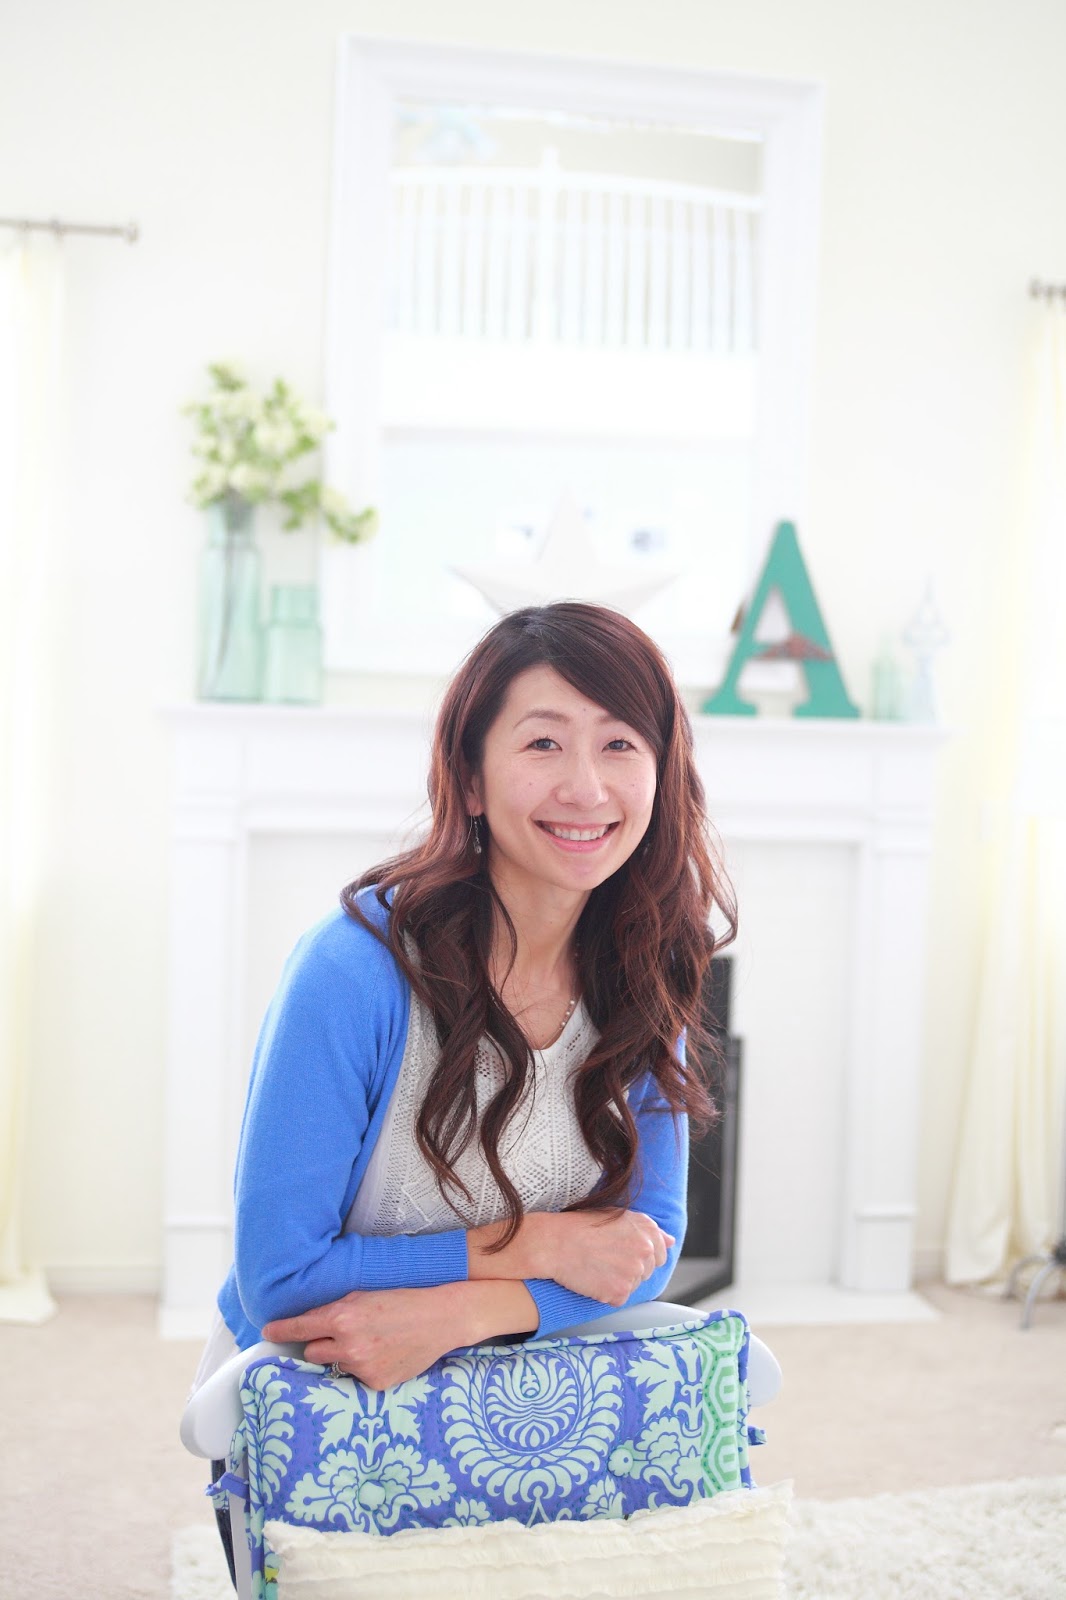
I had a much needed photo session last week. Sometimes I get asked to send a head shot to magazines or companies that I am working with, but I haven't updated my pictures for a long time. I am definitely aging each year, using the same old picture made me feel like I was deceiving people. Usually I am the one taking everyone's picture so I don't have many good pictures of myself. There are some good selfies, but they are not of good enough quality. I needed a head shot so I decided it's time get some new ones.

My friend Ai came to the rescue and did a photo session for me despite of her super busy schedule. I wanted my pictures to be a reflection of me, not someone completely different; Relaxed, fun and friendly... and I love how these pictures turned out! I will share some of them with you today.

This one is much closer than I am usually comfortable with, but with her excellent skills I still look like me with less noticeable wrinkles and ageing spots! I like this one!

I must say that my favorite ones are the ones where I am in front of the fire place with the chair I redid. It is our family room. The color scheme and and brightness of that room is what I love about our house, I am in my happy place and my smile is real...

I am trying to decided on which one I should use for my new profile photo. What do you think? Which one is your favorite?

Wednesday, February 3, 2016

Delight ~ Circle of Fun Quilt Tutorial


Hello everyone! Have you had a chance to look at the gorgeous fabric designed by Carina Gardner for Riley Blake Designs? I am posting a tutorial for this mini quilt over at Riley Blake Designs today! I have been obsessed with mini quilts lately because of how quickly I can complete one and of course the nature of its cuteness.

Here are some more teaser photos...


Interested? Hop on over to Riley Blake Designs to see the complete tutorial! :)

Monday, February 1, 2016

Tutorial ~ Stickable Bottle Cap Pincushion


Over a year ago, I attended a quilt retreat. When I took a break to walk around I walked passed a much older lady sitting at her sewing machine and sewing happily. We struck a conversation and chatted for a while and I noticed that she had a tiny tiny pincushion stuck to her sewing machine. I asked her where she got it and she said she made it with a bottle cap. Ha! Why didn't I think of that before?? When I am sewing I put my pincushion on top of the machine or beside the machine and sometimes I forget where I put it. It would be very convenient if I could stick a pincushion somewhere on the machine: out of the way of fabric but still very close when I am pulling out the needles as I continue sewing. On the way home from the retreat, I was so ready to make one... then I totally forgot to do so until last week when I really could have used one.

I made some and created this tutorial to share with you! It is a very quick and simple project. Just remember to keep some bottle caps before you toss out the empty bottles.:)

{You will need}

Plastic bottle cap (Most of mine are from soda bottles. I found it better to have a deeper cap instead of a shallow one)
Fabric scrap
Fiber fill
Thread
Small trims (Pom-pom, lace, ribbon whatever you desire)
Glue gun and glue
Glue for the trim

{How to}

1. Create a 3"diameter template with tick paper, and trace that on to fabric scrap. Cut out the circle.

2. Stitch around the edge with big stitches.

3. Pull the thread a little and stuff it with fiber fill and pull the thread all the way. I like my pincushions stuffed very well.

4. I stitched the top back and forth to keep the top from coming undone then tie the knot to finish it off.

5. Place a little drop of glue into the bottle cap and put the fabric ball you made in step 4, stitched side down, into the bottle cap. Squeeze it tight for a minute or so until the glue is hardened and the pincushion is secure.

6. I added lace around the cap as a finishing touch...

7. For adhesive I chose double sided tape with some cushion. That way, if I want to stick the pincushion on uneven surfaces there is some flexibility.

I was so excited about this and had to test it out right away! Check this out, I can stick this on the top and the side of the machine or right by my hand.


Because it was so easy and fun to make, I made a few more...

This will make a pretty, practical and inexpensive gift for your sewing friends for sure!

I hope you enjoyed the tutorial. Thank you for visiting today! :)


Monday, January 25, 2016

Fun Mini Quilt Challange


I hardly ever enter quilt contests or block swaps, but I saw a fun contest on Instagram last week and I decided to do it! It is sponsored by Michael Miller Fabrics and The Electric Quilt Company. The first prizes? 80 assorted fat quarters of Cotton Couture, a copy of Electric Quilt 7 and a feature on Making It Fun! The 80 fat quarters sounds heavenly, but I always wanted quilt design software, I had to try it and see what I can come up with!

One of the contest rules was to use Michael Miller fabrics only. I thought that would limit my design choices, but it actually helped me to focus and decide on the design quicker. I didn't have much time to work with, so I had to be quick. Here is what I come up with...

I am crossing my fingers and hoping to see if I can win the 1st place prizes (if not 2nd or 3rd?). Making this mini quilt sparked many design ideas, I need to start drawing them before I forget. Wish me luck! :)

Tuesday, January 19, 2016

List of 100 Dreams


Hello everyone and Hello 2016!

I have been reading a book called "168 hours ~ You have more time than you think". Agh, the title alone was a stab in my heart because deep down inside I knew where I have been wasting my time and that I could make major improvements. Using our time wisely and where it matters most is a very important and essential skill to have to achieve our goals and dreams, right?

In the book, the Arthur talked about writing down 100 of your dreams. The whole section was very interesting to read; it was way more than just writing them down. Look at the dreams and think of ways of how to turn them into reality. She also mentioned about going through the list and start knocking off items that require just a few bucks or a few hours. Why didn't I think of the before??

They don't have to be all big dreams, anything you want to do in your life time. She stated "this could be something as simple as ten places you want to visit, ten books you want to read, ten restaurants you want to try, skills you want to learn, or ten financial goals you have for yourself...".

Doesn't this sound fun?


Instead of coming up with new year resolution, our family did something different this year. I found the perfect notebooks for each family members at TJMaxx. After I explained what we are doing and why, my teens made some jokes back and forth, but they were all excited about it. In a short while, we were all quiet (which doesn't happen that often in our house) and sitting around the table brainstorming our hopes and dreams and writing them down.

My only suggestion as a mom to them was: Not to write down all materialistic things, but something that will grow them intellectually and spiritually as well.

Bedtime came but we were still writing. Every now and then, the kids wanted to share one of their dreams and we laughed and talked about it. My 10 year old girl shared her list with me and one of them caught my eye and I couldn't help myself from smiling... "to have straight teeth". How cute! That wish will come true in a few years (both my teens have braces) just like her brothers. But, hey. That is one of her dreams. :)

I think I am going to reach a little bit higher this year and make some of my dreams come true. What are some of your 100 dreams?


Blog Widget by LinkWithin